How to Install Linux Mint 13 Maya Mate on VMware Fusion 4, the Step-by-Step Simple Complete Visual-Guide Tutorial.
To the Post Bottom you Find Link to Installing the VMware-Tools for Linux Mint 13 Mate on VMware Fusion.
The Guide Include the Screenshots of Every Step to Perform and the Essentials Instructions and Commands.
Take Care to Follow the Issu-Free Disk SetUp Instructions If you Want to Skip Disk Growth Problems & Troubles in Time…

-
Create New Virtual Machine
-
Click on Continue without disk

-
Select “Choose a disc or disk image”
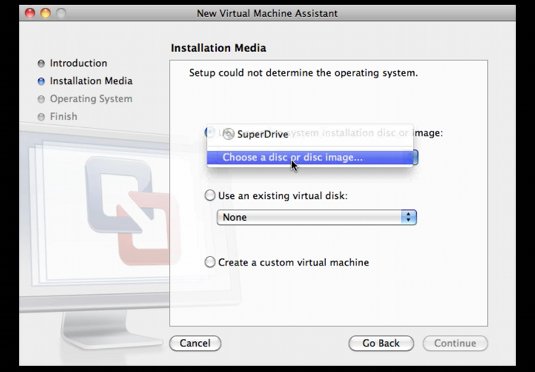
Browse for the Linux Mint .iso Release.

-
SetUp as Linux & Ubuntu

-
Click on Customize Settings

Set the Name.

-
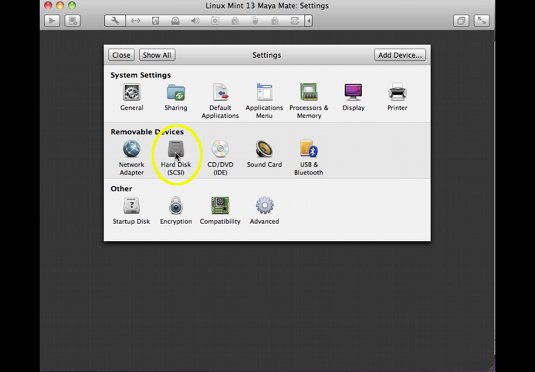
Select Hard-Disk
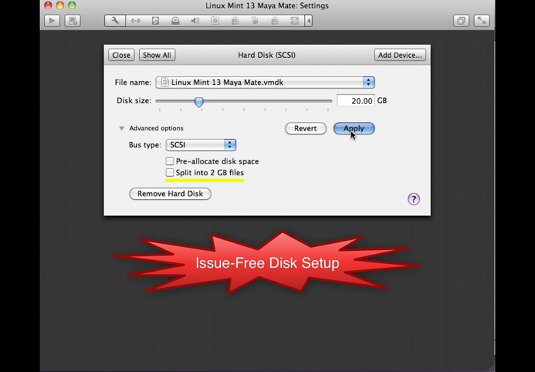
To Obtain a Issue-Free SetUp I Recommend you to Un-Check Split in 2Gb.
-
Boot the Linux Mint 13 Mate Virtual-Machine
-
Double-Click on Install Linux Mint

-
Select Installation Language

-
Continue

-
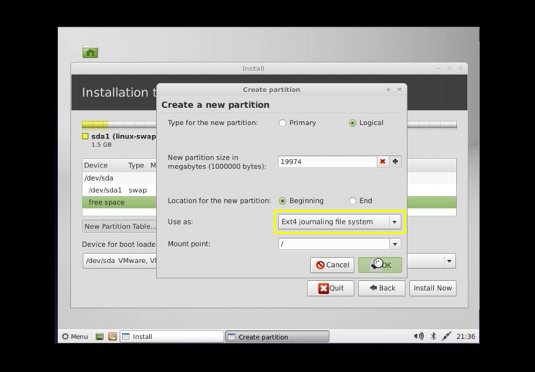
Make a Custom Partition Virtual-Disk

Make a New Partition Table.

Add a Swap Partition of About 1Gb.
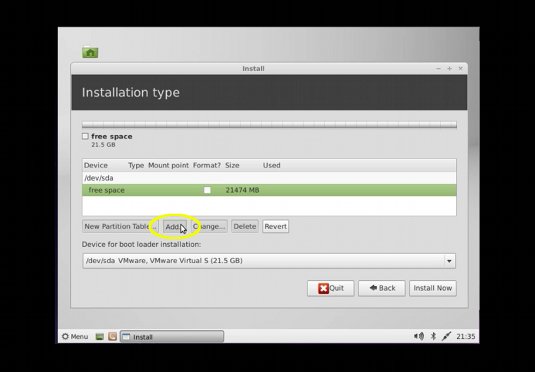

Assign the Rest of Disk for a Root Partition.
Give it At Least 20Gb of Size because it’s SetUp as an Expanding Disk.

-
Start Installation

-
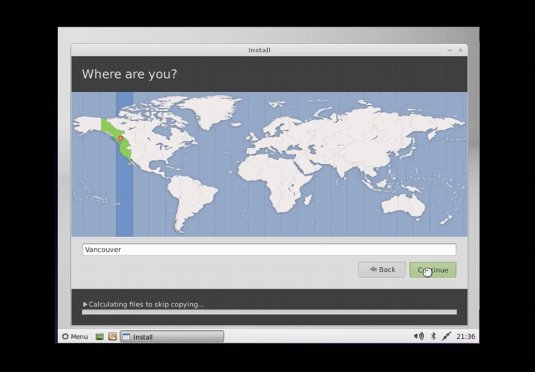
Set Location
-
Set Keyboard Layout

-
Set the Main Account

-
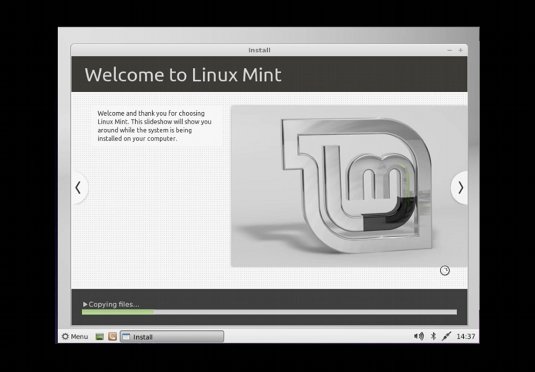
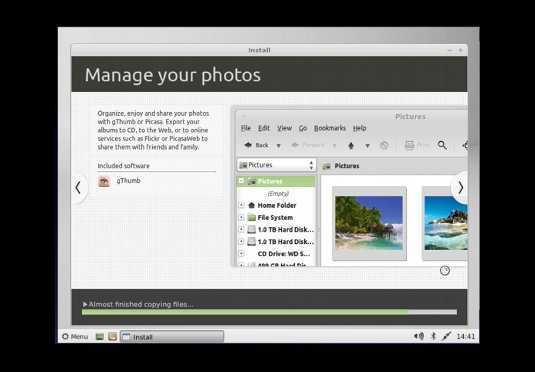
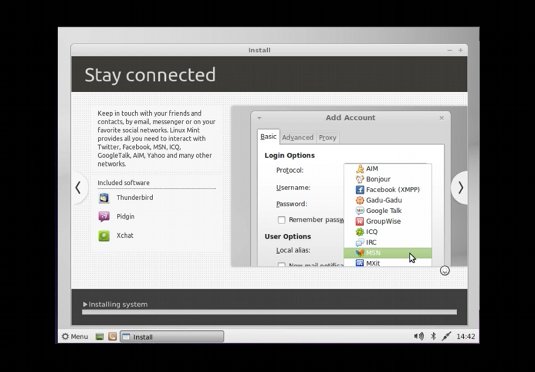
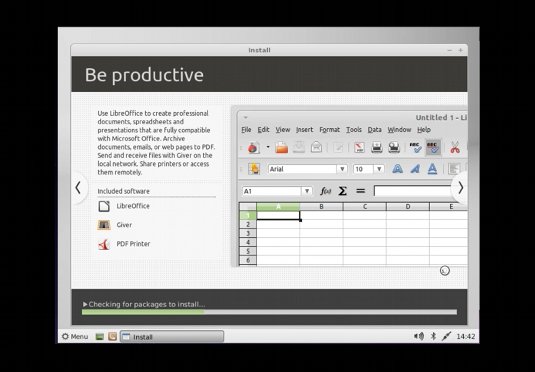
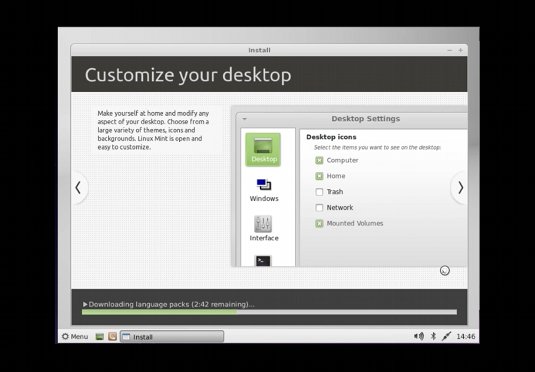
Installing…

-
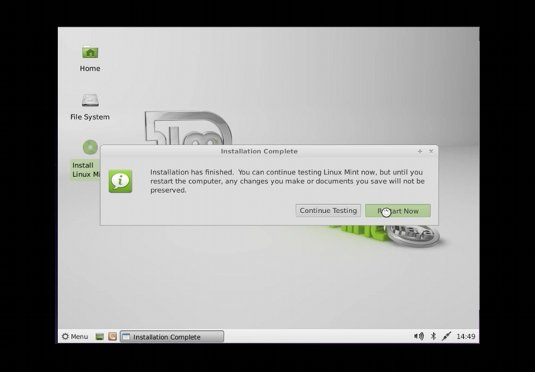
Reboot your New System :)
-
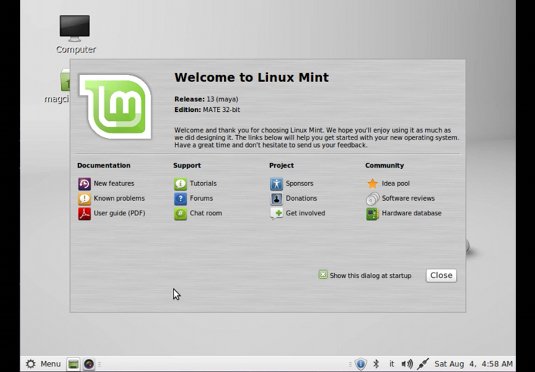
The Linux Mint 13 Mate Desktop
-
Install the VMware-Tools for Linux Mint 13 Mate:
VMWare Tools Installation Guide
