How to Install VMware-Tools CrunchBang Linux
Hi! The Tutorial shows you Step-by-Step How to Install VMware Tools on Linux CrunchBang 11 OpenBox Desktop.
Just Take the Time of Carefully Looking, Reading and Following the Detailed Instructions and Commands Contained in this Guide.
You need to know that the VMWare Tools Installed and Working will Grant you a More Pleasant Journey with Linux CrunchBang OpenBox on VMware…
With the VMware Tools Installed you will Dispose Also of Shared Folders to Easy Exchange Files with the Host System!
You Find Detailed VMWare-Tools Installation Troubleshooting Link 2 the Article Bottom.

- Start the Process of Downloading and Mounting the VMware Tools CD with:
-
On VMware Fusion
Virtual Machine >> Install VMware Tools.
-
On VMware Workstation
VM >> Install VMware Tools.
May be you will need to Wait Until VMware has Provided to Downloading and Mounting the VMware Tools CD.
If after Download the Window with the VMware Tools Do Not Appear you will Need to Manually Disconnect the CD/DVD in:
Virtual Machines >> CD/DVD(IDE) >> Disconnect CD/DVD
/nand after Re-Starting the VMware Tools Installation… -
-
Open File-Manager:
Right-Click on Desktop > File Manager.
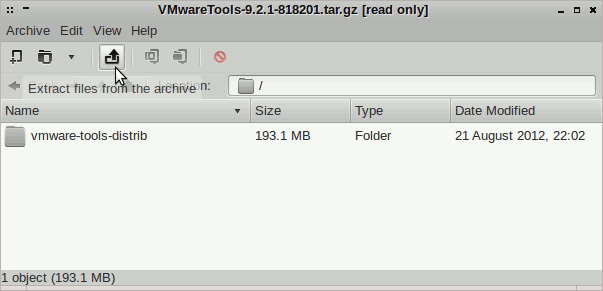
- Double-Click on the VMware-Tools Archive Extract Into /tmp
-
Open a Terminal Window
(Press “Enter” to Execute Commands):Right-Click on Desktop > Terminal.
-
Installing the Required gcc & Kernel-Headers:
After you follow to Find and Install needed Kernel’s Headers.
Find Headers:sudo su -c "apt-get install gcc linux-headers-$(uname -r)"
In Case you Cannot Find/Install the Kernel Headers Look:
CrunchBang Cannot Install HeadersBefore starting to install check than kernel’s headers are in the right location:
ls /usr/src/linux-headers-$(uname -r)
This should give you an input like this below:
arch include Makefile Module.symvers scripts
Now your system should be Ready for VMware Tools installation.
-
To Get Enabled the Shared Folders Apply Patch:
- VMWare Tools Installation:
cd /tmp/vmware*
sudo su -c "./vmware-install.pl"
Follow to Accept All the Default Proposed Settings…
Possibly Answer “Yes” to Enable Load New Kernel Modules at Boot.
This is the Sign of Success!.

-
Assure that Linux will Load VMware Tools at Boot
-
Now to Enable VMware Tools without Logout
vmware-user-suid-wrapper
VMware-Tools Installation Guides for Other Linux Distros:
