Install Oracle JDK 7 on macOS 10.9 Mavericks
The Guide shows you in Easy-Steps How to Install and Getting-Started with the Oracle-Sun Official Java SE JDK 7 for macOS Mavericks 10.9 Desktop.
To the Tutorial Bottom there is a Link for Quick Start with Java JDK 7 Development with Eclipse 2023-12 R IDE on macOS.
The Oracle Java Development Kit for Mac is Auto-Renovating and so Every New Update will be Automatically Installed!
To Make the Entire Easy to Understand and Visualize the Oracle JDK 7 Installation Mac 10.9 Mavericks OS X Includes the Basic Screenshots of All GUI Steps involved.

-
Download Oracle-Sun Java SE JDK 7 for macOS
-
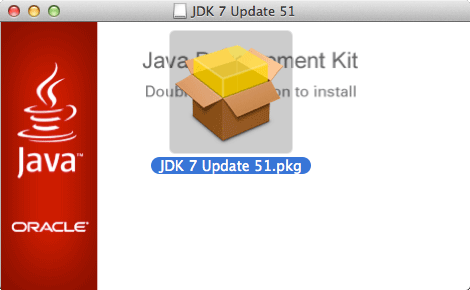
Double-Click on Oracle JDK 7 .dmg to Mount.
-
Double-Click on Oracle JDK 7 Package.
-
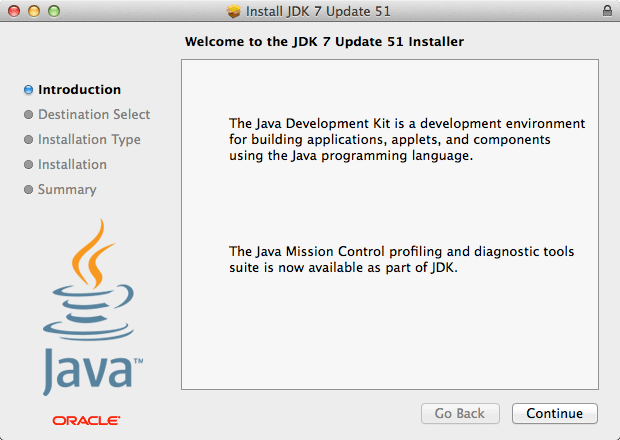
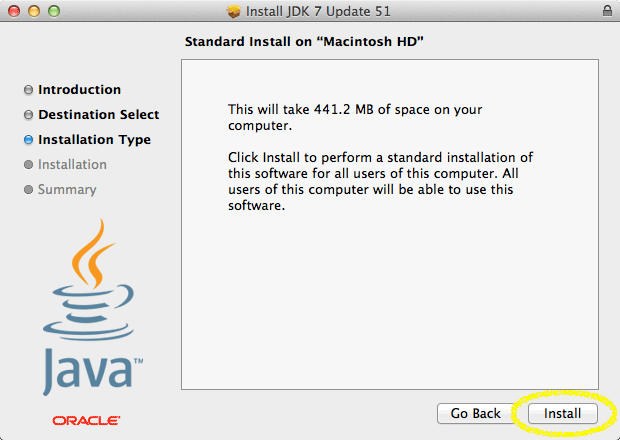
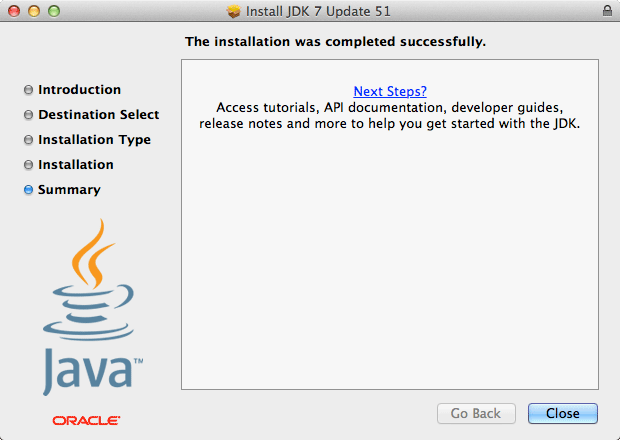
Follow Installation WorkFlow.
-
Open Terminal Window
(Press “Enter” to Execute Commands)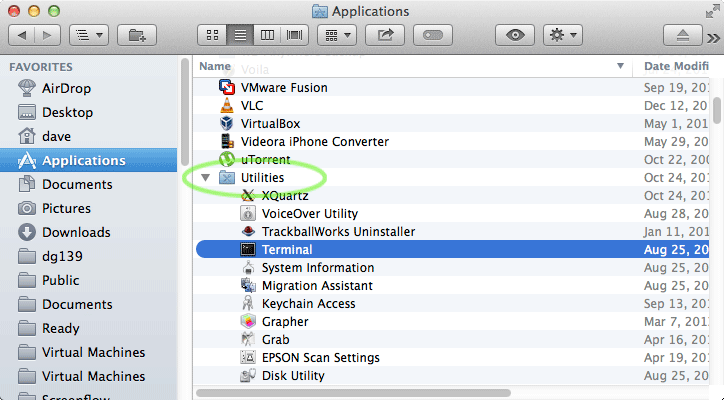
In case first see: Terminal QuickStart Guide.
-
Verify New Oracle JDK 7 Installation.
java -version
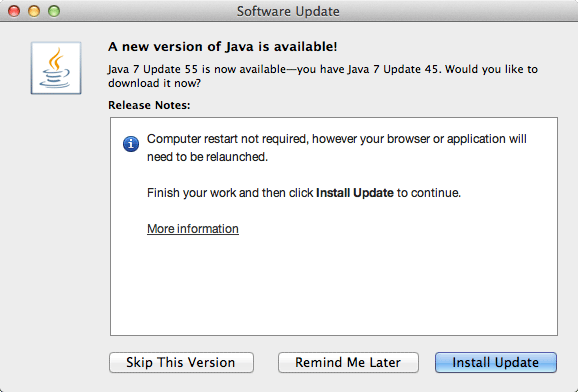
The JDK Installation will be Automatically Updated.
-
How to Getting-Started with Java Development on macOS
Getting-Started with Apache Ant on macOS
