Install openSUSE 13.X KDE on VMware Workstation 10
The Tutorial shows you Visually and Step-by-Step How to Install openSUSE 13.X Live KDE 32-bit Desktop on VMware Workstation 10.
OpenSUSE 13.X KDE Come with Multiples New Features:
- KDE 4.11 with Improved Search and Android Integration
- Stability: Evergreen Release
- Networked: OpenStack Havana with almost 400 new features
- Evolved: delivers GCC 4.8 with new error reporting abilities
- Polished: new font engine in Freetype 2.5
- Faster
- Feature-full: Android devices integration in the KDE file manager
- Innovative Experimental Technologies: as Wayland support as Ultra high-resolution
To the openSUSE 13.X KDE Installation Guide Bottom Link to VMware Tools Installation for openSUSE 13.X Desktops.
-
Download openSUSE 13.X Live KDE Desktop i586
-
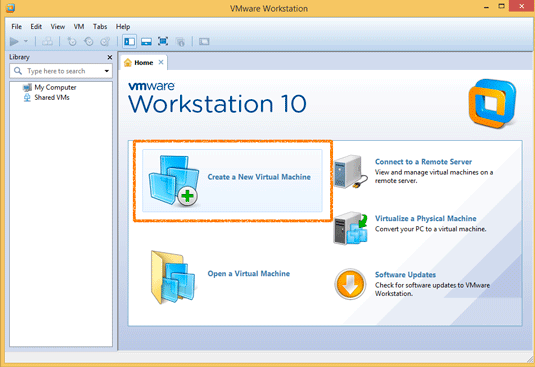
Create a New Virtual Machine.
-
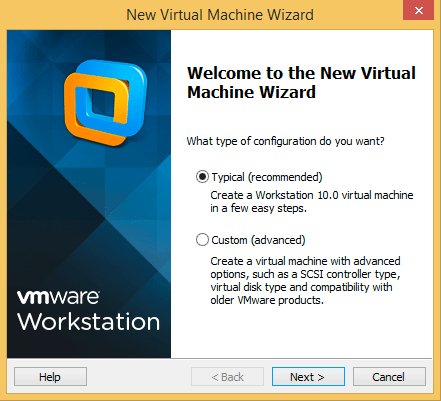
Choose the VM Typical SetUp.
-
Select openSUSE 13.X KDE ISO Image.

-
Then Set Guest OS Type to openSUSE.

-
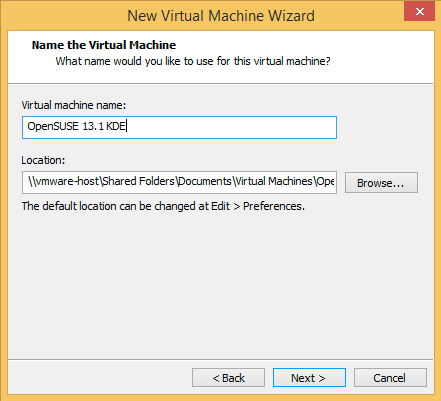
Naming as openSUSE 13.X KDE.
-
SetUp Disk as Undivided of at Least 64Gb.

Take Note: The Disk is Auto-Growing and 64Gb will be Just the Biggest Size!
-
Then Click on Customize Hardware.

-
Set Up VM RAM Size.

1.5-2Gb Recommended.
-
Finish VM SetUp.

-
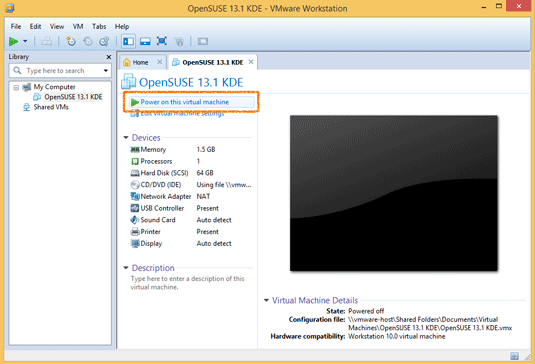
Boot the openSUSE 13.X Virtual Machine.
-
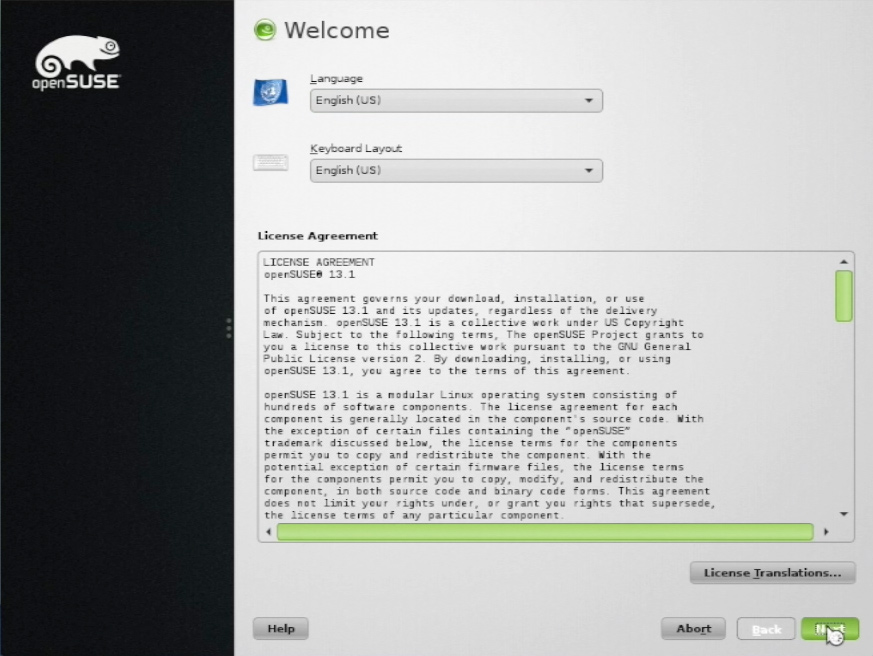
Set Language and Keyboard Layout.
-
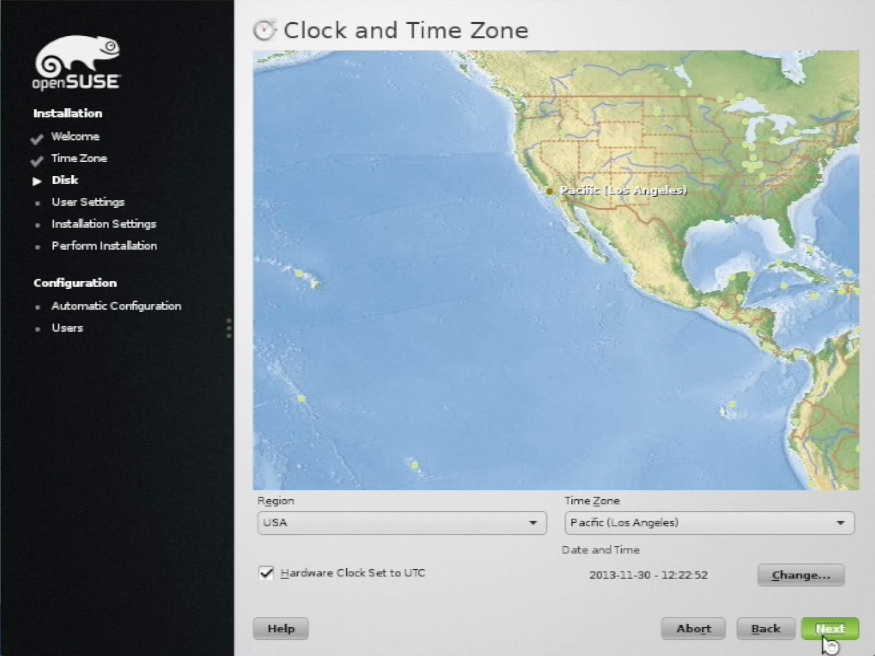
Set Up Country and Time Zone.
-
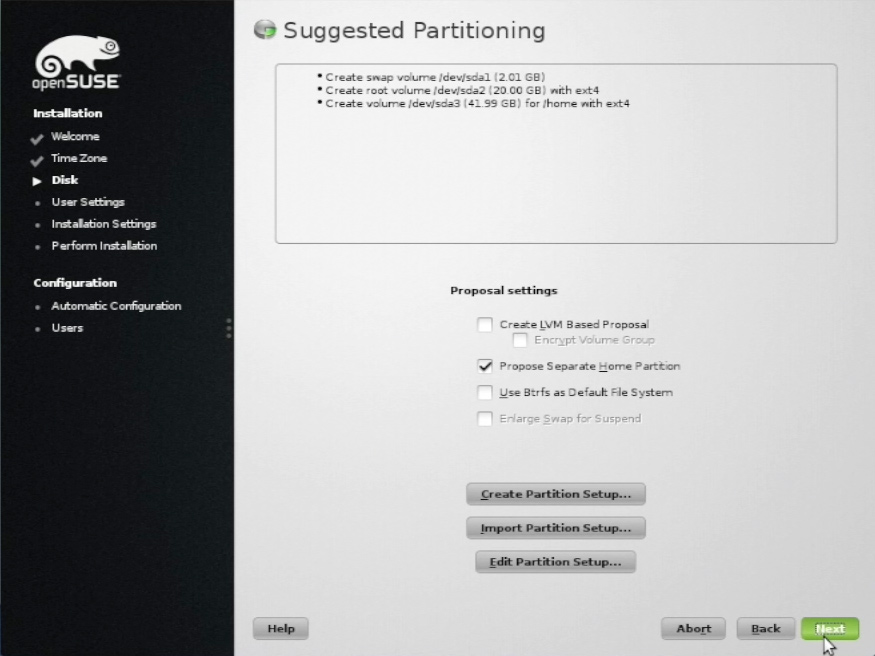
Partitioning.
The Proposed Set Up Should be Just Fine but if you Prefer then Make a Custom One :)
-
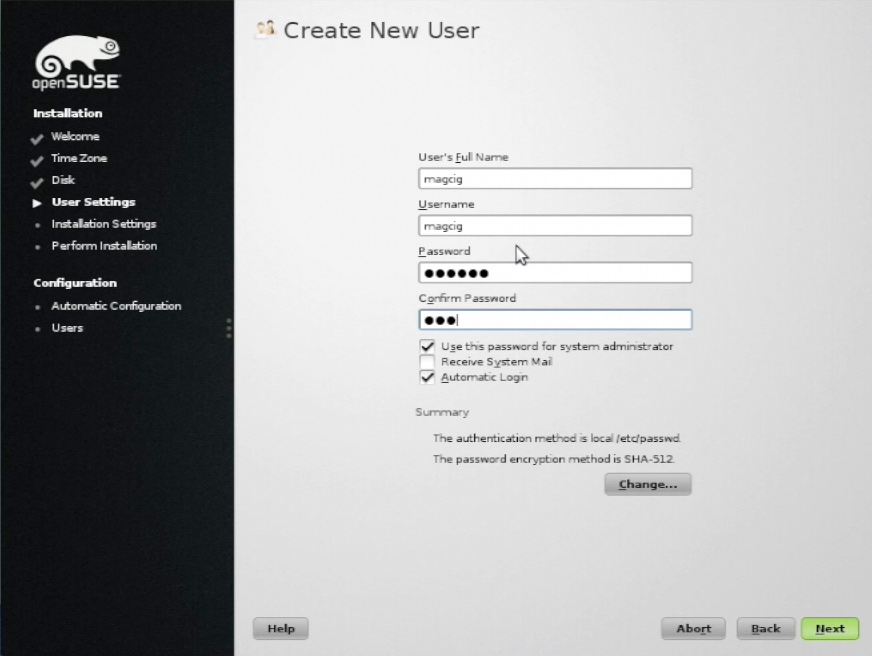
Creating User.
-
Then Proceed to Installation and Auto-Configuration.
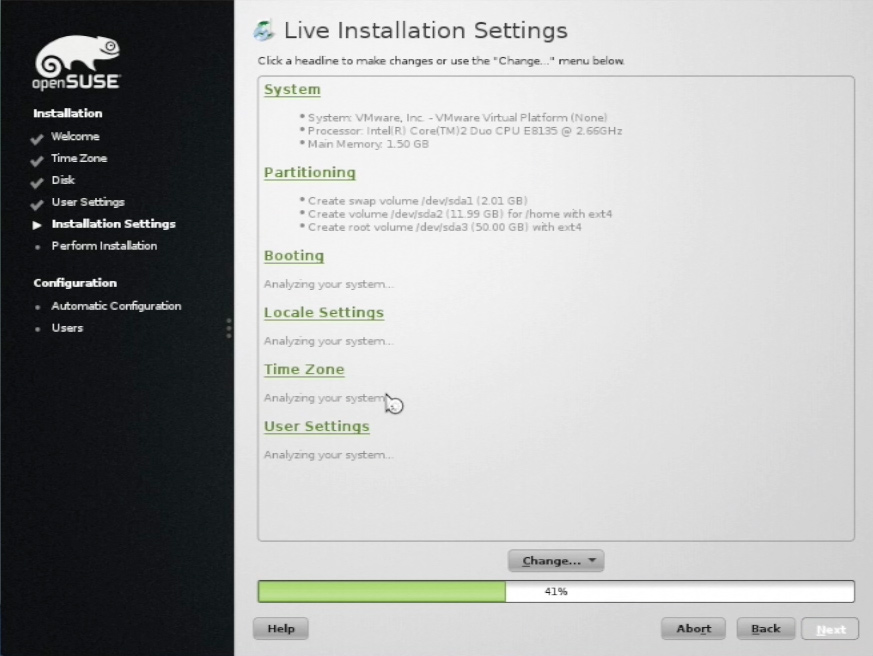
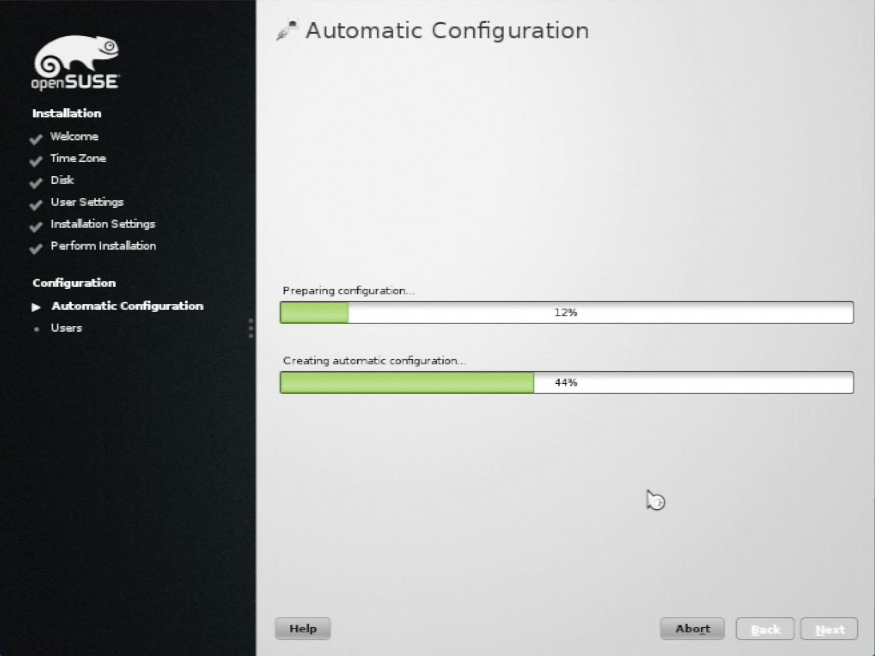
-
Re-Boot Into the openSUSE 13.X KDE Desktop!.
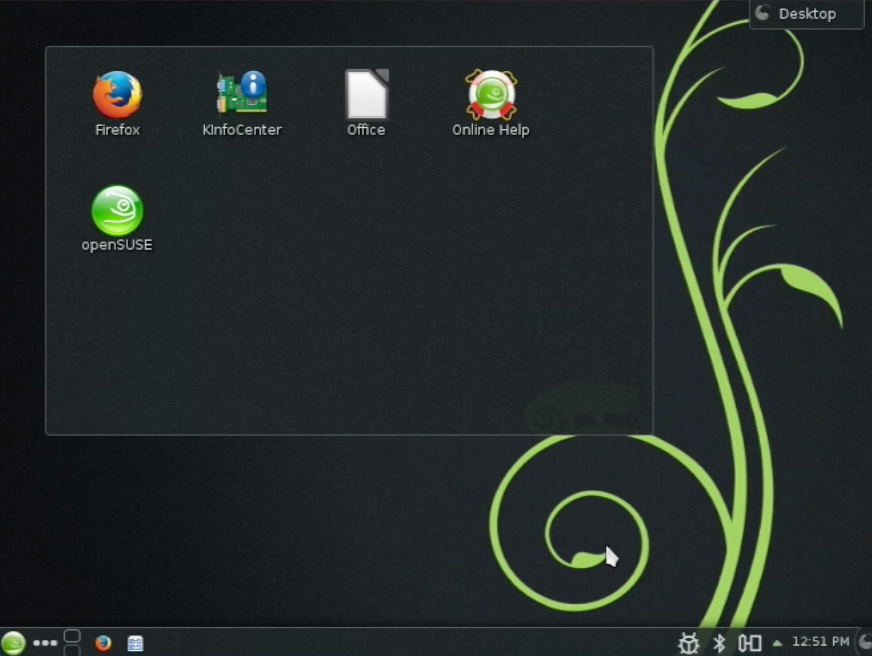
-
How to Install VMware Tools for openSUSE 13.1
VMware Tools Installation Guide


