Install RHEL 7 GNOME Desktop on VMware Fusion 6
Hi! The Tutorial shows you Step-by-Step How to Install Red Hat Enterprise 7 Desktop GNOME 3 64-bit on VMware Fusion 6.
The RHEL 7 desktop feature the GNOME 3 user experience, which will be new to RHEL users.
Red Hat 7 has a hub and spoke model. So instead of 14 screens, there are now three main hubs and you will no longer need to do a lot of configuration to get up and running.
Additionally, the memory footprint for installation has been reduced such that 512 MB is the minimum space needed, making smaller guests supportable.

-
Download the Public Red Hat 7 Desktop DVD
-
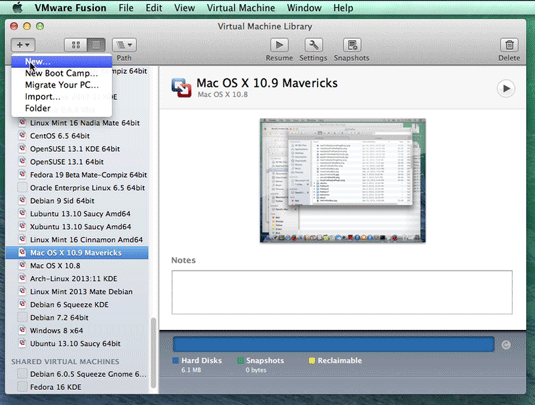
Create a New Virtual Machine.
-
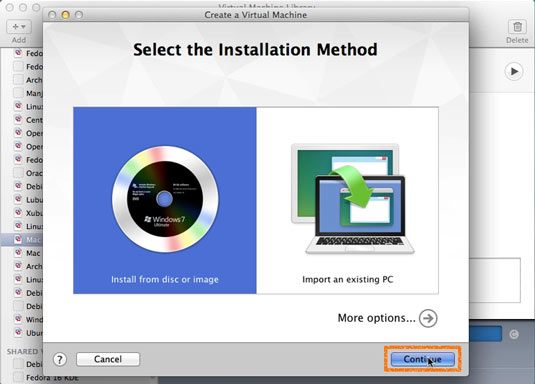
Select RHEL 7 dvd ISO Image.
-
Then Set OS Type to Red Hat Enterprise 6.
-
Naming as RHEL 7 GNOME.

-
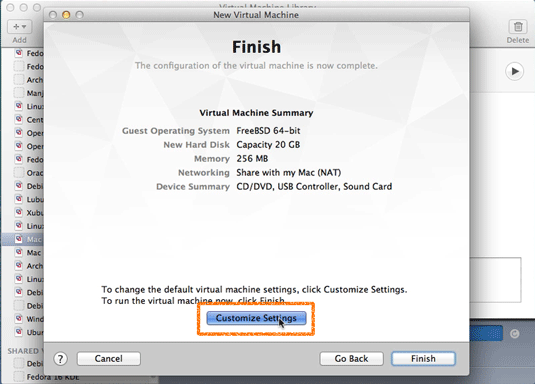
Click on Customize Settings.
-
Set Disk Bus Type as IDE.

-
Then Boot Up the RHEL 7 Desktop.

-
Select the Language.

-
Set the Destination Installation Disk.

Select the Disk

-
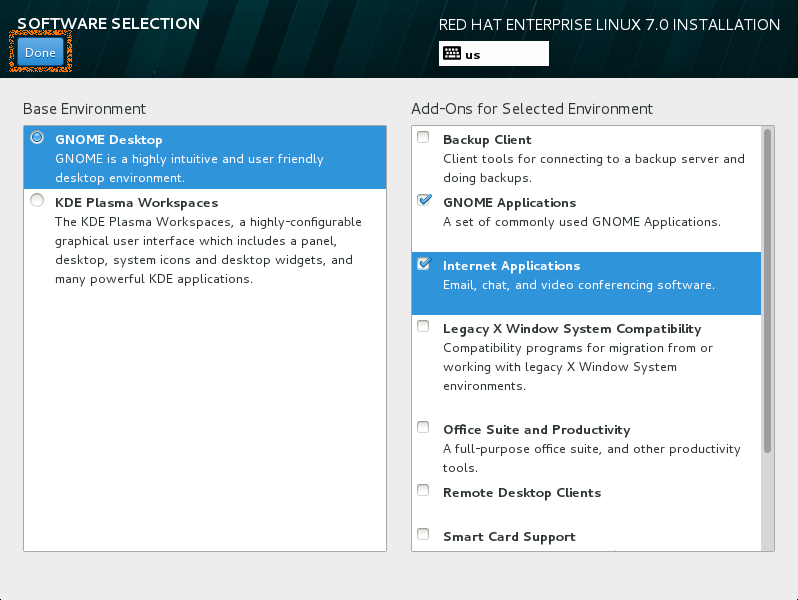
Then Possibly Customize the GNOME Desktop.
-
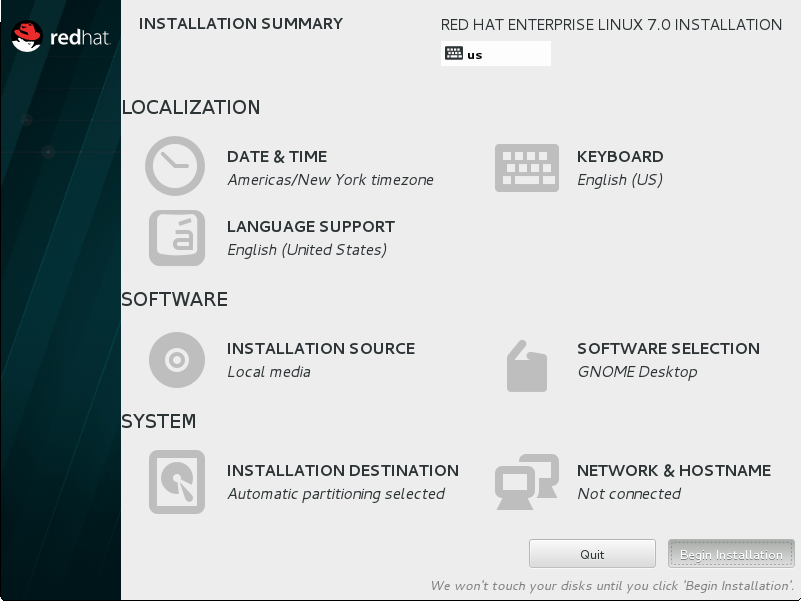
Start Installation.
-
Creating User.


-
Set the Root User Password.


-
Achieve Installation and Reboot.


-
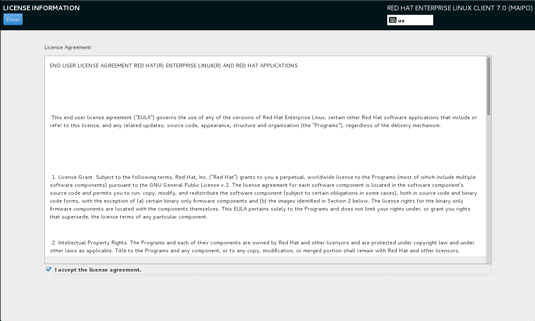
Accept the License.

-
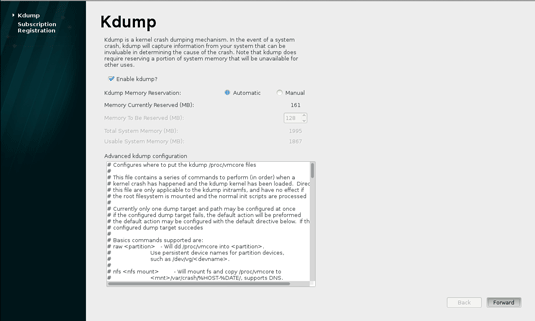
Choose if Enabling Kdump.
-
Possibly Enter your Subscription Details.

-
Set the Language.

-
Set Keyboard Layout.

-
Last Possibly Enable a Cloud Upload.

-
How to Install VMware Tools for Red Hat Linux 7.
Initial Setup
Desktop Setup
Enjoy your Shining New Red Hat Linux 7 GNOME 3 Experience :)
