How to Install GlassFish 4 for Mac OS X 10.10 Yosemite Easy Guide

October 30, 2014 | By Zen BSD.

Getting-Started Glassfish 4 with on macOS 10.10 Yosemite

Hi! The Tutorial shows you Step-by-Step How to Install Glassfish 4 Server and Quick Start with Java EE 7 on macOS 10.10 Yosemite.

The Oracle Glassfish 4 Setup on macOS Require an Oracle JDK 8+ Installation (Best with a JDK 8.).

GlassFish App Server Benefits:

  • Java EE reference implementation: Glassfish is the Java EE reference implementation.
  • Supports the latest versions of the Java EE specification: Glassfish is the only Java EE application server in the market that supports the complete Java EE 7 specification.
  • Mac OS X 10.10 Yosemite GlassFish Quick Start - Featured
    1. Open a Command Line Terminal Window
      (Press “Enter” to Execute Commands)

      Getting-Started with Glassfish 4 on macOS 10.10 Yosemite - Open Terminal

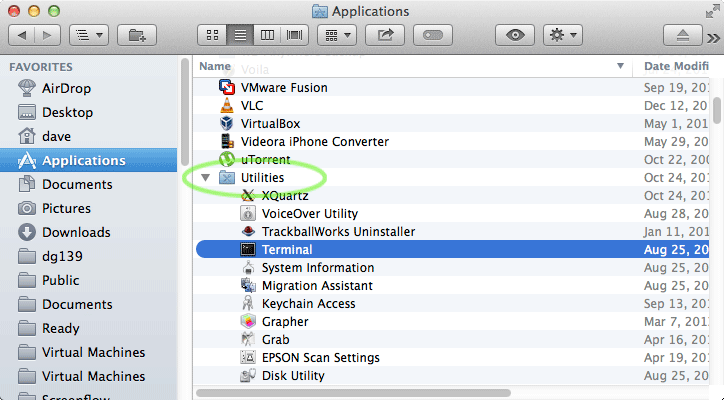
      In case first see: Terminal QuickStart Guide.

    2. Download Glassfish 4 JEE 7 App Server for macOS

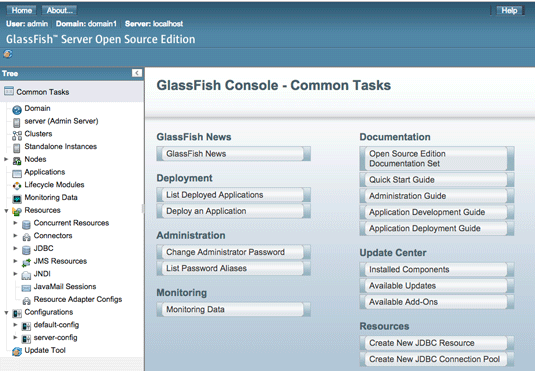
      GlassFish 4+ Application Server

    Get the “Web Profile” or the “Full” Bundle.

  • To Extract Double-Click on Zip Archive
    Or from Command Line:

    cd $HOME/Downloads
    unzip glassfish*.zip
  • Relocating Glassfish 4 App Server.

    System Wide Installation:

    sudo chown -R root:admin glassfish4
    sudo mv glassfish4 /opt/

    Local Installation:

    mv glassfish4 $HOME

    Modify Correspondently also the Server Start/Stop Command…

  • How to Install Required Oracle JDK 8+ on MacOS X

    Install Oracle JDK 8+ for Mac
  • Starting Glassfish 4 Default Domain

    sudo /opt/glassfish4/bin/asadmin start-domain
  • Access GlassFish 4 Admin Console on Browser

    http://localhost:4848

    Mac OS X 10.10 Yosemite Glassfish 4 Server Administration - Console UI

  • Stopping Glassfish 4 Default Domain

    sudo /opt/glassfish4/bin/asadmin stop-domain

  • QuickChic Theme • Powered by WordPress