Install JBoss Forge Ubuntu 15.10 Wily
Hi! The Tutorial shows you Step-by-Step How to Install JBoss Forge on Command Line for Ubuntu 15.10 Wily Werewolf GNU/Linux.
And JBoss Forge for Ubuntu 15.10 is the Fastest way to build Maven-Based Java EE projects.

-
Open a Shell Terminal emulator window
Ctrl+Alt+t on Desktop
(Press “Enter” to Execute Commands)
-
Download the Latest JBoss Forge Release
-
Extract JBoss Forge into /tmp
Double-Click on JBoss Forge archive.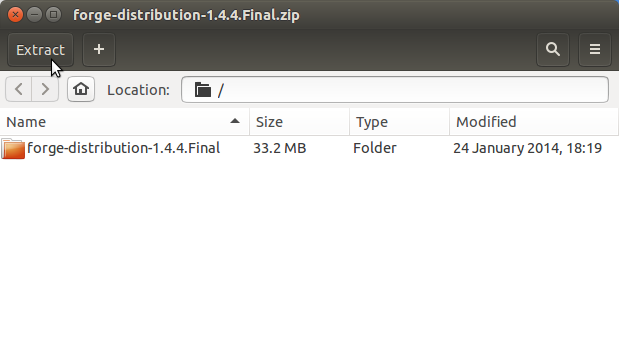
Or from Command Line:unzip -d /tmp/ ~/Downloads/forge-distribution*.zip
-
Relocate JBoss Forge.
sudo su -c "rm /tmp/forge-distribution*.zip"
sudo su -c "mv /tmp/forge-distribution* /opt/forge-distribution"
If Got “User is Not in Sudoers file” then see: How to Enable sudo
-
Set Up FORGE_HOME Env Var and PATH
Edit your .bashrc file:nano $HOME/.bashrc
Append:
export FORGE_HOME=/opt/forge-distribution//nexport PATH=$PATH:$FORGE_HOME/bin
Ctrl+x to Save & Exit from nano editor :)
Then to Load the new Environment:bash
-
How to Install Required Oracle Java JDK on Ubuntu
-
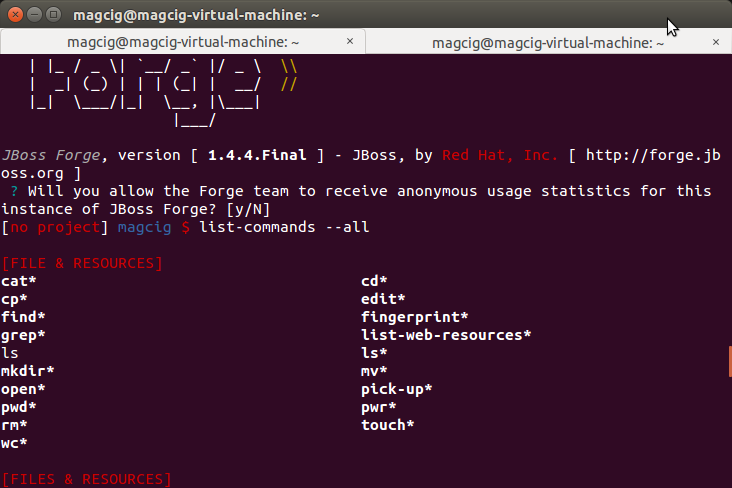
Testing JBoss Forge Installation.
forge
To List all forge Commands:
list-commands --all
-
JBoss Tools Getting-Started Documentation
