VMware Tools Ubuntu 16.04 Installation
Hi! The Tutorial shows you Step-by-Step How to Install VMware Tools on Ubuntu 16.04 Xenial Xerus LTS Unity GNU/Linux Desktop.
Mostly relevant: as of Sept 2015, VMware recommends using the distribution-specific open-vm-tools instead of the VMware Tools package for guest machines.
First, you need to know how the VMWare Tools Installed and Working will Grant you a More Pleasant Journey riding Ubuntu on VMware.
Moreover, with the VMWare Tools Installed you will Dispose Also of Shared Folders to Easy Exchange Files with the Host System!
Finally, the VMware Tools enable also the Easy Drag Display Resizing on Fly.
-
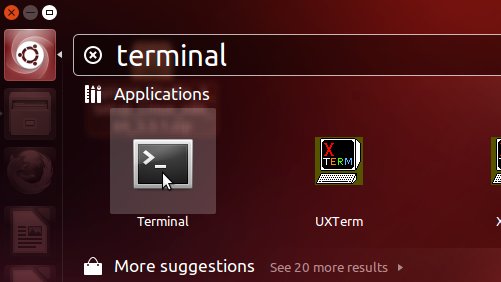
First, Open a Terminal Shell emulator window
Ctrl+Alt+t on Desktop
(Press “Enter” to Execute Commands)
-
Then to Install the VMware Tools.
sudo apt-get install open-vm-tools open-vm-tools-desktop
If Got “User is Not in Sudoers file” then see: How to Enable sudo
-
Assure that Linux will Load VMware Tools at Boot:
VMware Tools Loaded on Boot
-
Finally, to Enable VMware Tools without Logout
vmware-user-suid-wrapper
Drag & Resize the Window to Check that the Tools are Working.
Then the Desktop should automatically Fit the window’s Size.
Assure that Linux will Load VMware Tools at Boot:
VMware Tools Loaded on Boot
Get Installed DropBox for Easy File Sharing VMs OS
SetUp DropBox on Ubuntu.
VMware-Tools Installation Guides for Other Linux Distros:
How to Install VMware Tools on Linux Distros


