Aptana Studio 3 Quick Start for Ubuntu 16.04 Xenial Linux
Hi! The Tutorial shows you Step-by-Step How to Install and Getting-Started with the Aptana Studio 3 IDE Standalone for Ubuntu 16.04 Xenial Xerus LTS i386/Amd64 GNU/Linux Desktop.
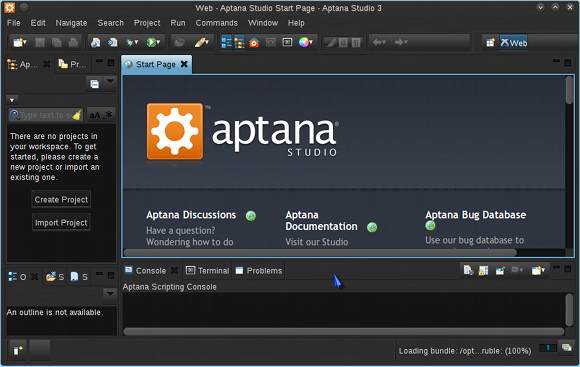
Build web applications quickly and easily using the world’s most powerful open-source web development IDE. Aptana Studio harnesses the flexibility of Eclipse and focuses it into a powerful web development engine.
Aptana Studio 3 expands on the core capabilities of Aptana Studio 2 for building, editing, previewing and debugging HTML, CSS and JavaScript websites with PHP and Ruby on Rails web development.
To Make the whole Process Easier to Reproduce the How to Install Aptana Studio 3 Ubuntu 16.04 Xenial Includes the Basic Screenshots of All GUI Steps involved.
The Tutorial is Practical and Contains Just the Essentials Installation Instructions and Commands.

-
Download Standalone Aptana Studio 3 for Linux
-
Extract Archive into /tmp
Possibly Double-Click on it in the File Manager:
-
Open a Terminal Shell emulator window
Ctrl+Alt+t on desktop
(Press “Enter” to Execute Commands)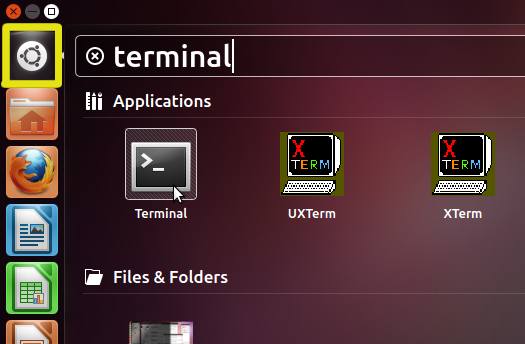
In case first see: Terminal QuickStart Guide.
-
Relocate Aptana-Studio3.
-
System Wide Installation
Login as SuperUser:sudo su
If Got “User is Not in Sudoers file” then see: How to Enable sudo
Set the SuperUser as owner:sudo chown -R root:root /tmp/Aptana_Studio*
Relocate Aptana Studio folder:
mv /tmp/Aptana_Studio_3 /opt
Make a Symlink:
ln -s /opt/Aptana_Studio_3/AptanaStudio3 /usr/local/bin/aptanaS3
Exit from the SuperUser session:
exit
-
For a Local Installation instead:
mv /tmp/Aptana_Studio_3 ~
-
-
How to Install Required Oracle-Sun JDK on Ubuntu
-
Starting Aptana-Studio3 from Terminal.
-
System-Wide Setup:
aptanaS3
-
Local Installation:
~/Aptana_Studio_3/AptanaStudio3
-
-
Create an Aptana-Studio3 Launcher for Easy&Quick Starting.