FreeBSD 11 Quick Start on VMware Workstation
Hi! The Tutorial shows you Step-by-Step How to Install Unix FreeBSD 11.x i386/amd64 on VMware Workstation 10/11/12 for Microsoft Windows Computers.
Some FreeBSD 11 New Features:
- Updated OpenSSH
- Extended Wireless Support
- Support for AArch64/arm64
- Updates on: svnlite, libblacklist and bhyve Hypervisor.
To the FreeBSD Installation Guide Bottom Linkt to VMware Tools Installation that is Necessary for FreeBSD 11 Desktops Mouse Integration on VMware Virtual Machine.
Just Take the Time of Carefully Looking, Reading and Following the Detailed Instructions and Commands Contained in this Guide.
-
Download FreeBSD 11 ISO i386/amd64 Release.
-
How to Create a VMware Workstation FreeBSD VM
Create Workstation VM from ISO
-
Boot the FreeBSD 11 VM.
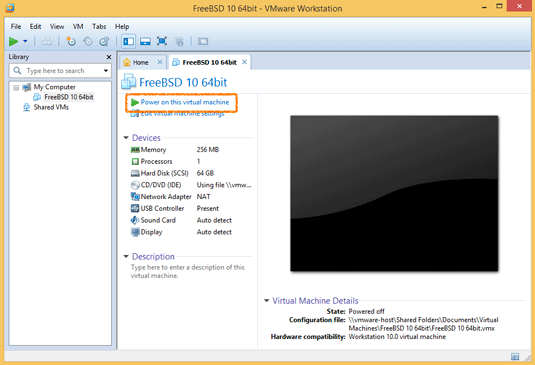
-
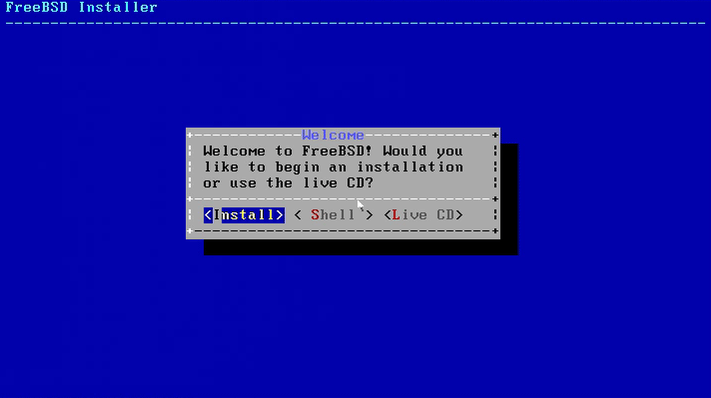
Enter to Start Installation
Use the Arrows, the Tab & Space Keys to Make/Switch Selections.
-
Set Up KeyMap
Use the Arrows to Change Selection.
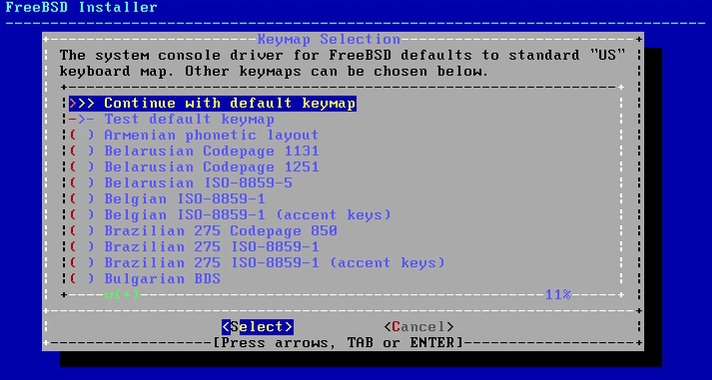
Then ‘Enter’ to Select.
-
Set HostName
‘localhost’ should be Fine.
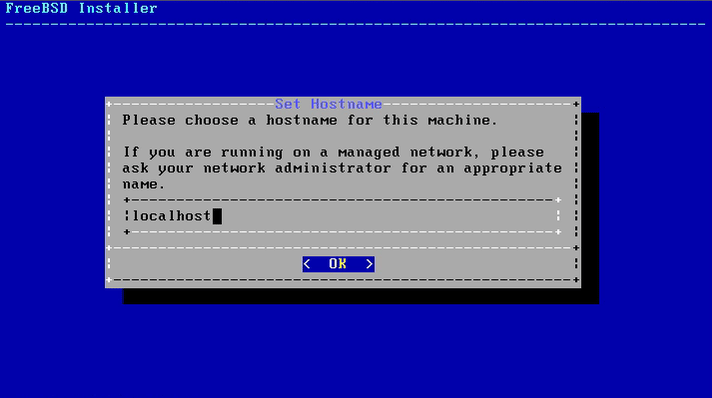
Again ‘Enter’ for OK.
-
Possibly Select Optional Components.
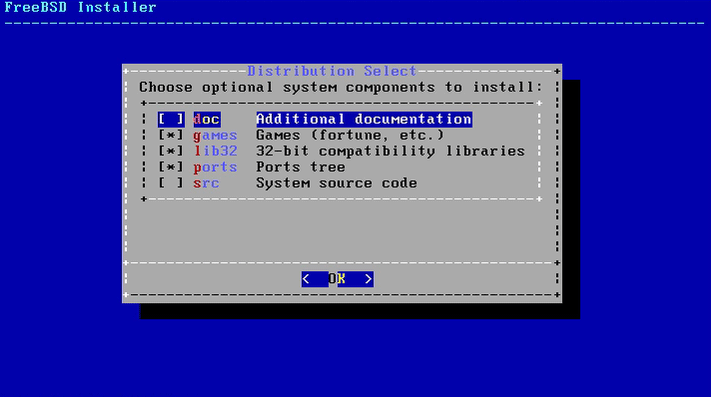
‘Enter’ for OK.
-
Start Partitioning.
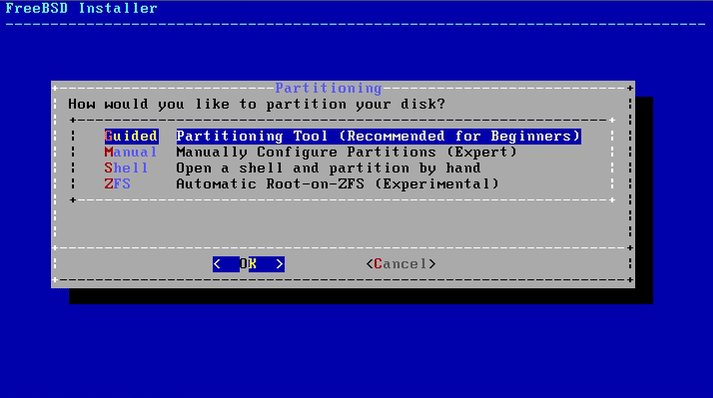
Just ‘Enter’ to Follow with Guided Partitioning.
-
Entire Disk Partitioning.
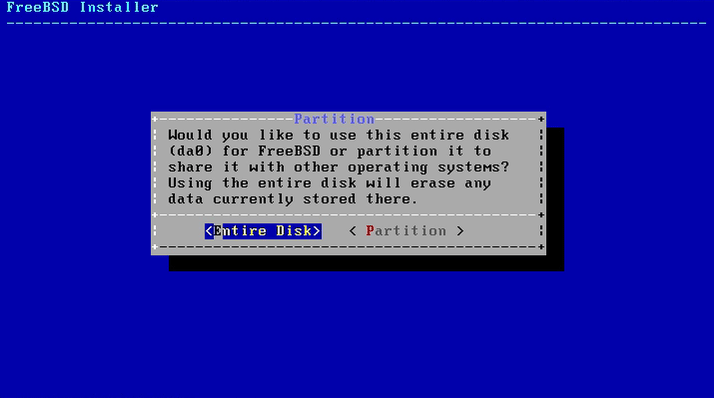
Press ‘Enter’ to Partitioning the Entire Disk.
-
MBR Partition.
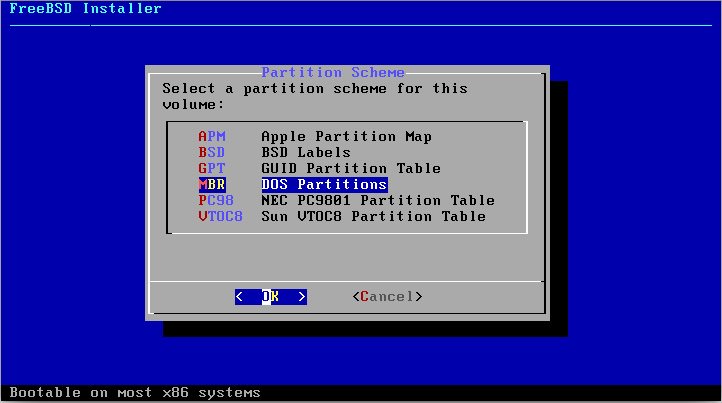
Press ‘Enter’ to Choose MBR DOS Partitions.
-
Finish Partitioning.
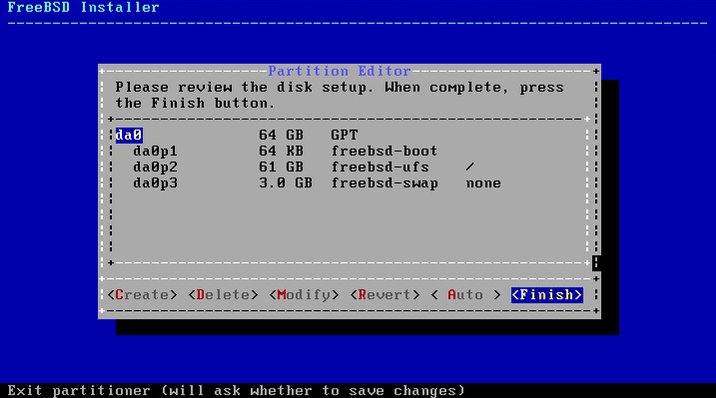
‘Enter’ to Finishing.
-
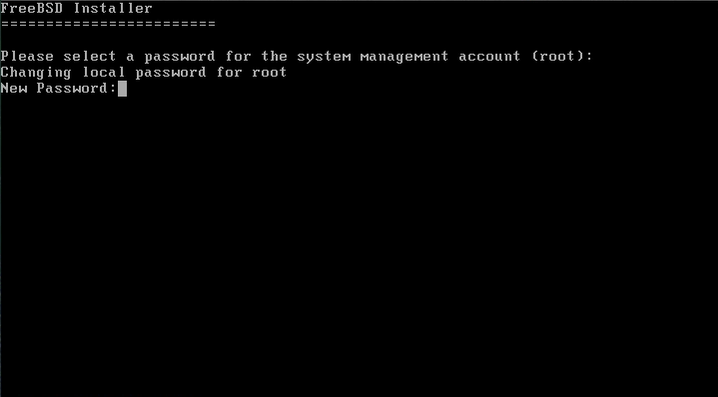
Set Up Root Pass
Take Note of the Root Pass!.
-
Start Network Config.
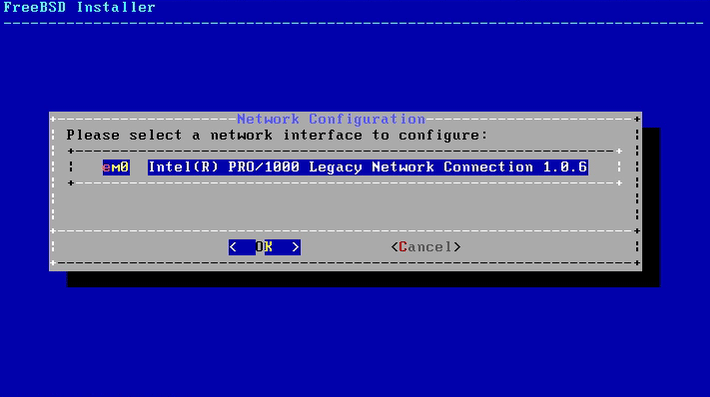
‘Enter’ to Starting Configuration.
-
Configure IPV4.
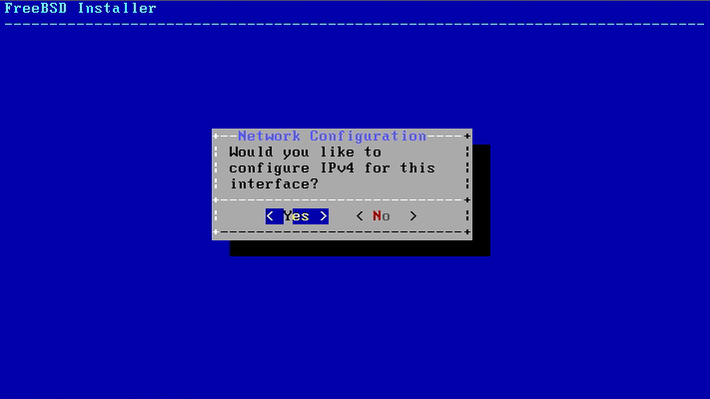
‘Enter’ to Confirm.
-
Configure DHCP.
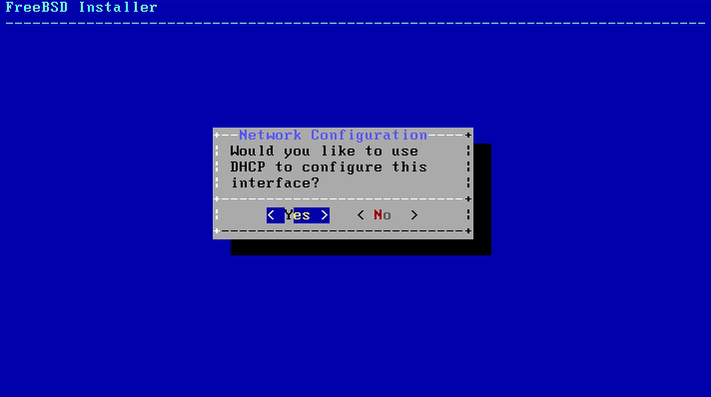
‘Enter’ to Confirm.
-
Configure IPV6.
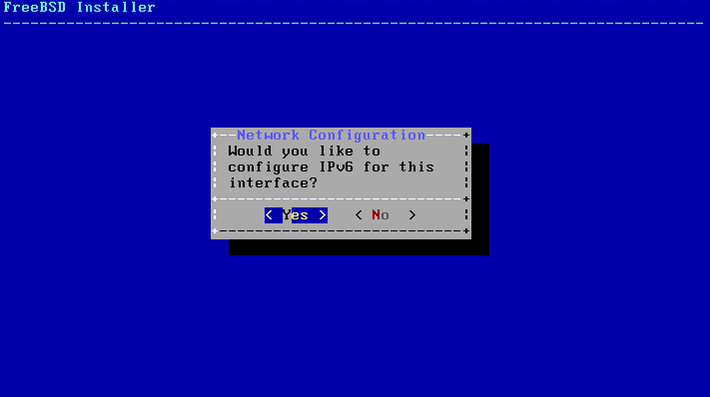
‘Enter’ to Confirm.
-
Configure SLAAC.
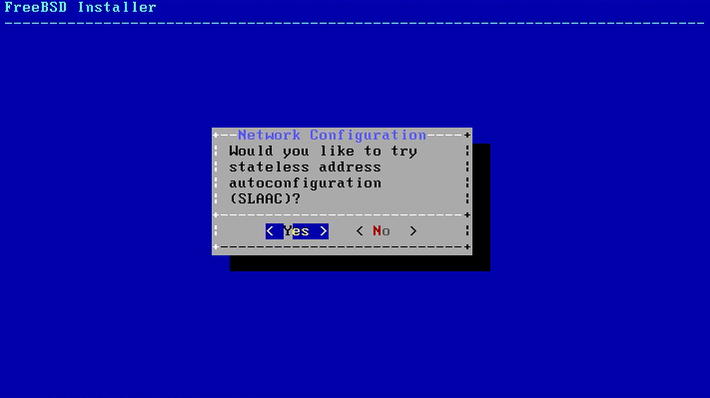
‘Enter’ to Confirm.
-
Setting Up Network Configuration.
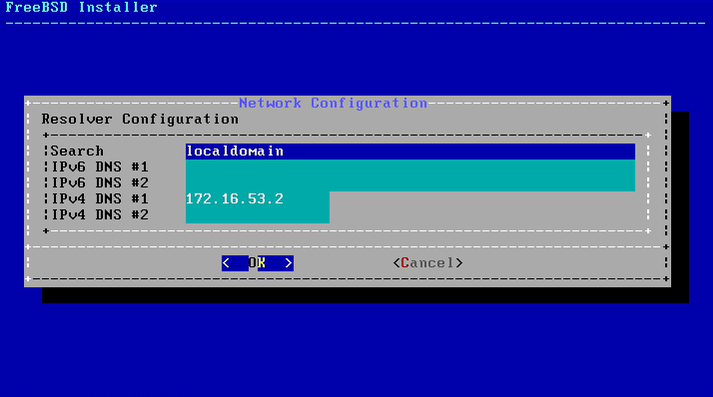
‘Enter’ to Confirm.
-
Set UTC Time Zone
Use thy Arrows to Choose your Continent.
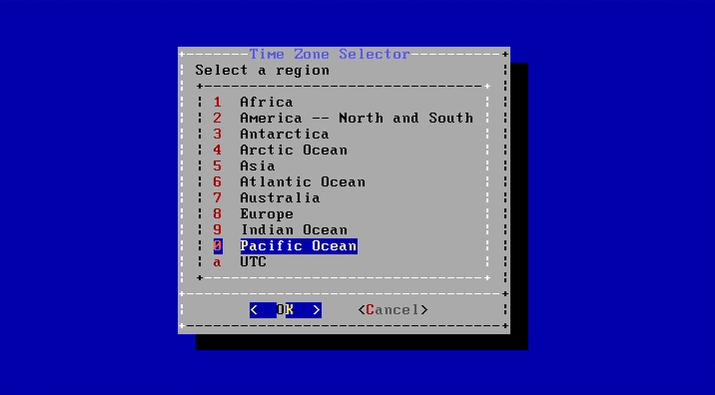
‘Enter’ to Confirm.
-
For US then Set also the UTC Time Country.
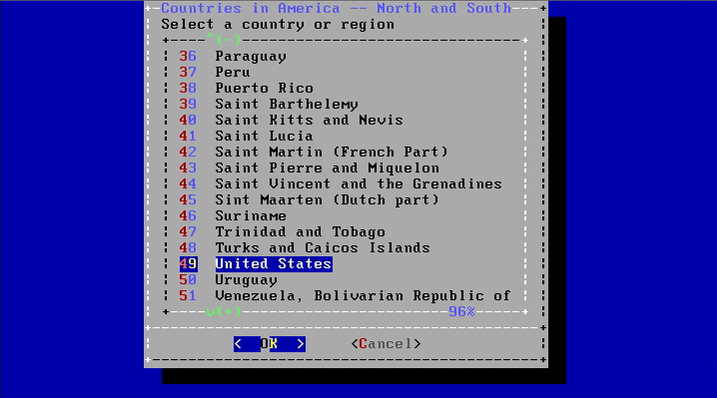
‘Enter’ to Confirm.
-
Then also the UTC Time Zone Country.
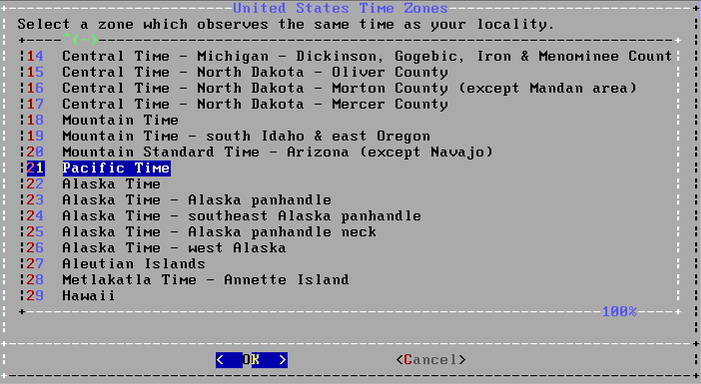
‘Enter’ to Confirm.
-
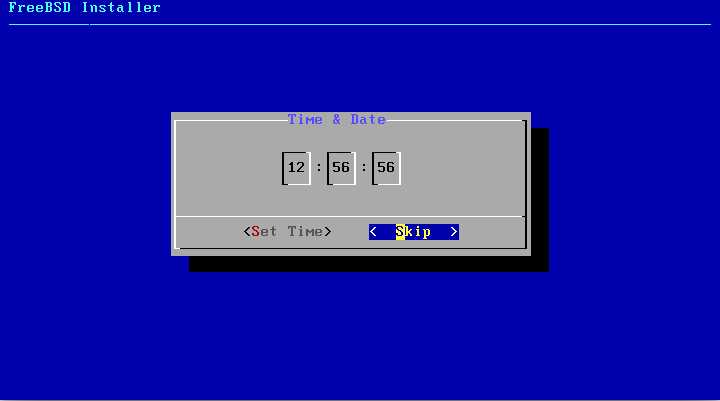
Set Date & Time
With Arrow Select First, ‘Set Date’ and Confirm with Enter.
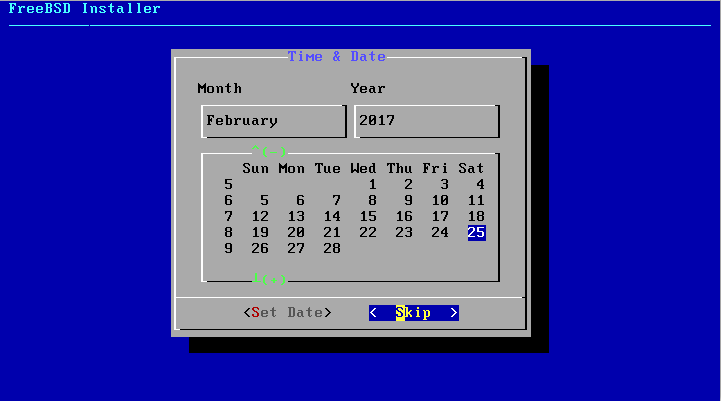
Then ‘Set Time’ and Confirm with Enter.
-
Set Boot Up Services
Space Bar to Make Selections.
Select Mouse to be Enabled on Shell and Synchronize Time.
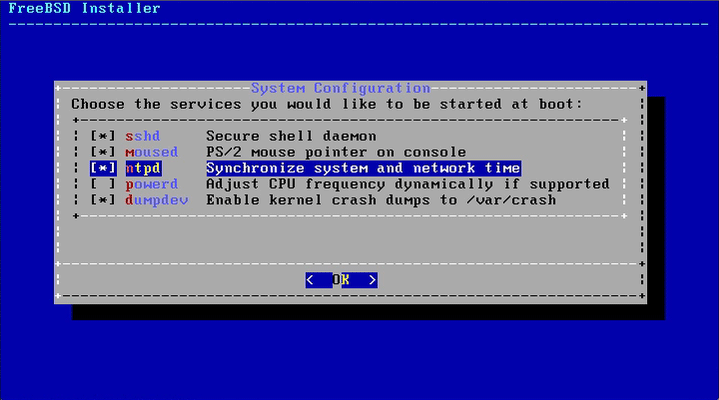
‘Enter’ to Confirm.
-
System Hardening
May be good to select at least Clean the /tmp on StartUp.
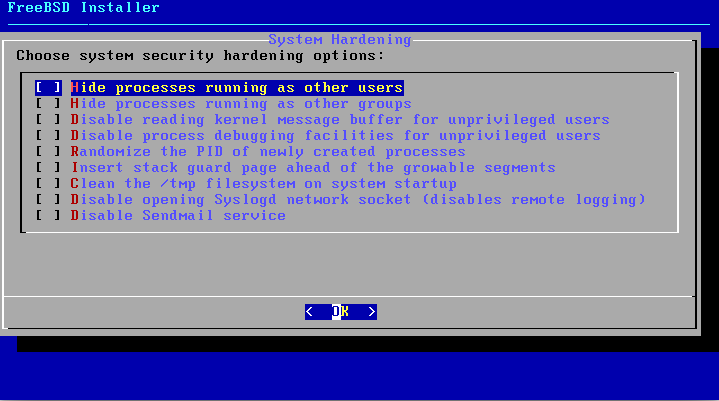
‘Enter’ to Confirm.
-
Adding Users.
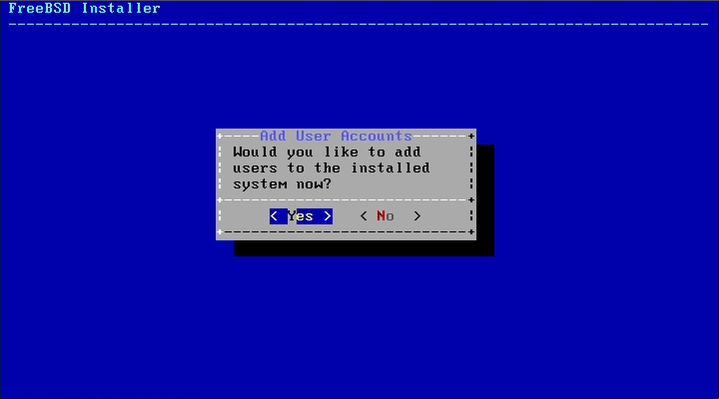
‘Enter’ to Confirm.
-
Setting Up New User
Possibly Take Note of the New User’s Pass.
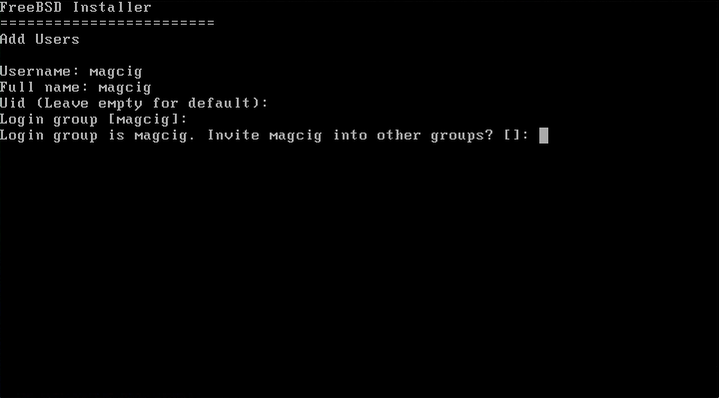
‘yes’ to Confirm for User Creation.
Then ‘no’ to Achieve the wizard.
-
Exit.
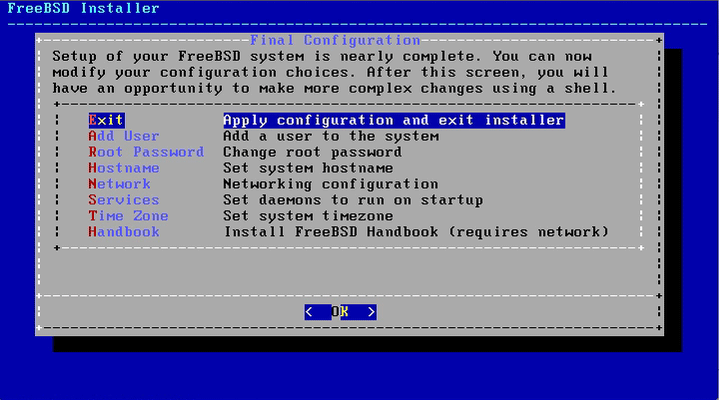
‘Enter’ to Confirm.
-
Possibly Open Shell for Packages and Desktop SetUp.
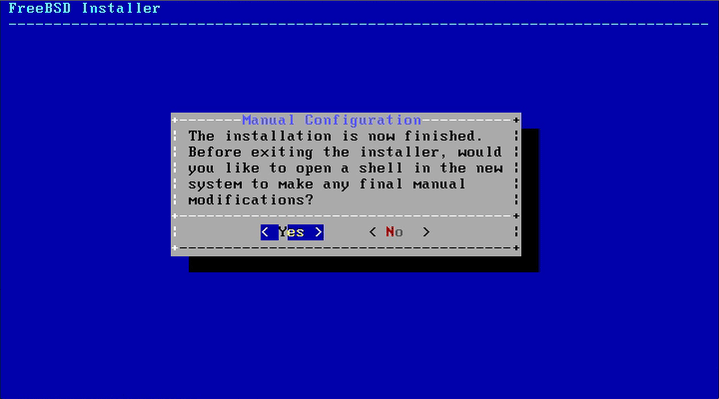
Getting-Started Installing Packages and Desktop on FreeBSD 11.
FreeBSD 11 Package Manager Initial SetUp
-
How to Install VMware Tools for FreeBSD 11.
VMware Tools Installation Guide


