Installing Canon InkJet Printers Driver for Ubuntu Budgie
Hello Ubuntu Budgie User! The Tutorial shows you Step-by-Step How to Install Canon InkJet Printers PIXMA Driver on Ubuntu Budgie GNU/Linux Desktop.
Included in the Canon Installation Tutorial for Ubuntu Budgieyou find also detailed instructions on How to Get Started with Canon Scanning on Ubuntu Budgie.

-
Open Terminal Window
(Press “Enter” to Execute Commands)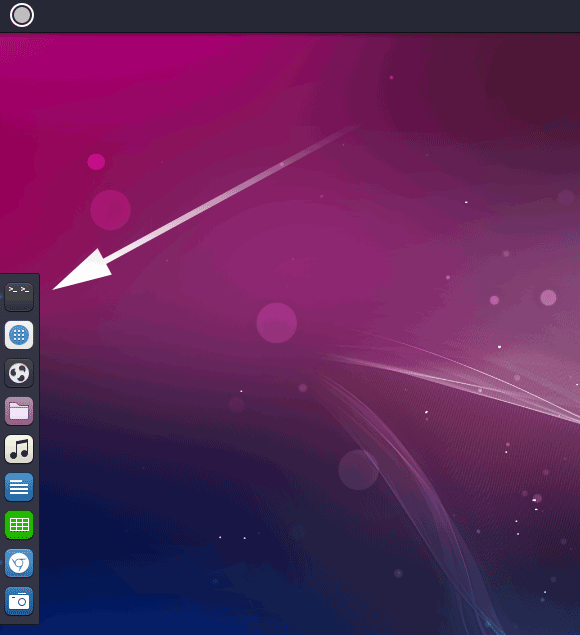
In case first see: Terminal QuickStart Guide.
-
Download Canon Printers Linux Drivers
Search for “linux [myCanonModRounded]”
You may need to Round Down the Printer Model Number as here below…
Eg: for ‘mx472’ search for “linux mx470”
And for ‘MG2240’ search for “linux MG2200” -
Possibly Double-Click on Printer Driver on the File Manager:
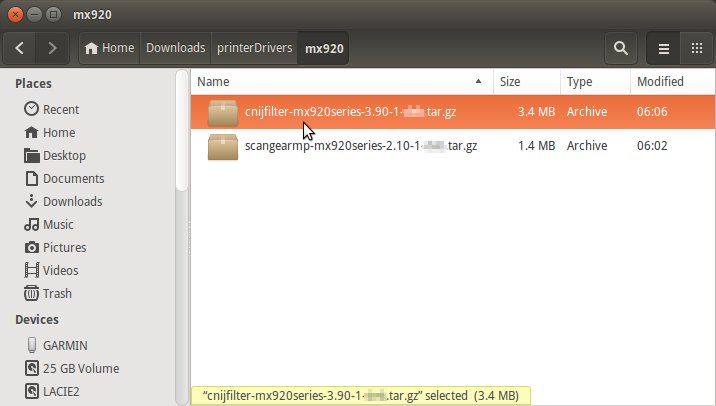
-
Extract into the /tmp Directory.
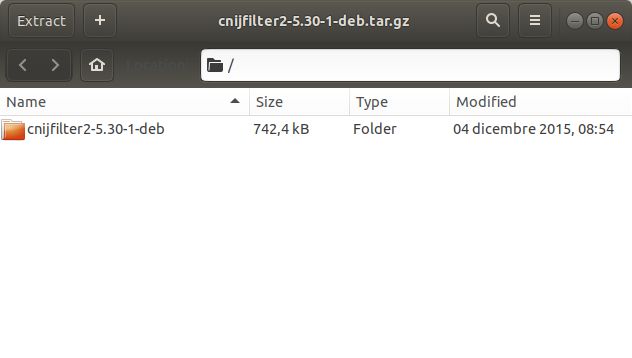
-
Installing Canon Printer Driver
Access the Target location:cd /tmp/cnijfilter*
Run the Installation script:
sudo ./install.sh
You could be asked to Connect and Turn On the Printer…
In case of Installation Issues see this Troubleshooting!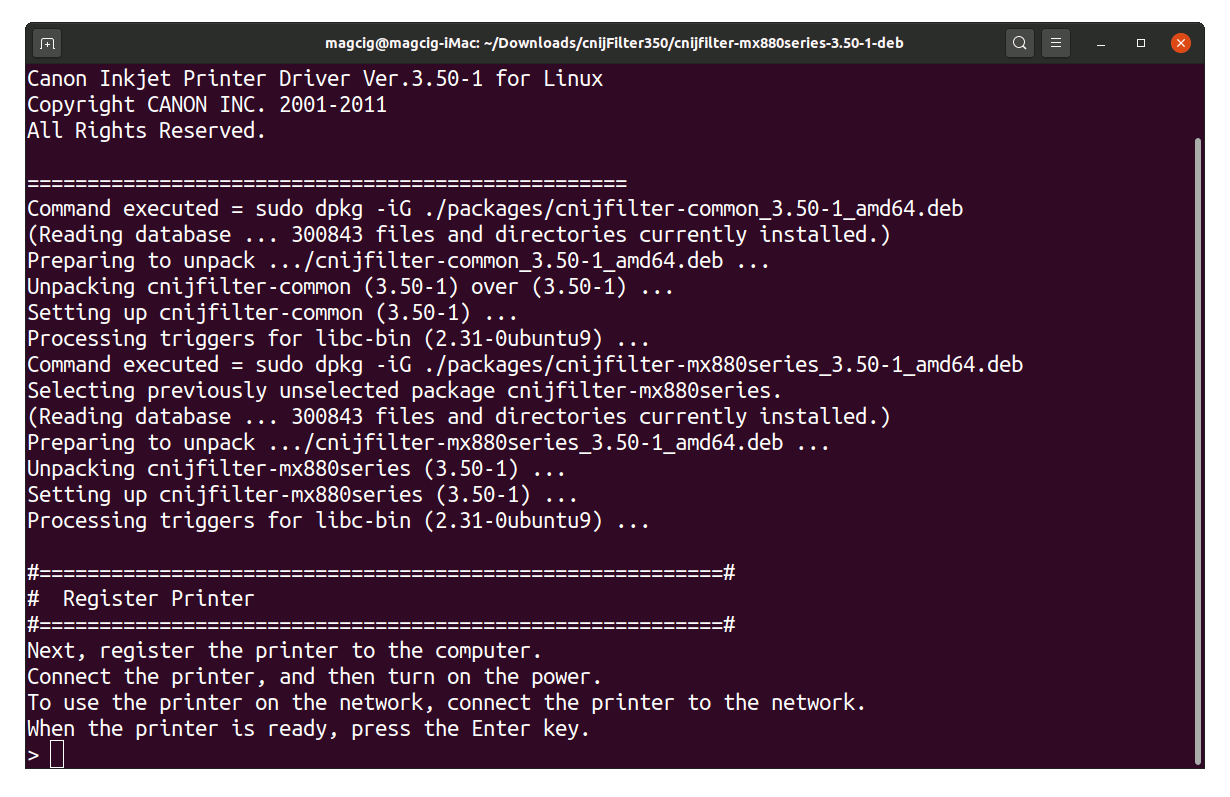
Now in case of Issue then try first to execute:cd /tmp/cnijfilter*deb/packages
sudo su -c "apt-get install gdebi"
sudo su -c "gdebi ./*.deb"
-
How to Get Started with Canon Scanning on Ubuntu Budgie
