This Step-by-Step Visual-Guide shows you How to Install Parallels Tools on Bridge-Linux 2012.12 32/64-bit Xfce4 Desktop.
You need to know that the Parallels Tools Installed and Working will Grant you a More Pleasant Journey with Bridge-Linux on Parallels…
With the Parallels Tools Installed you will Dispose Also of Shared Folders to Easy Exchange Files with the Host System!
Just Take the Time of Carefully Looking, Reading and Following the Detailed Instructions and Commands Contained in this Guide.
You Find Detailed Parallels Installation Troubleshooting Link 2 the Article Bottom.

- Start the Process of Mounting the Parallels Tools CD with:
Virtual Machine >> Install Parallels Tools.
-
Open Terminal Window
(Press “Enter” to Execute Commands)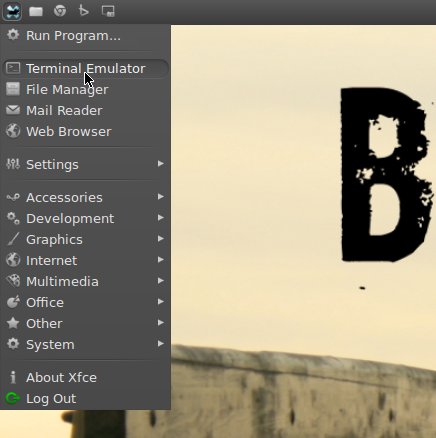
In case first see: Terminal QuickStart Guide.
-
Preparing Bridge-Linux for Parallels Tools Installation
su
If Got “User is Not in Sudoers file” then see: How to Enable sudo
pacman -Syy
export def_sysconfdir=/etc/rc.d
-
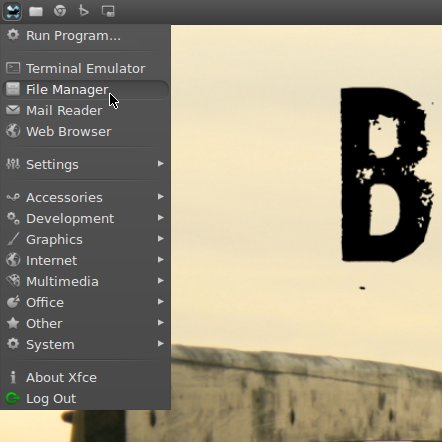
Open File Manager
-
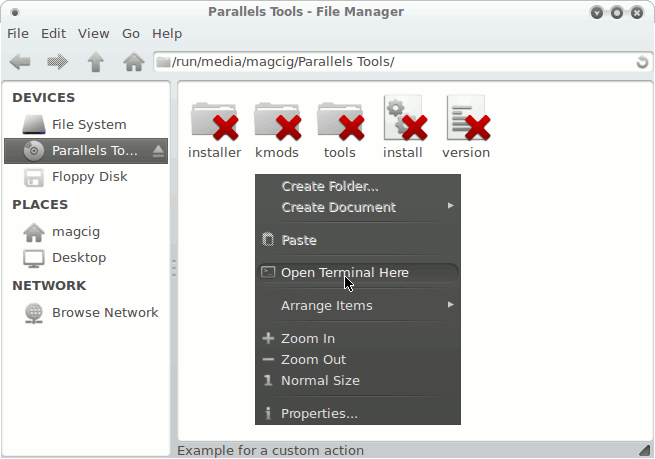
Click on Parallels Tools CD to the Left
Arch-Linux Mounting CD Rom iso9660 Unknown Filesystem Type:
Solve iso9660 Unknown Filesystem -
Right-Click Inside the Parallels Tools Folder Window
Select Open Terminal Here.
-
Installing Required Packages
pacman -Sy gcc make linux-headers
-
Installing the Parallels-Tools
./install
Simply Confirm Every Next Step.
-
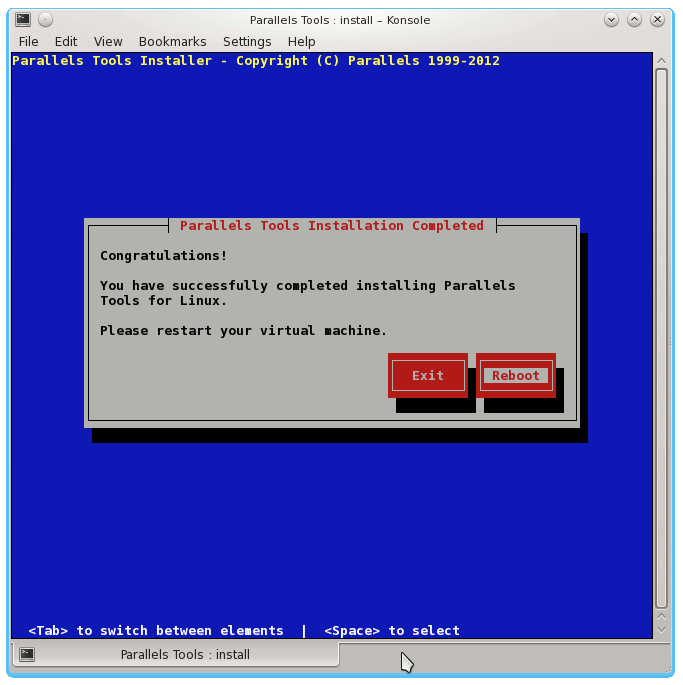
Successful Installation
Parallels-Tools No Mouse Integration Troubleshooting:
Parallels No Mouse Integration
