Install MacPorts on Mac Mavericks 10.9
The Visual Guide shows you Step-by-Step How to Install MacPorts for macOS 10.9 Mavericks.
MacPorts is developed on macOS, though it is designed to be portable so it can work on other Unix-like systems, especially those descended from the BSD.
The Key MacPorts Features:
- Installs automatically any required support software, known as dependencies, for a given port.
- Provides for uninstalls and upgrades for installed ports.
- Confines ported software to a private “sandbox” that keeps it from intermingling with your operating system and its vendor-supplied software to prevent them from becoming corrupted.
- Allows you to create pre-compiled binary installers of ported applications to quickly install software on remote computers without compiling from source code.
The MacPorts SetUp on macOS Require at least an XCode 5+ Installation from the Apple AppStore.
To the MacPorts Installation Guide for Mac Mavericks bottom Link to Quick-Start Ports Updating & Installation with.

-
Required XCode 5+ Installation for Mac Mavericks

-
Download MacPorts Installer for Mac 10.9 Mavericks
-
Double-Click on MacPorts .dmg Archive.
-
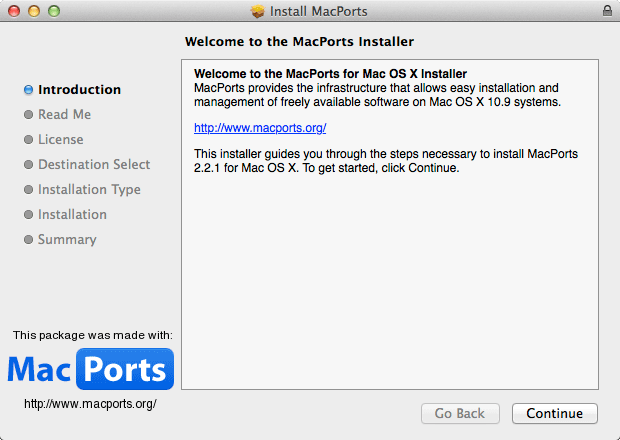
Double-Click on MacPorts Package Installer.
-
Follow MacPorts Installation Workflow.
-
Getting-Started with MacPorts Packages Installation
