Install Nixnote 2 Ubuntu 17.10 Artful
Hi! The Tutorial shows you Step-by-Step How to Install Nixnote 2 on Ubuntu 17.10 Artful Aardvark GNU/Linux Desktops.
So what is shown here is “equivalent” to How to Install Evernote on Ubuntu 17.10 Artful.
Nixnote Features:
- Synchronizes with Evernote servers
- Local data caching
- Cross platform
- Local-only and synchronized notebooks supported
- Database may be encrypted locally
The Post include the Screenshots of the whole process to make an easier understanding.

-
Download the Evernote Linux Clone Nixnote 2.
Grab the QT5 Version.
-
Then Open a Shell Terminal emulator session
Ctrl+Alt+t on Desktop
(Press “Enter” to Execute Commands)
In case first see: Terminal QuickStart Guide.
-
How to Enable Ubuntu Trusty Extra Repo
-
Check/Install GDebi Package Installer.
which gdebi
If not there then:
sudo apt install gdebi-core gdebi
If Got “User is Not in Sudoers file” then see: How to Enable sudo
-
Next Access the Target location
(Usually Downloads go in the Home folder or when Downloaded with Firefox may be into the Temporary directory /tmp/mozilla*)cd ~/Downloads
Or when downloaded with Firefox maybe:
cd /tmp/mozilla*
To Verify that it’s there List the contents with:
ls .
-
And Install Nixnote 2.
sudo gdebi ./nixnote*.deb
-
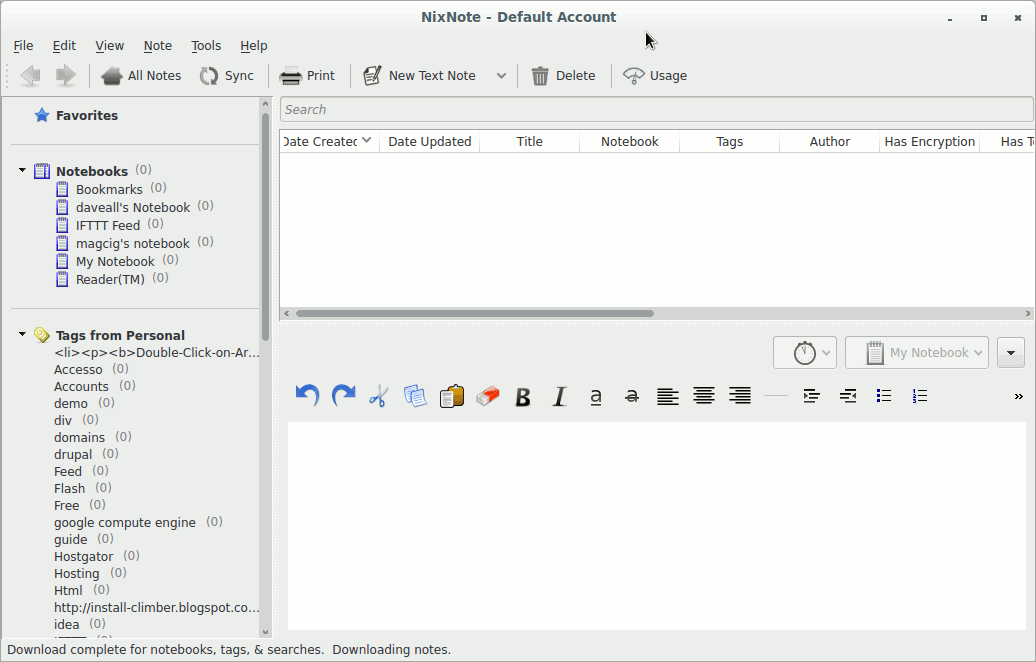
Finally, Find & Launch Nixnote in Ubuntu Dashboard.

How to Install Google-Chrome Web Browser on Ubuntu:
Chrome Setup on Ubuntu.