Linux Mint 18.3 Recovery Disk
Hi! The Tutorial shows you Step-by-Step How to Repair/Recover/Fix Disk on Linux Mint 18.3 Sylvia GNU/Linux Desktops.
And this Linux Mint 18.3 Repair Disk Procedure is Good also for a Mint No Bootable System.
Finally, this Procedure will Easily Fix Errors and Recover your Linux Mint Drive only in Case it’s Not Corrupted.

-
Boot System with Mint or other Linux Live Media
How to Create a Live Linux Mint Media -
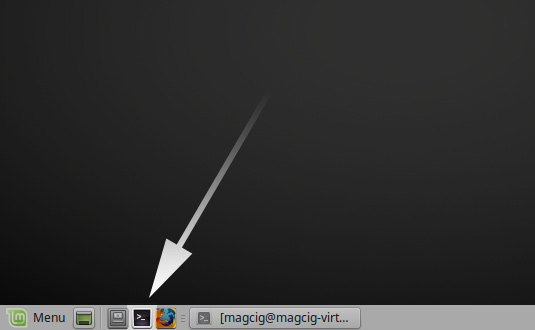
Open a Shell Terminal emulator window
(Press “Enter” to Execute Commands)
In case first see: Terminal QuickStart Guide.
-
Find the Volume to Fix (LVM or Ordinary Partition)
sudo apt install lvm2
So now Execute a Disk Scan to Find out existing Partitions:
lvmdiskscan
In the Output you should be able to Recognize your Device…
If Got “User is Not in Sudoers file” then see: How to Enable sudo -
Fixing the Partition
If it’s mounted then first Unmount the Partition with:sudo umount /dev/[my-vol]
Where [my-vol] the Device identifier.
Finally, Check the File System:sudo /sbin/e2fsck -fy /dev/[my-vol]
Then if Errors are found Repeat again the process until the Disk is Fixed with No more Issue detected.
If the Disk is Not Corrupted then the Process will Easily Restore the Volume. -
Reboot Linux Mint.
