Linux Mint 17 NVIDIA Driver Install Proprietary
Welcome, Mint User! The Tutorial shows you Step-by-Step How to Linux Mint 17 NVIDIA Driver Install Proprietary.
And then to Install NVIDIA Linux Mint 17 Driver you have First, to Find the Right Release for your Graphics Card.
Moreover, this is the Best Way to Get Installed the Latest Upgraded NVIDIA Driver Release for Mint 17 Linux.
Because following the NVIDIA Recommendations it should be best to use the NVIDIA Linux Graphics Driver from the Ubuntu NVIDIA Driver Repositories.
Especially Relevant: if on a Mac Mint UEFI System then Before Follow instructions on How to Prevent Blank Screen Issue.
Finally, with nvidia-settings Tool you can configure Brightness, Gamma, XVideo attributes, Temperature, and OpenGL.

-
Open a Shell Terminal emulator window
(Press “Enter” to Execute Commands)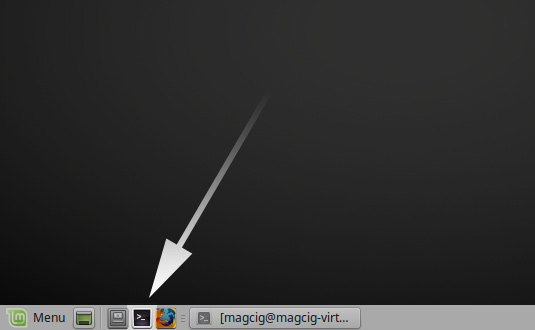
In case first see: Terminal QuickStart Guide.
-
How to Install the Latest NVIDIA Linux Mint Repository
-
Then Check for the Available NVIDIA Driver.
sudo apt update && apt search nvidia-driver
-
Find the Right NVIDIA Driver in your Graphics Card
Take Note of the Driver Release
But for G8x, G9x and GT2xx GPUs use `nvidia-340` (340.104)
And for NV4x and G7x GPUs use `nvidia-304` (304.137) -
Finally, to Install the Right NVIDIA Linux Mint Driver
For Instance to Install the currently Latest one:sudo apt install nvidia-driver-550 nvidia-settings
And in case of Issue try instead with the more powerful aptitude Package Installer.
So first, to Install Aptitude run:sudo apt install aptitude
And next try the Setup again playing:
sudo aptitude install nvidia-driver-550 nvidia-settings
