Linux Mint 18 Jupyter Notebook Installation Guide
Hi! The Tutorial shows you Step-by-Step How to Install Jupyter Notebook IDE in Mint 18 LTS Sarah/Serena/Sonya/Sylvia 64-bit GNU/Linux.
So Jupyter Notebook for Linux Mint 18 is an Open-Source Web Application that allows you to Create and Share Documents that contain Live Code, Equations, Visualizations and Narrative Text.
Moreover, Jupyter Notebook Uses include: Data Cleaning and Transformation, Numerical Simulation, Statistical Modeling, Data Visualization, Machine Learning, and much more.
And a “Notebook” is a kind of Document that contain both Code and Rich Text Elements, such as Figures, Links, Equations,…
Especially relevant: this Setup instead of the default PIP make use of the Anaconda Python Suite, that include a collection of pre-installed scientific computing Libraries and Tools.
Finally, this guide includes instructions on How to Getting-Started with Jupyter Notebook on Linux Mint.

The Main Jupyter Notebook Features are:
- Language of Choice: 40 programming language including Python, R, Julia and Scala.
- Share Notebooks: by eMail, DropBox, GitHub and Jupyter Notebook Viewer.
- Interactive Output: like HTML, Images, Videos, LaTeX, and Custom MIME types.
- Big Data Integration: Leverage big data tools, such as Apache Spark, from Python, R and Scala. Explore that same data with pandas, scikit-learn, ggplot2, TensorFlow.
-
Open a Shell Terminal emulator window
(Press “Enter” to Execute Commands)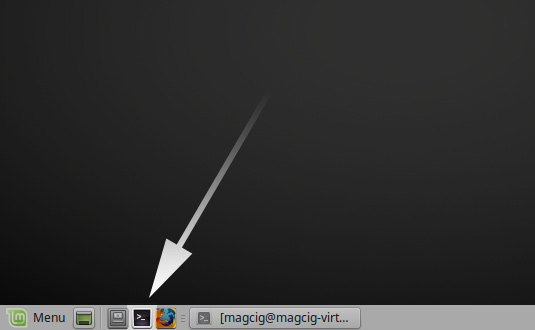
In case first see: Terminal QuickStart Guide.
-
Download Anaconda Python for Linux Mint
-
Next Give Execution Permission.
chmod +x ~/Downloads/Anaconda*.sh
-
And then to Install Anaconda Python
Simply Run:~/Downloads/Anaconda*.sh
Follow the CLI Wizard and type ‘q’ and ‘yes’ to Accept License…
In the End Confirm for Amending the Path in the .bashrc File.
And at last, Load the New Setup with:bash
-
Finally, Run Jupyter Notebook Server
With:jupyter notebook
In Output the Url to Access the Jupyter Notebook Web UI: http://localhost:8888
-
How to Getting-Started with Jupyter Notebook
So Now I’m truly Happy if My Guide could Help you to Install Jupyter Notebook in Linux Mint 18!
