Install Canon imageCLASS Debian
Hi! The Tutorial shows you Step-by-Step How to Install Canon imageCLASS Debian GNU/Linux Desktop.
And the Canon imageCLASS Setup on Debian is Quick and Easy, it involves at most some basic Shell commands execution.
Finally, for the All-in-one models are included also instructions on How to Get Started with Canon Scanning on Linux Mint.

-
Open a Shell Terminal emulator window
(Press “Enter” to Execute Commands)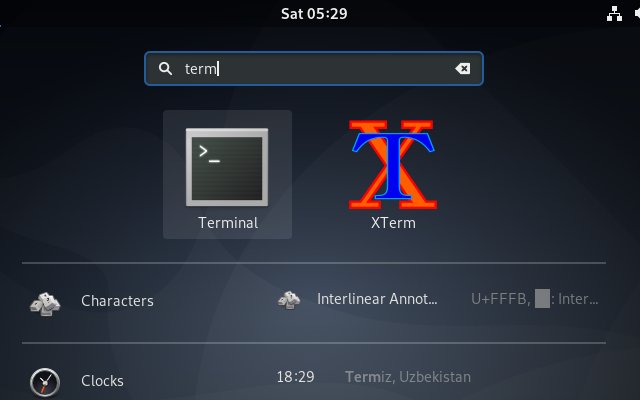
In case first see: Terminal QuickStart Guide.
-
Download Canon imageCLASS Debian Drivers
Search for your Canon imageCLASS Printer Model.
And Grab the Latest UFRII available Driver. -
If Needed Double-Click & Open with Archive Manager
Then Extract into the /tmp directory: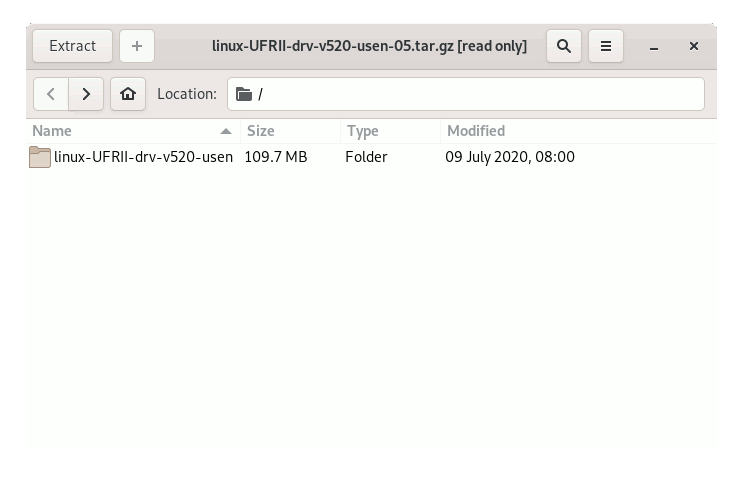
-
Follow Checking/Installing GDebi Package Installer:
which gdebi
If Not there then:
sudo apt-get update
sudo apt install gdebi-core gdebi
If Got “User is Not in Sudoers file” then see: How to Enable sudo
-
Install Canon imageCLASS CQue/UFRII Driver.
If found CQue Driver in your printer then:
sudo gdebi ~/Downloads/CQue*.deb
Else for UFRII:
First, change to the Target Directory
For 32-bit Systems:cd /tmp/*/32-bit*/Debian
For 64-bit Systems:
cd /tmp/*/64-bit*/Debian
Next Install UFRII Packages with:
sudo gdebi ./*.deb
And Finally, Run the Installation Script:
cd ../..
sudo ./install.sh
-
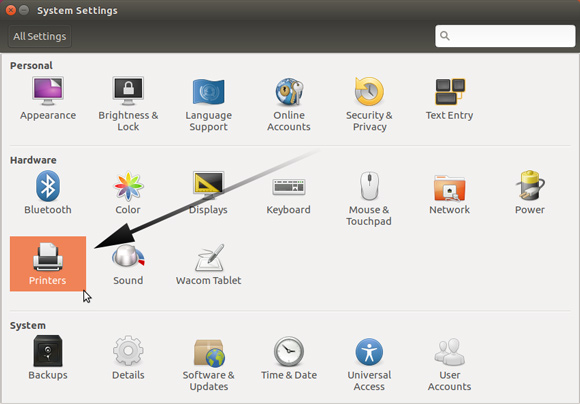
Finally, Go on System Settings to Add Printer
And the Printer should be Recognized and Installed