Virt Manager Ubuntu Getting Started – Step-by-step

April 5, 2018 | By the+gnu+linux+evangelist.

Getting Started

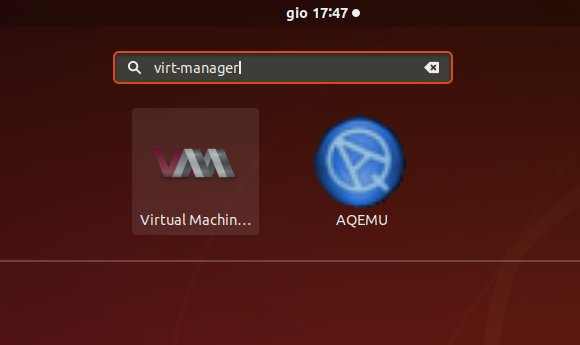
  1. 4. Running Virt-Manager

    Now to Launch Virt-Manager UI
    From Shell:

    virt-manager

    Or instead make use of the Desktop Launcher:
    Launching Virt-Manager

  2. 5. Creating Virt-Manager VM from ISO

    Now to Create a Virtual Machine
    First, Choose “+” on Top Bar:

    Virt-Manager Create New VM from ISO Visual Guide - Creating VM

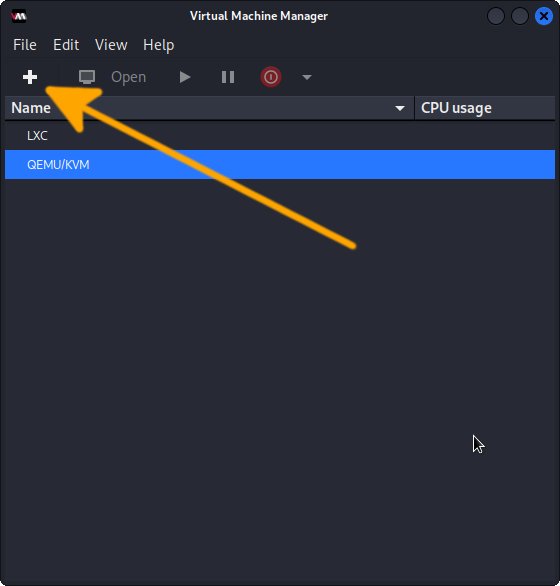
    In case of “No hypervisor options…” Issue try with a Restart:

    sudo reboot

    Then confirm for Connection QEMU/KVM and Local Install ISO.
    And then Browse for the Media Location:

    Virt-Manager Create New VM from ISO Visual Guide - Loading ISO

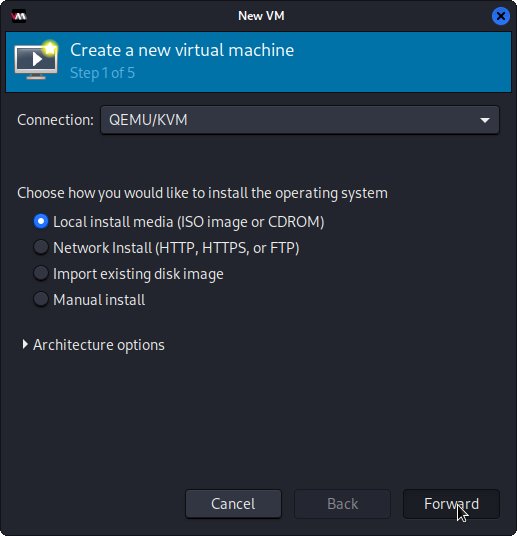
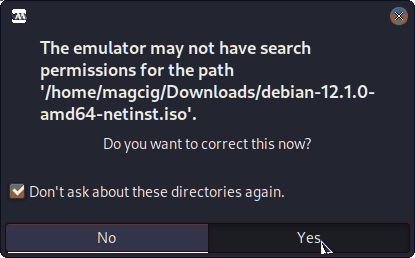
    If prompted accept to Set Permission:

    Virt-Manager Create New VM from ISO Visual Guide - Set Permission

    After Set Up RAM Size and CPU Cores:

    Virt-Manager Create New VM from ISO Visual Guide - Setting VM

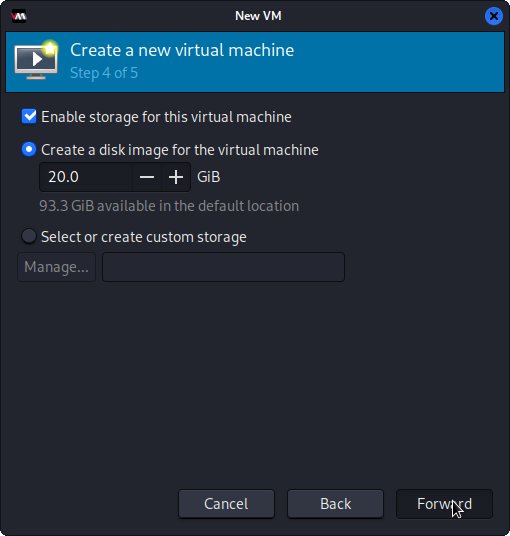
    Again Set VM Disk Size:

    Virt-Manager Create New VM from ISO Visual Guide - Setting Disk Size

    Finally, Set VM Name:

    Virt-Manager Create New VM from ISO Visual Guide - Naming

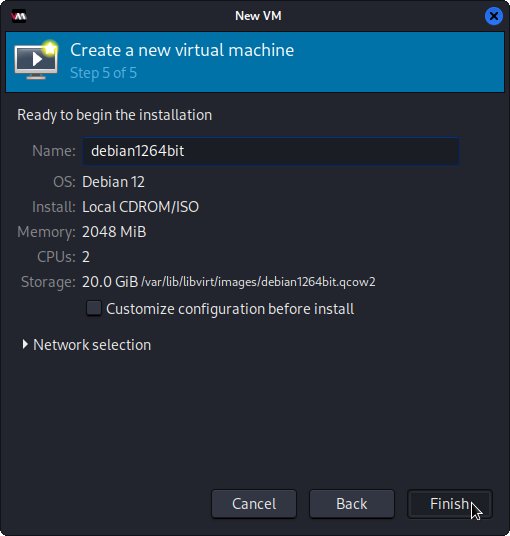
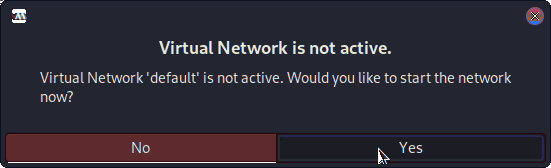
    Possibly enable the Virtual Network:

    Virt-Manager Create New VM from ISO Visual Guide - Enabling Virtual Network

    And finally, confirm with to Start for Installation!

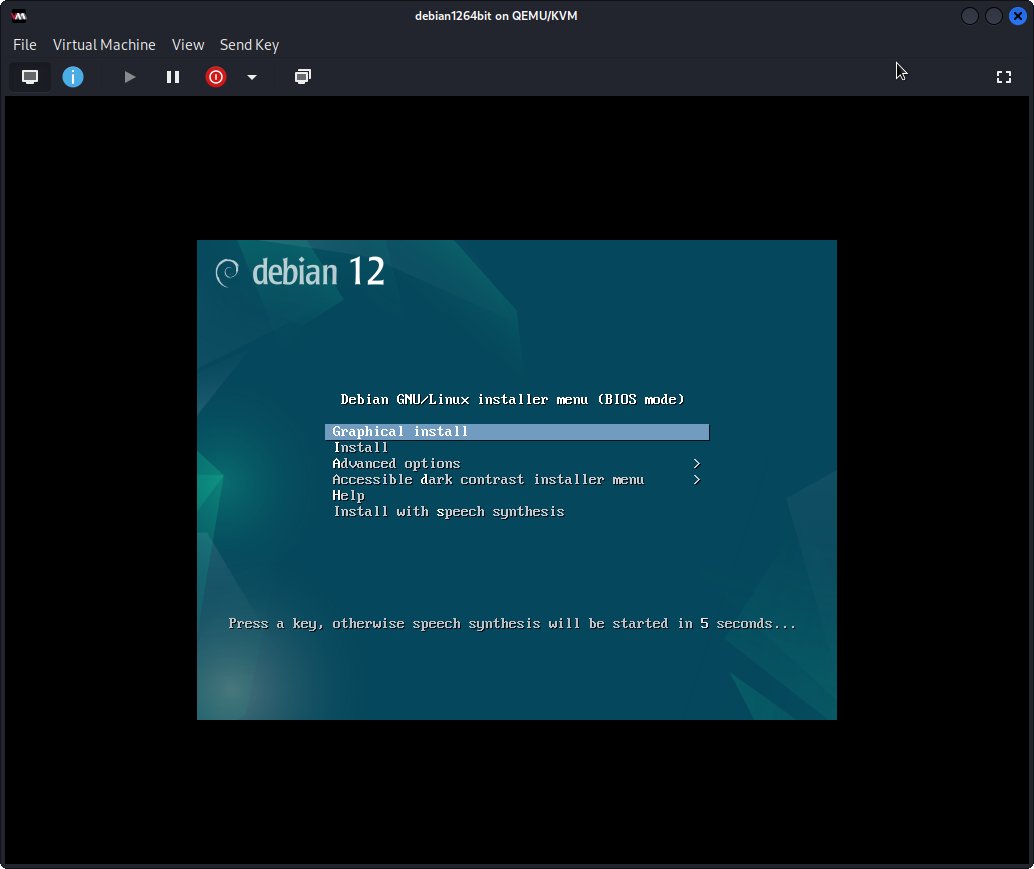
  3. 6. Launching Virtual Machine

    Finally, Launch & Enjoy QEMU Virtual Machine.

    Installing GNU/Linux Virtual Machine on Virt-Manager
    Desktop

So Now I’m truly Happy if My Guide could Help you to Quick-Start with Virt-Manager on Ubuntu!

Contents


QuickChic Theme • Powered by WordPress