GNU/Linux Xubuntu 18.04 Installing Google-Chrome Web Browser – QuickStart Guide
Hi! The Tutorial shows you Step-by-step How to Install Chrome in Xubuntu 18.04 Bionic LTS 64-bit GNU/Linux Desktop.
And Google-Chrome for Xubuntu Bionic is a Browser that combines a minimal Design with sophisticated Technology to make the Web faster, safer, and easier.
Google Chrome Browser Features:
- Speed: Chrome is designed to be fast in every possible way.
- Simplicity: Chrome’s browser window is streamlined, clean and simple.
- Security: Chrome is designed to keep you safer and more secure.
- Privacy: Chrome puts you in control of your private information.
- Customization: There are tons of ways to customize Chrome and make it yours.
- Signing-In: Signing in to Chrome brings your bookmarks, history, and other settings to all your computers.
Finally, included in this article you find also instructions on How to Installing Evernote Clone and the Firefox Aurora Browser on Xubuntu.

-
1. Launching Terminal
Open a Terminal Shell Emulator Window:
Ctrl+Alt+t on Desktop
(Press “Enter” to Execute Commands).In case first see: Terminal QuickStart Guide.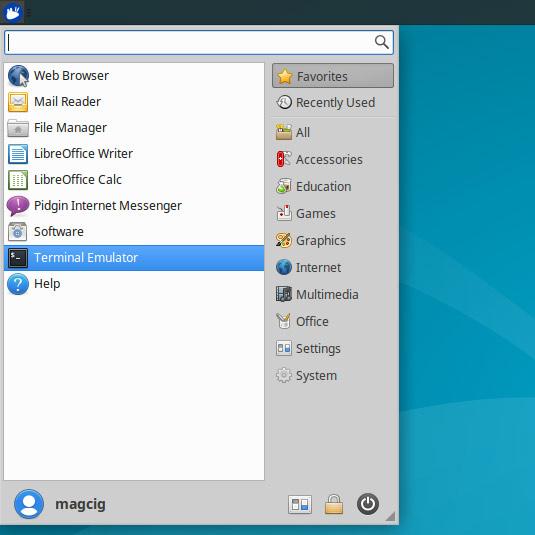
Refresh the Apt Sources:sudo apt update
Authenticate with the User Admin Pass.
If Got “User is Not in Sudoers file” then see: How to Enable sudo.
Contents
