GNU/Linux Ubuntu Enabling DataStax Repository Guide
Hi! The Tutorial shows you Step-by-Step How to Add DataStax Repository for Ubuntu-Based GNU/Linux Systems.
And this DataStax Repo Setup is Valid for All the Ubuntu-based OSes like:
- Linux Mint
- Lubuntu
- Kubuntu
- Xubuntu
- Zorin OS
- Elementary OS
- Linux Lite
- Bodhi Linux
- Kde Neon
- Pop!_OS
- Voyager
- Trisquel
- LXLE
- feren OS
- Peppermint
- Q4OS
- Linux Ultimate Edition
Finally, the Guide include instructions on How to Install DataStax Enterprise Database on Ubuntu GNU/Linux Systems.

-
1. Registering DataStax Academy
First, Register DataStax Academy Account
-
2. Launching Shell Emulator
Open a Terminal window
(Press “Enter” to Execute Commands)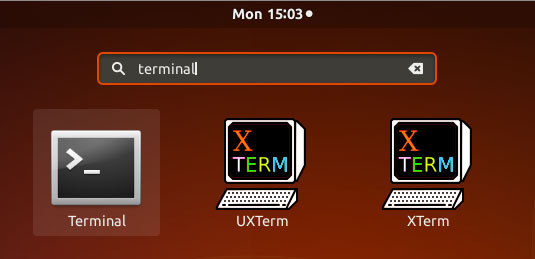
-
3. Installing Required Packages
And to Install Required Tools.
sudo apt install libaio1 curl
-
4. Adding DataStax Key
Then to Add DataStax Key.
curl -L https://debian.datastax.com/debian/repo_key | sudo apt-key add -
(For the Newer Release in case of apt-key Issue see: Gpg.d Keyring Setup Guide.)
-
5. Enabling DataStax Repo
Next to Add DataStax Repository.
echo "deb https://[DSA_profile_name]:[downloads_key]@debian.datastax.com/enterprise/ stable main" | sudo tee -a /etc/apt/sources.list.d/datastax.sources.list
Sostitute [DSA_profile_name] and [downloads_key] with your Credentials!
Finally, Refresh the Apt Sources:
sudo apt update.
-
6. Installing DataStax Enterprise
How to Install DataStax Enterprise on Ubuntu GNU/Linux
