Brother DCP-387C Driver Ubuntu 18.04 Setup
Hi! The Tutorial shows you Step-by-Step How to Install Brother DCP-387C Driver for Ubuntu 18.04 Bionic LTS GNU/Linux Desktop.
And to Install Brother DCP-387C Printer in Ubuntu 18.04 it’s Easy with the Linux Driver Setup Tool.
So just follow the detailed instructions to Download and Run the Brother Driver Installation Script.

-
Open a Terminal Shell emulator window
Ctrl+Alt+t on Desktop
(Press “Enter” to Execute Commands)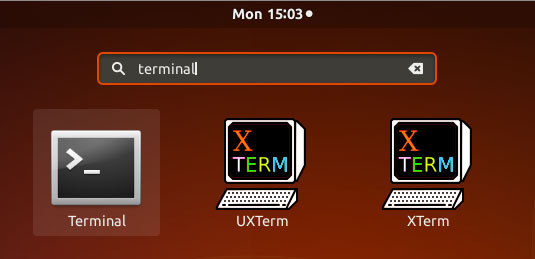
-
Download the Brother DCP-387C Printer Driver Installer for Ubuntu
First, Choose Driver Install Tool
Then Select the Language: English or English (China)
The Driver Installation Script is the Same for All Brother Printers! -
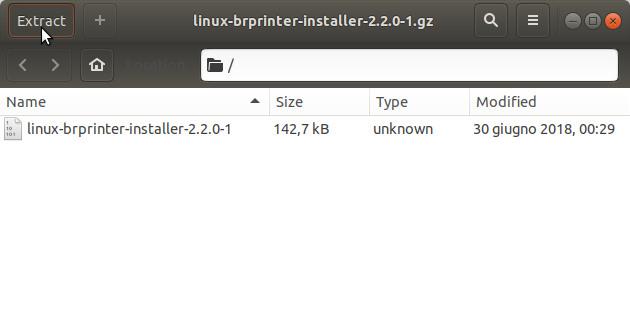
Double-Click on Archive Extract into /tmp
Or from Command Line:
gunzip -c $HOME/Downloads/linux-brprinter-installer*.gz > /tmp/linux-brprinter-installer
-
Give Execution Permission.
cd /tmp
chmod +x linux-brprinter-installer*
If Got “User is Not in Sudoers file” then see: How to Enable sudo
-
Installing Brother Printer Drivers
sudo ./linux-brprinter-installer*
In case of “CUPS is not installed” issue then to see How to Install it Here.
When Prompted Insert your Brother Printer Model!
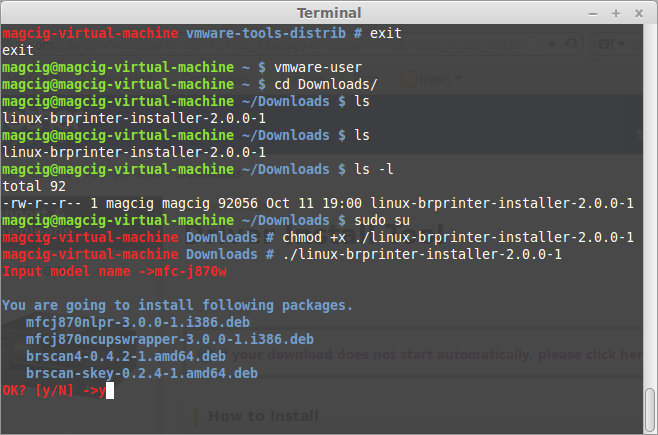
Then the Installer will Provide Automatically to Download and Install the Printer and potentially also the Scanner Drivers…
Again following the CLI wizard, when Prompted about a Device URI:- For a USB Connection Simply Enter “n”!
- For a Network Shared Connection Setup Go to: http://localhost:631/printers/
Select the Printer
Select “Modify Printer”
Enter your sudo Username & Pass
Select the Protocol and Continue…
For Help see Instructions on:
http://localhost:631/help/network.html
-
Then Open Ubuntu Settings:
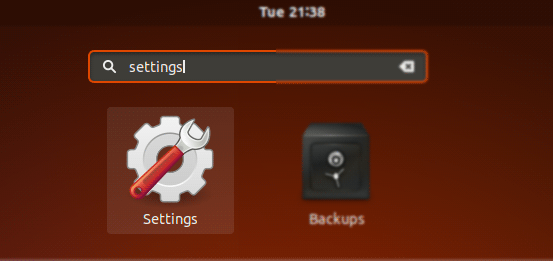
Simply Hit Cmd/Win and Search for ‘Settings’.
-
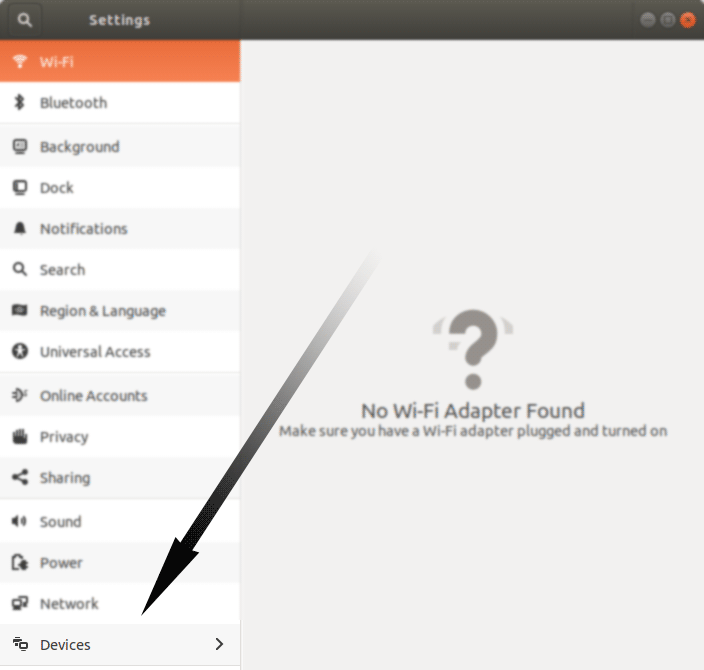
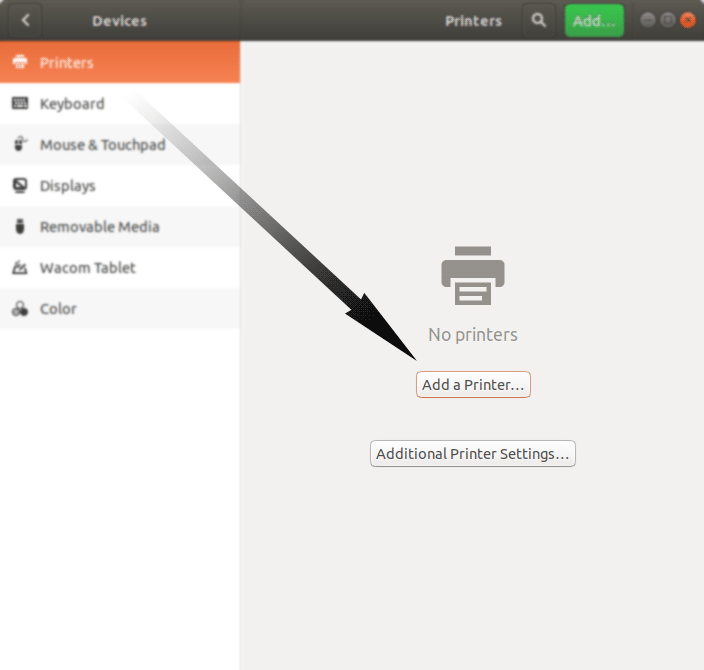
And Install Printer in Ubuntu Desktop
Click the ‘Add Printer’ Button:
And now Start to Locating the Printer Driver.
Choose your Printer and Confirm to Add: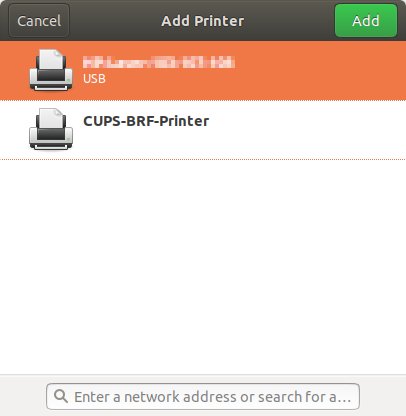
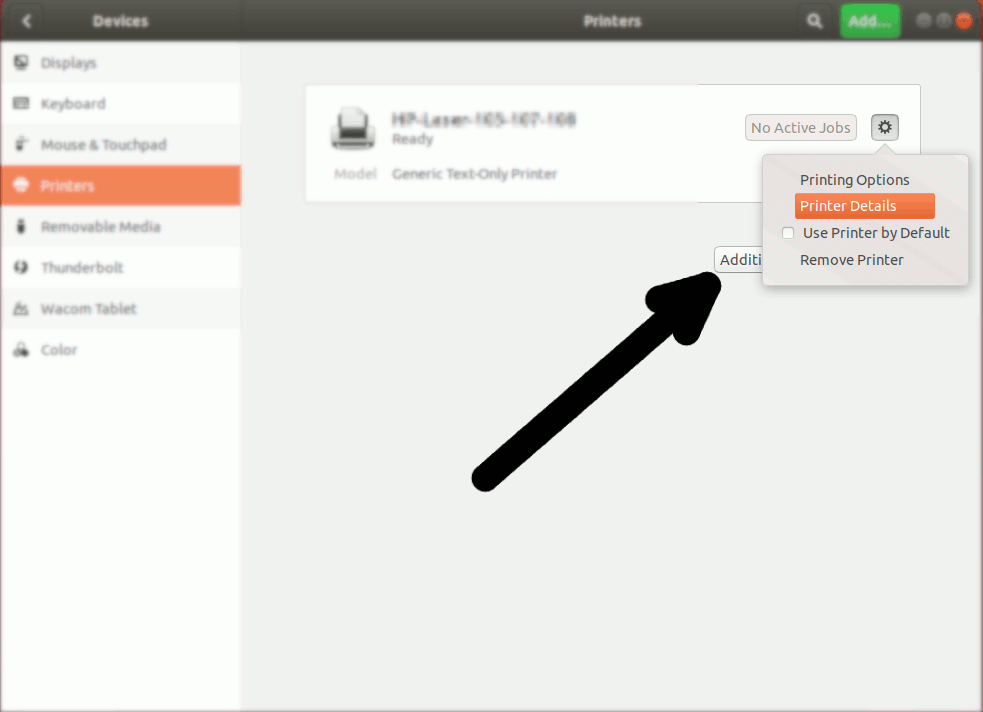
Next, Choose “Printer Details” on the Top-Left Gear:
Then you have 2 possible Choices:
Browsing for PPD Printer Driver
So Choose “Install PPD File”:
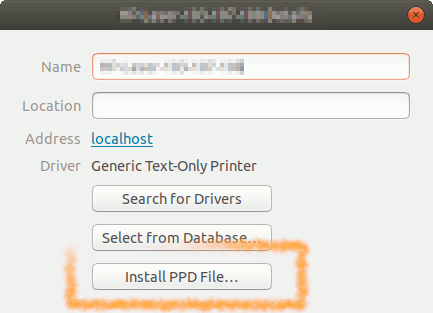
This Step is Needed for many Laser Printer New Models, but may be Used to Install Any Printer!
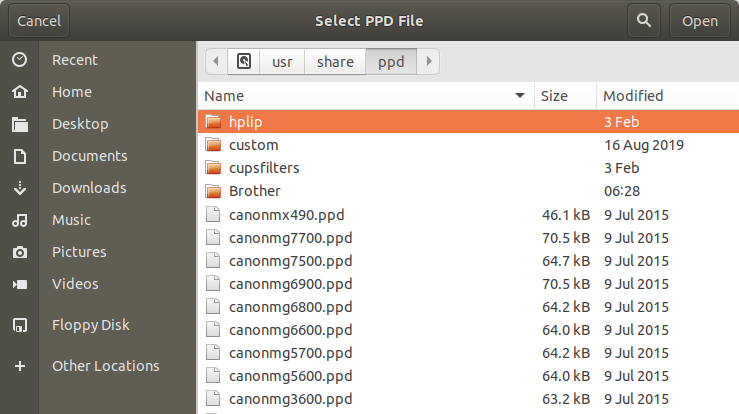
Browsing for the PPD File Location:How to Find Printer PPD File Location on Ubuntu
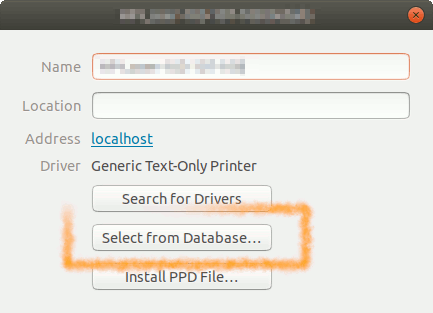
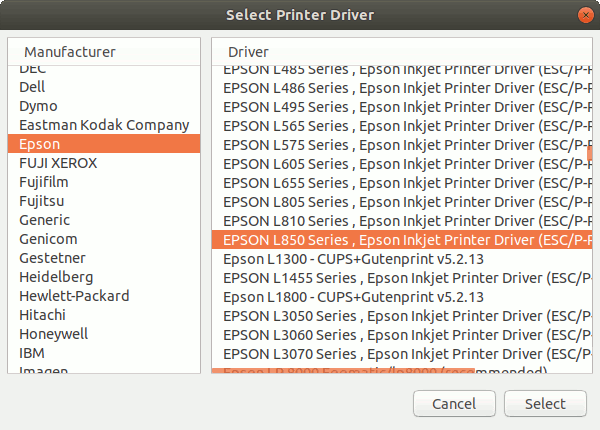
Selecting Printer Driver from Database
Instead, Choose “Select Driver from Database”:
Now you have simply to Find out your Printer Model:
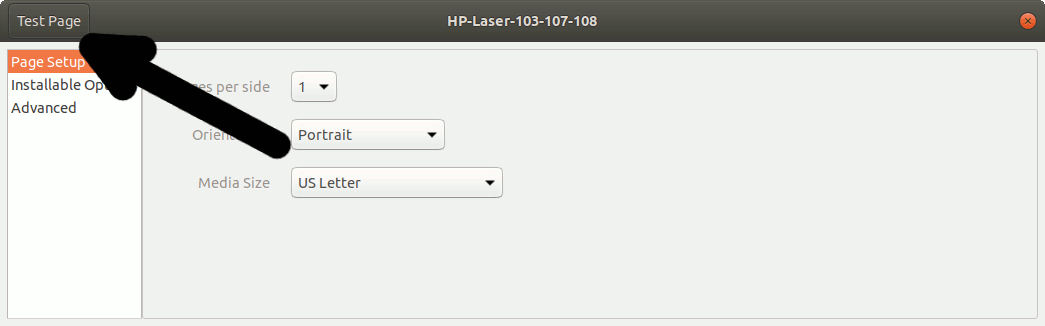
Finally, the Printer should be Successfully Installed and Working!
You may Print the Test Page to Check it Up: