Kubuntu 18.04 Samsung Scanning Get Started Guide
Hi! The Tutorial shows you Step-by-Step How to Install Samsung Scanner Driver on Kubuntu 18.04 Bionic LTS GNU+lINUX Desktops.
Basically to Quick Start with Samsung Scanners on Kubuntu 18.04 you have to Get Installed the Samsung Scanner Driver and Get Use of the Simple Scan Kubuntu Software.
Especially relevant: previous to Samsung Scanner Driver Installation Check the Supported Printers List.

-
First, Open a Shell Terminal emulator window
(Press “Enter” to Execute Commands)
In case first see: Terminal QuickStart Guide.
-
Download Samsung Printers ULD Driver in Linux
Grab the Latest Release.
-
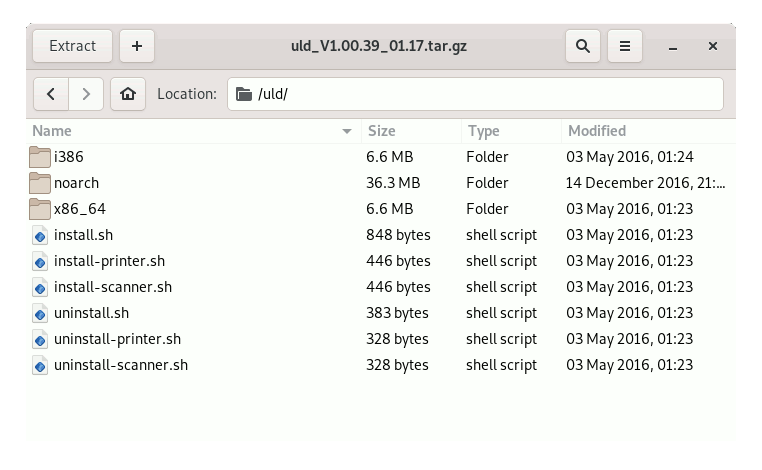
Double-Click on Archive and Extract into /tmp.
-
Installing Samsung Scanners Driver in Kubuntu:
cd /tmp/uld
sudo ./install-scanner.sh
If Got “User is Not in Sudoers file” then see: How to Enable sudo
On Accept License Hit ‘q’ to Exit!
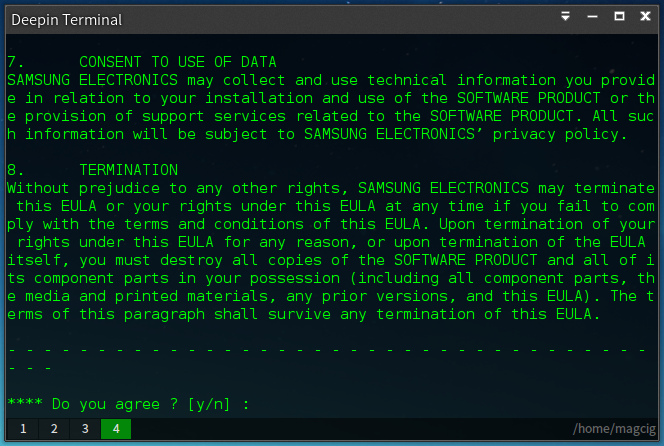
Then Follow the Wizard to get Quickly installed the Driver :) -
How to Getting-Started with Samsung Scanner on Kubuntu Linux
