Install AMDGPU on Linux Mint 18
Hi! The Tutorial shows you Step-by-Step How to Install AMDGPU-Pro Graphics and GPU Driver for Linux Mint 18.x Sarah/Serena/Sonya/Sylvia LTS GNU/Linux.
And AMDGPU Pro for Mint 18 includes the AMD Proprietary OpenGL, OpenCL, and Vulkan Drivers.

-
1. Launching Shell Emulator
Open a Terminal window
(Press “Enter” to Execute Commands)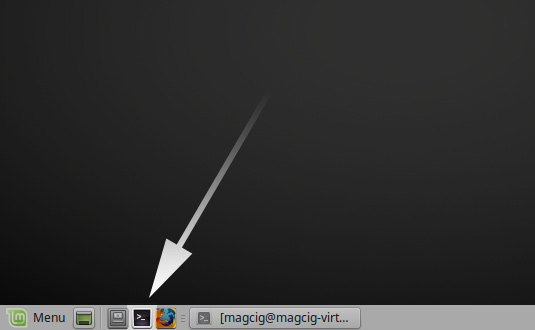
-
2. Checking System
Now Check if Already Installed with
dpkg -l amdgpu-pro
-
3. Downloading AMDGPU-Pro for Linux Mint
Download AMDGPU for Mint GNU/Linux
If possible Select directly “Open with Archive Manager”!
-
4. Extracting AMDGPU Archive
Then Extract AMDGPU tar.xz into /tmp Directory
If it does Not Open automatically then Double-Click on File Manager: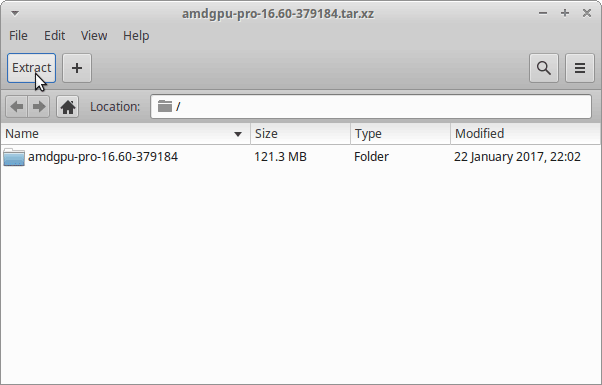
Or from Command Line:tar xvf ~/Downloads/amdgpu-pro*.tar.xz -C /tmp/
-
5. Fixing Installation Script
Then Follow Instruction to Fix Installer
-
6. Installing AMDGPU-Pro
First, Access Target directory:
cd && cd Downloads/amd*
(But if you are in Trouble to Find the Location on Terminal then See: How to Access Downloads Folder from Browser.)
So to Verify it’s there List the Directory Contents with:ls . | grep amdgpu
Now to Set up AMDGPU Run Installer:
sudo ./amdgpu-pro-install -y
Finally, Reboot:
sudo reboot
-
7. Configuring for Vulkan
Finally, Only for Vulkan Driver:
sudo usermod -a -G video $LOGNAME
And Check the Setup is successful with:
groups
So Now I’m truly Happy if My Guide could Help you to Install AMDGPU Driver in Linux Mint 18!
