Visual Studio Code Ubuntu 19.04 - Installation
-
1. Launching Shell Emulator
Open a Terminal window
Ctrl+Alt+t on Desktop
(Press “Enter” to Execute Commands)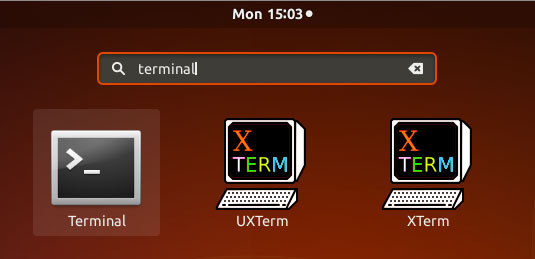
-
2. Downloading Visual Studio Code for Ubuntu
Download Visual Studio Code for Ubuntu GNU/Linux
-
3. Installing Visual Studio Code
Then to Set up Visual Studio Code on Ubuntu
First, Access the Target, usually in the Downloads folder:
(But if downloaded with Firefox it can be instead into /tmp/mozilla*)cd && cd Downloads
To Check that there is run:
ls . | code
And to Setup Visual Studio Code:
sudo dpkg -i code*.deb
-
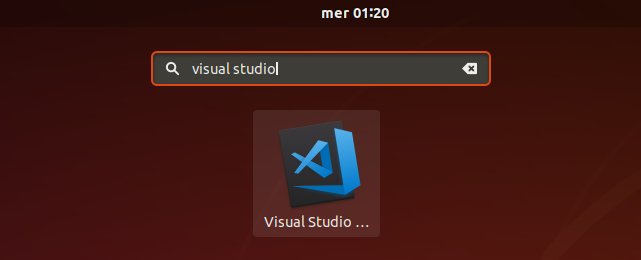
4. Launching Visual Studio Code
Finally, Launch & Enjoy Visual Studio Code
Now, to Start from Shell simply:code
Or Best to Make Use of the Desktop Launcher:
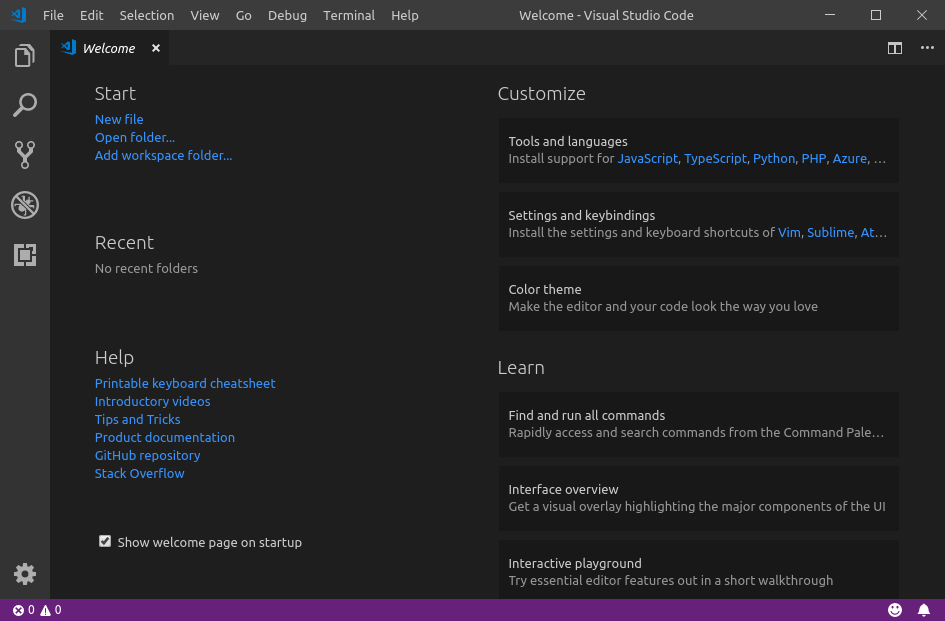
So Now I’m truly Happy if My Guide could Help you to Install Visual Studio Code on Ubuntu 19.04!
Contents
