Setting Up Printer
-
3. Adding Printer
Now Open Ubuntu Settings:
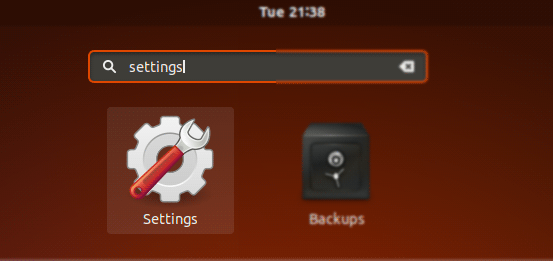
Simply Hit Cmd/Win and Search for ‘Settings’.
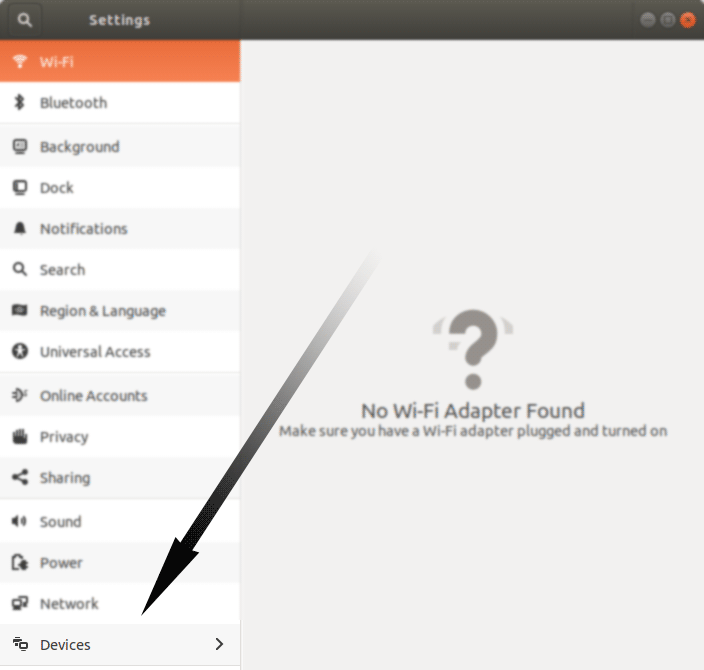
And then Add Printer to Ubuntu Desktop
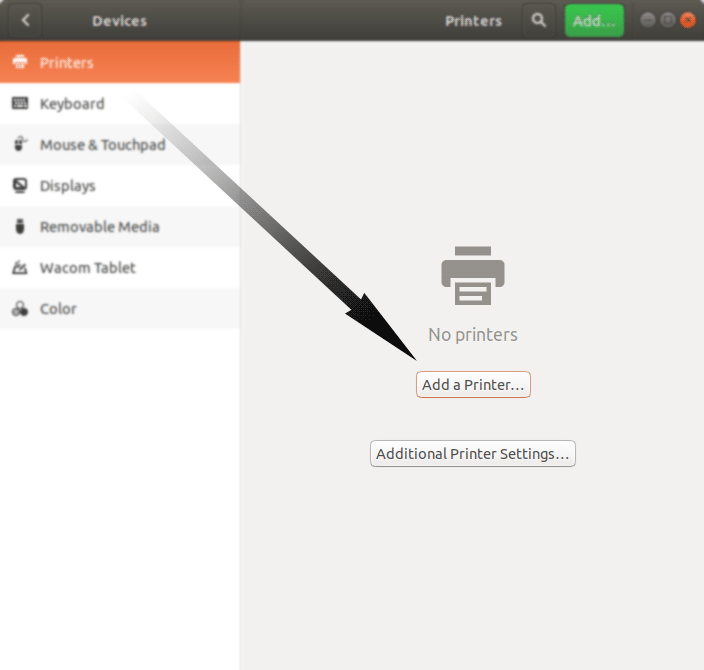
Click the ‘Add Printer’ Button:
And now Start to Locating the Printer Driver.
Choose your Printer and Confirm to Add: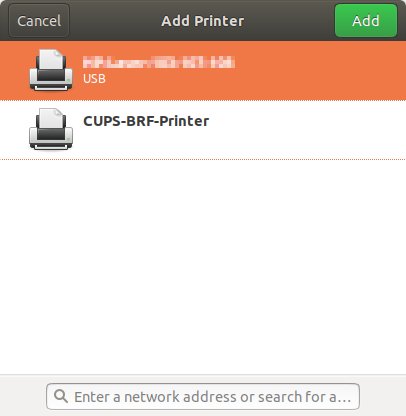
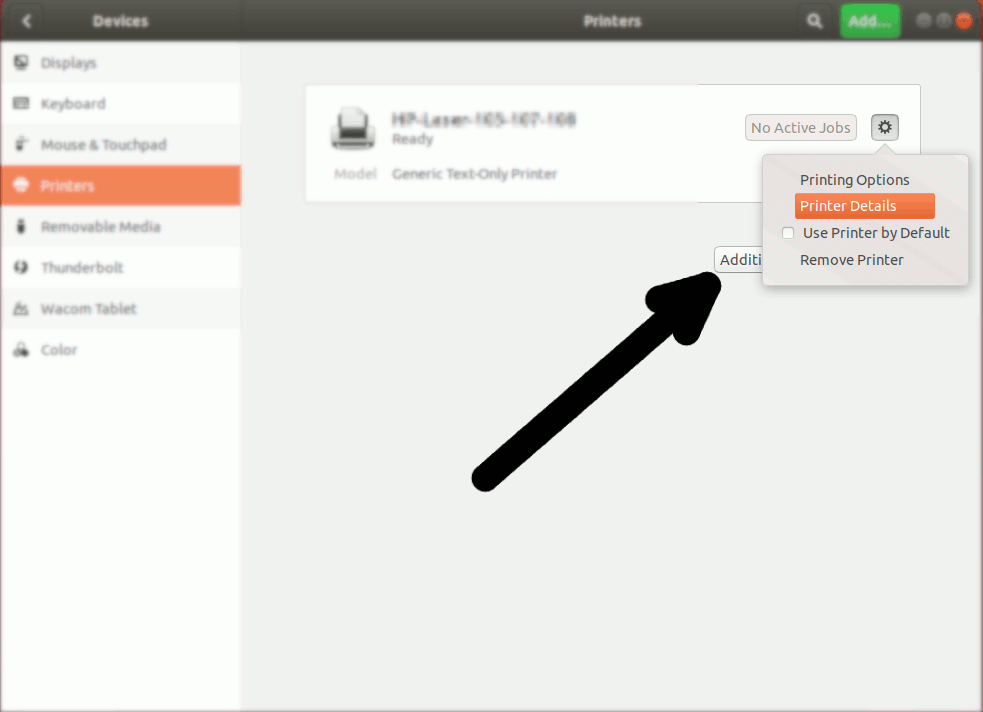
Next, Choose “Printer Details” on the Top-Left Gear:
Then you have 2 possible Choices:
Browsing for PPD Printer Driver
So Choose “Install PPD File”:
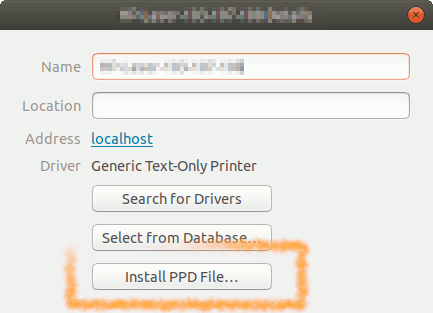
This Step is Needed for many Laser Printer New Models, but may be Used to Install Any Printer!
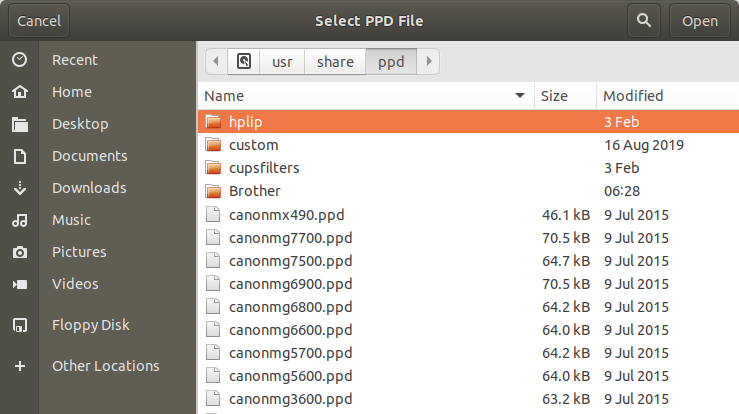
Browsing for the PPD File Location:How to Find Printer PPD File Location on Ubuntu
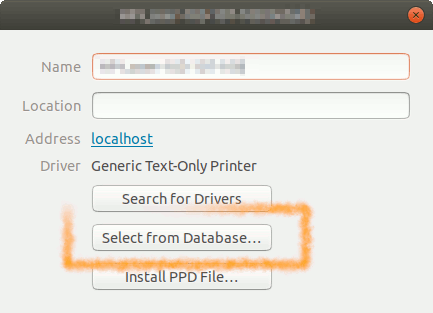
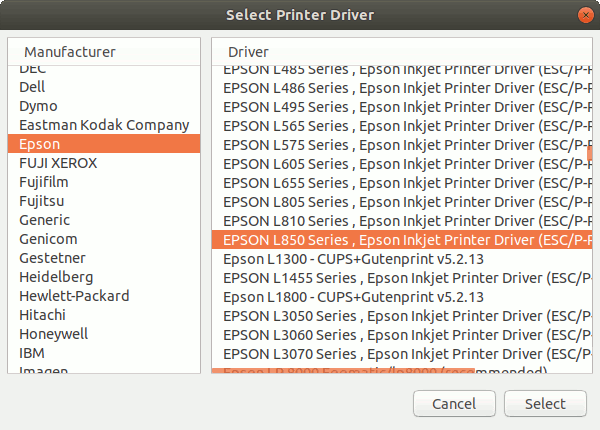
Selecting Printer Driver from Database
Instead, Choose “Select Driver from Database”:
Now you have simply to Find out your Printer Model:
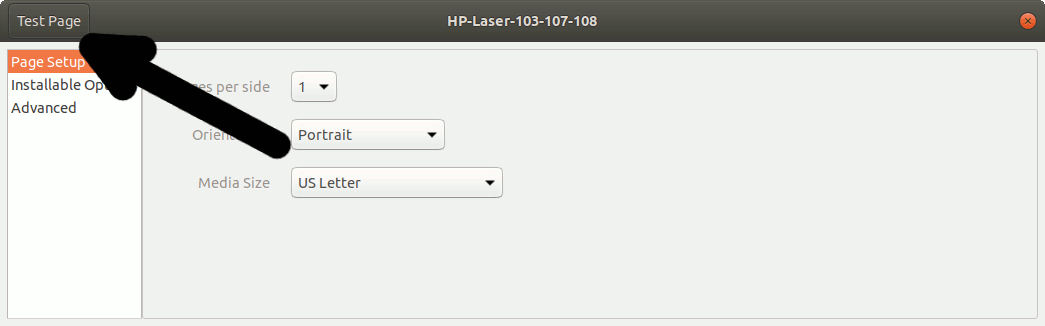
Finally, the Printer should be Successfully Installed and Working!
You may Print the Test Page to Check it Up:
How to Install Google-Chrome for Ubuntu:
Setup Google-Chrome for Ubuntu.
Contents
