Hadoop RedHat Linux 7 - Setting Up
-
Relocate Apache Hadoop Directory
Get SuperUser Privileges:sudo su
If Got “User is Not in Sudoers file” then see: How to Enable sudo
Then Switch the contents with:mv /tmp/hadoop* /usr/local/
Make an hadoop symlink directory:
ln -s /usr/local/hadoop* /usr/local/hadoop
-
Make Hadoop Needed Directories:
First, Make the Logs Dir:
mkdir /usr/local/hadoop/logs
Giving Writing Permissions:
chmod 777 /usr/local/hadoop/logs
Next Make the Cache Dir:
mkdir /usr/local/hadoop/cache
Same Writing Permissions as for Logs:
chmod 777 /usr/local/hadoop/cache
And then also the Temporary Dir:
mkdir /usr/local/hadoop/tmp
Set the root as Owner:
sudo chown -R root:root /usr/local/hadoop*
-
How to Install Required Java JDK 8+ on Red Hat Linux
-
Set JAVA_HOME in Hadoop Env File
Make the Conf directory:mkdir /usr/local/hadoop/conf
Make an Env file:
nano /usr/local/hadoop/conf/hadoop-env.sh
Append:
export JAVA_HOME=/usr/lib/jvm/[oracleJdkVersion]
Change [oracleJdkVersion] with the current Version:
Ctrl+x to Save & Exit from nano Editor :) -
Hadoop Configuration for Pseudo-Distributed mode
nano /usr/local/hadoop/conf/core-site.xml
Append:
<?xml version="1.0"?>
<?xml-stylesheet type="text/xsl" href="configuration.xsl"?>
<configuration>
<property>
<name>hadoop.tmp.dir</name>
<value>/usr/local/hadoop/tmp</value>
</property>
<property>
<name>fs.default.name</name>
<value>hdfs://localhost:8020</value>
</property>
</configuration>
Next:
nano /usr/local/hadoop/conf/hdfs-site.xml
Append:
<?xml version="1.0"?>
<?xml-stylesheet type="text/xsl" href="configuration.xsl"?>
<configuration>
<property>
<name>dfs.replication</name>
<value>1</value>
</property>
<property>
<!-- specify this so that running 'hdfs namenode -format'
formats the right dir -->
<name>dfs.name.dir</name>
<value>/usr/local/hadoop/cache/hadoop/dfs/name</value>
</property>
</configuration>
Last:
nano /usr/local/hadoop/conf/mapred-site.xml
Append:
<?xml version="1.0"?>
<?xml-stylesheet type="text/xsl" href="configuration.xsl"?>
<configuration>
<property>
<name>mapred.job.tracker</name>
<value>localhost:8021</value>
</property>
</configuration>
-
SetUp Local Path & Environment
Exit from SuperUser to the normal User:exit
Change to the Home directory:
cd
Edit the bash Config file:
nano .bashrc
Inserts:
HADOOP_HOME=/usr/local/hadoop/nexport PATH=$PATH:$HADOOP_HOME/bin:$HADOOP_HOME/sbin/nexport JAVA_HOME=/usr/lib/jvm/<oracleJdkVersion>
Then Load the New Setup:
source $HOME/.bashrc
-
SetUp Needed Local SSH Connection
sudo systemctl start ssh
Generate SSH Keys to Access:
ssh-keygen -b 2048 -t rsa
echo "$(cat ~/.ssh/id_rsa.pub)" > ~/.ssh/authorized_keys
Testing Connection:
ssh 127.0.0.1
-
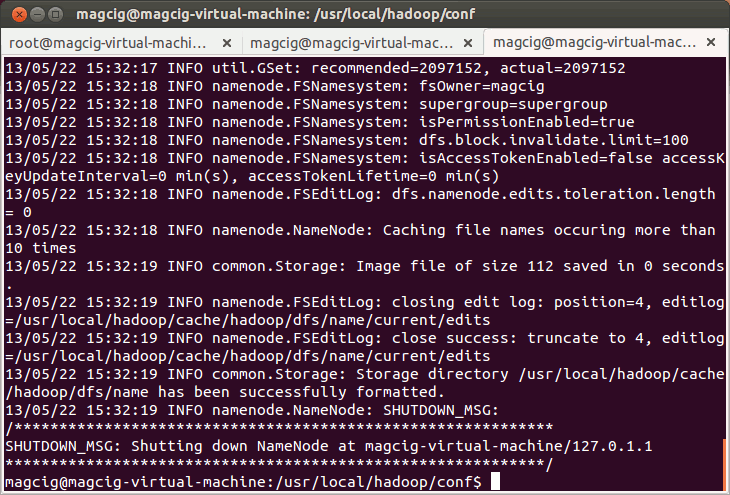
Formatting HDFS
hdfs namenode -format

-
Starting Up Hadoop Database
start-all.sh
Eclipse Hadoop Integration with Free Plugin.
Contents
