GNU/Linux Ubuntu 18.04 Installing ActiveMQ Artemis – QuickStart Guide
Hi! The Tutorial shows you Step-by-step How to Install Apache ActiveMQ Artemis in Ubuntu 18.04 Bionic LTS GNU/Linux Desktop/Server.
And Apache ActiveMQ for Ubuntu 18.04 is the Most Popular Open Source, Multi-Protocol, Java-based Messaging Server.
Moreover, its Supports Industry Standard Protocols so users get the benefits of Client Choices across a Broad Range of Languages and Platforms.
Some ActiveMQ Features are:
- Fully JMS Compliant
- Connectivity (Wide range of Connectivity Options with protocols: Http/s, IP multicast, STOMP, TCP, UDP, XMPP)
- Pluggable persistence and security
- Building messaging applications with Java
- Integration with application servers (Apache Tomcat, Jetty, Apache Geronimo, JBoss)
- Client APIs (C/C++, .NET,Perl,Python,Ruby and more)
- Broker clustering (Many ActiveMQ brokers can work together as a network of brokers for scalability purposes)
- Dramatically simplified administration
Finally, this guide includes detailed instructions about to Getting-Started with ActiveMQ Artemis on Ubuntu.

1. Accessing Shell
First, open a Terminal shell emulator window
Ctrl+Alt+t on desktop
(Press “Enter” to Execute Commands)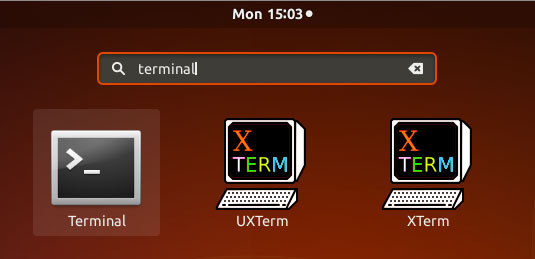 Or LogIn into Shell…
Contents
