GNU/Linux Debian Bullseye Installing Apache Wicket 8 – QuickStart Guide
Hi! The Guide shows you Step-by-Step How to Install Apache Wicket 8.X Java Framework on Debian Bullseye 11.x GNU/Linux Desktop.
And Apache Wicket for Debian 11 is a Very Clean Java Framework that use Plain Java for implementing the Dynamic behavior and Plain HTML for maintaining like Layout.
To Successfully Running the Wicket Framework you will Need to have Installed the Apache Maven and Oracle Java JDK 8+.
And this Visual Guide includes the Basic Screenshots of All GUI Steps involved.
Finally, this guide includes detailed instructions about to Getting-Started with Wicket on Debian.

1. Launching Terminal
Open a Terminal Shell Emulator Window:
(Press “Enter” to Execute Commands).In case first see: Terminal QuickStart Guide.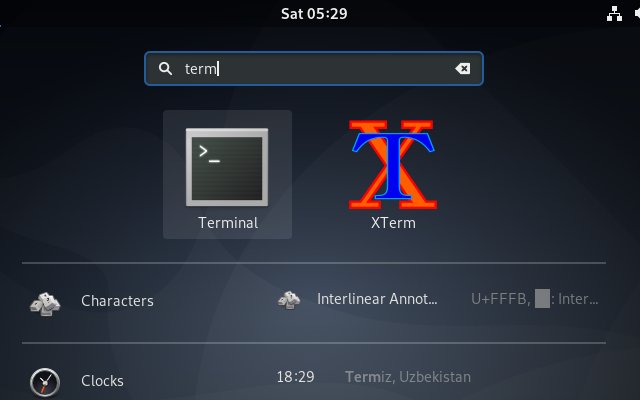
And Update the Apt Repositories with:sudo apt update
Authenticate with the User Admin Pass.
If Got “User is Not in Sudoers file” then see: How to Enable sudo.
Contents
