Setting Up
-
2. Downloading HP Scanner Driver
Download HP Scanner Driver Installer Script for Lubuntu
-
3. Installing HP Scanner Driver
Finally, to Install HP Scanner Driver
Change to the Directory containing the Downloaded HP Scanner Drivers Installercd ~/Downloads
Give Execution Permissions
chmod +x hplip*.run
Run the HP Scanner Drivers Installer
sudo ./hplip*.run
Confirm to “Install as Root” to avoid potentials installation issues…
Then you can simply Choose “a” for the Automatic Setup.
In Case of Upgrade when Prompted Confirm ro Re-Install with “i”.
For the others just Confirms the Defaults.
The Installer will Provide Automatically to Manage all the Software Dependencies!
During Installation you may be Prompted about to Unplug and Re-Plug the USB Connected Scanners:
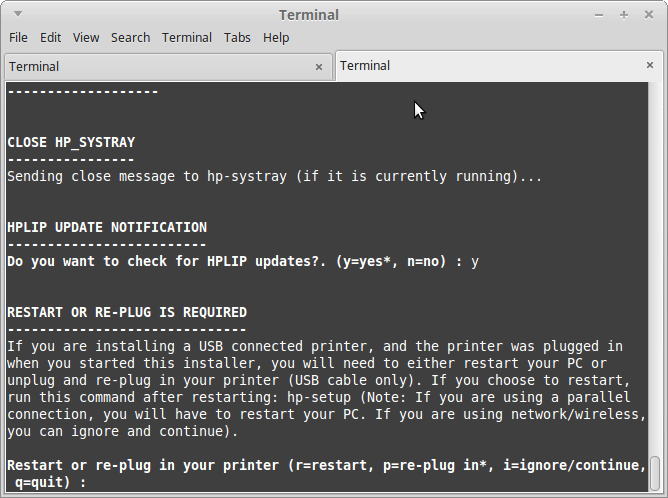
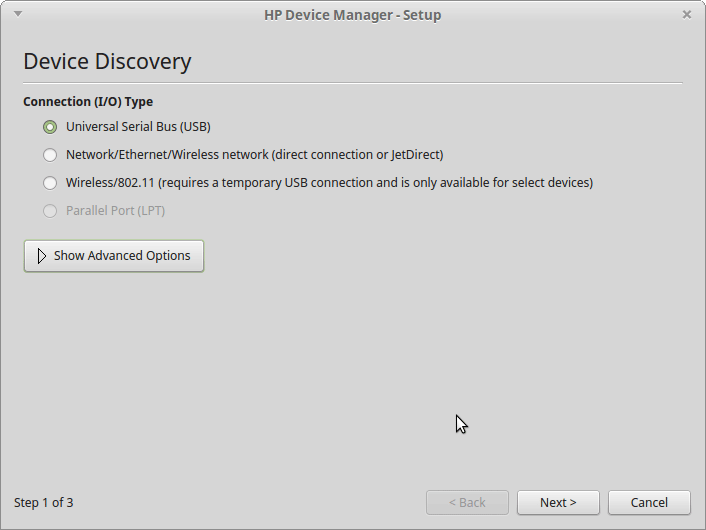
In any cases you can Plug-In a New HP Device simply by Running this Command:sudo hp-setup
And then Following the Wizard…
-
4. Adding HP Printer
So now to Install HP Printer in Lubuntu
First, access the Menu Settings > Printers: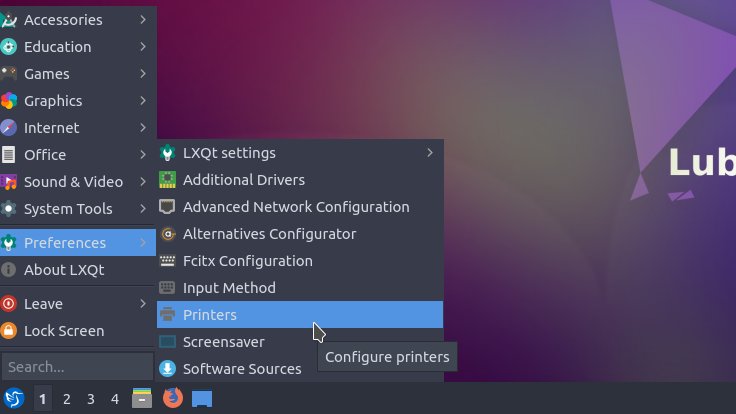
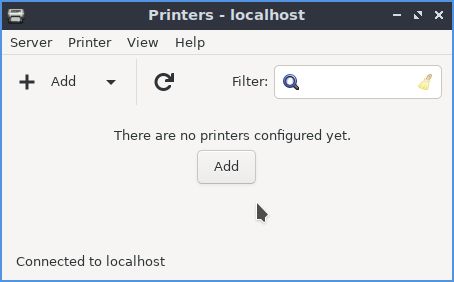
And then Choose to “Add” Printer:
Now “Install PPD File” and then Browse for the Driver:
How to Find Printer PPD File’s Location on Lubuntu
Or else try to Search it in the “Printers Database”.
Contents
