Installing
-
3. Installing GitAhead
Then to Set up GitAhead on Debian
First, Access the Target, usually in the Downloads folder:cd && cd Downloads
To Check it’s there List the contents with:
ls . | grep GitAhead
The grep Command Refine the output List showing only the entries Matching the Keyword.
But if you are in Trouble to Find the Location on Terminal then See: How to Access Downloads Folder from Browser.
Then give Execution Permission:chmod +x ./GitAhead*.sh
Now for a System-wide Setup move the Script:
sudo mv ./GitAhead*.sh /opt
(For a Local one store somewhere into the Home Directory and then skip sudo and fixing Ownerships.)
Now to Setup GitAhead run:sudo ./GitAhead*.sh
Authenticate with the User Admin Pass.
If Got “User is Not in Sudoers file” then see: How to Enable sudo.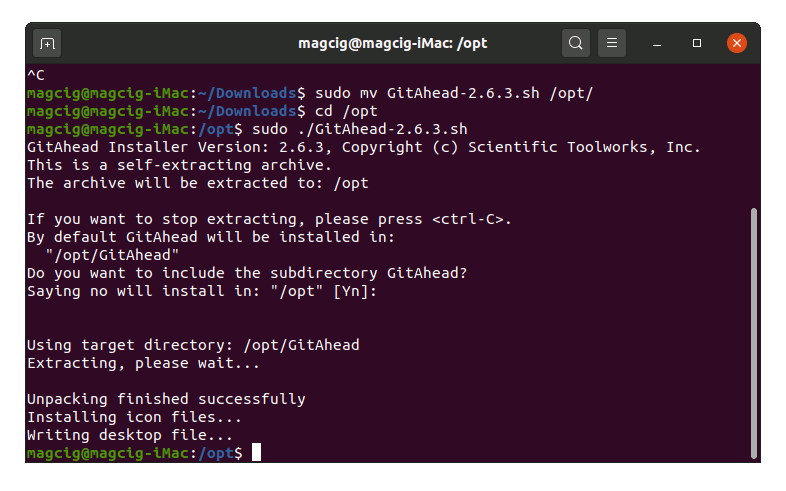
Next make a Symlink for easy launching from terminal with:
sudo ln -s /opt/GitAhead/GitAhead /usr/local/bin/GitAhead
Again to fix Ownerships issue:
sudo chown -R root:root /opt/GitAhead
Finally, to delete the Script play:
sudo rm ./GitAhead*.sh
Contents
