Installing
-
2. Downloading GitEye
Download CollabNet GitEye Client for Linux
If possible Choose to ‘Open with Archive Manager’.
-
3. Extracting GitEye
Then Extract it into /tmp/GitEye
Possibly Double-Click/Right-Click and Open with Archive Manager: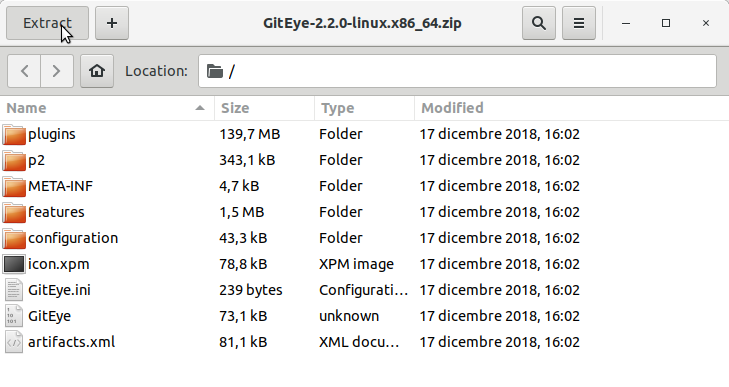
Or from Shell:mkdir /tmp/GitEye
unzip -d /tmp/GitEye ~/Downloads/GitEye*.zip
(But if you are in Trouble to Find the Location on Terminal then See: How to Access Downloads Folder from Browser.).
-
4. Setting Up GitEye
Relocating GitEye
First, Set the SuperUser as Owner:sudo chown -R root:root /tmp/GitEye
Then Switch Contents:
sudo mv /tmp/GitEye /opt/GitEye
Authenticate with the User Admin Pass.
If Got “User is Not in Sudoers file” then see: How to Enable sudo.
Contents
