Adding Printer
-
4. Accessing Ubuntu Settings
Then Open Ubuntu Settings:
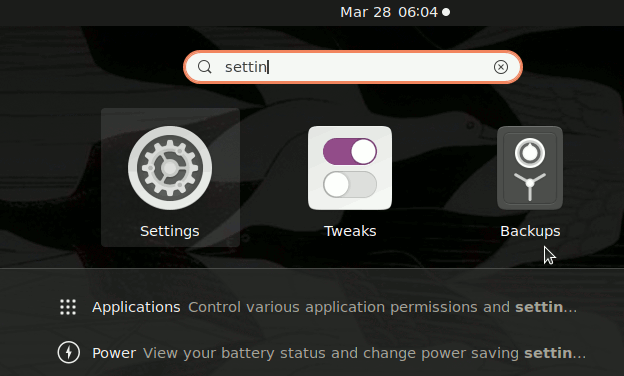
Simply Hit Cmd/Win and Search for ‘Settings’.
-
5. Installing Printer
And Add Printer in Ubuntu
Choose ‘Printers’.
And then the ‘Add Printer’ Button:
So then Select the Printer that should be Found and Confirm to Add it.
But if Not Found then Verify the Printer is Connected and Turned On.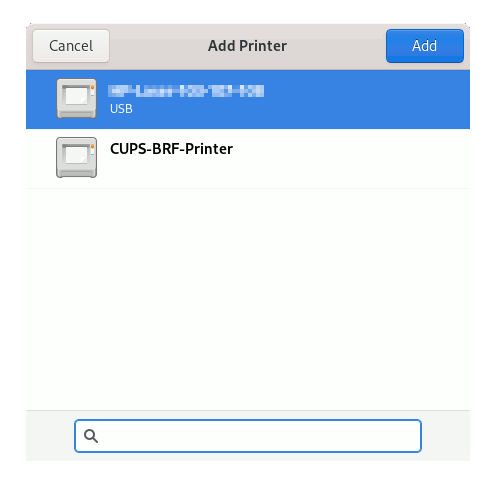
Now wait and the Printer should be Automatically Discovered!
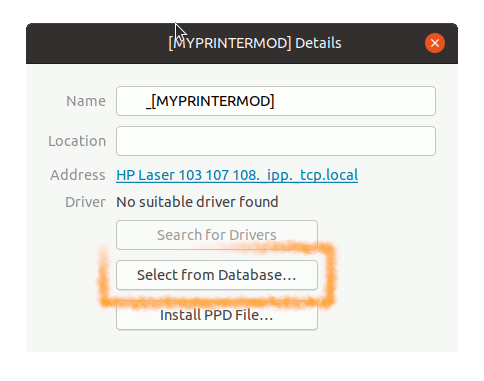
Next again Find and Choose the “Printer Details“: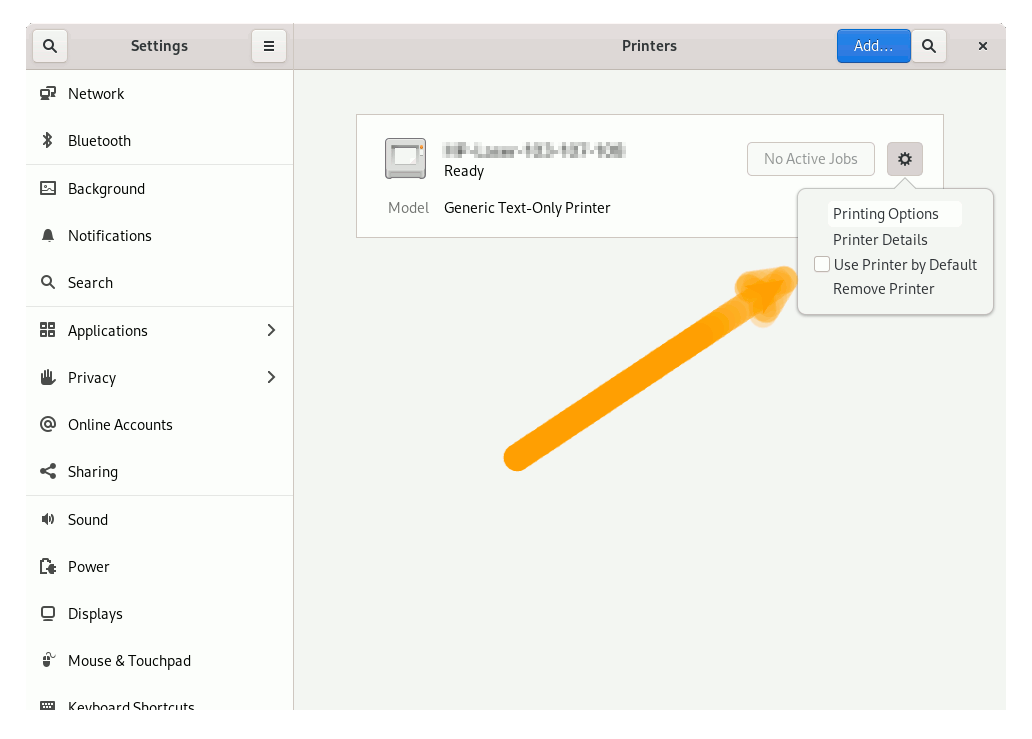
Then you have 2 possible Choices:
Browsing for PPD Printer Driver
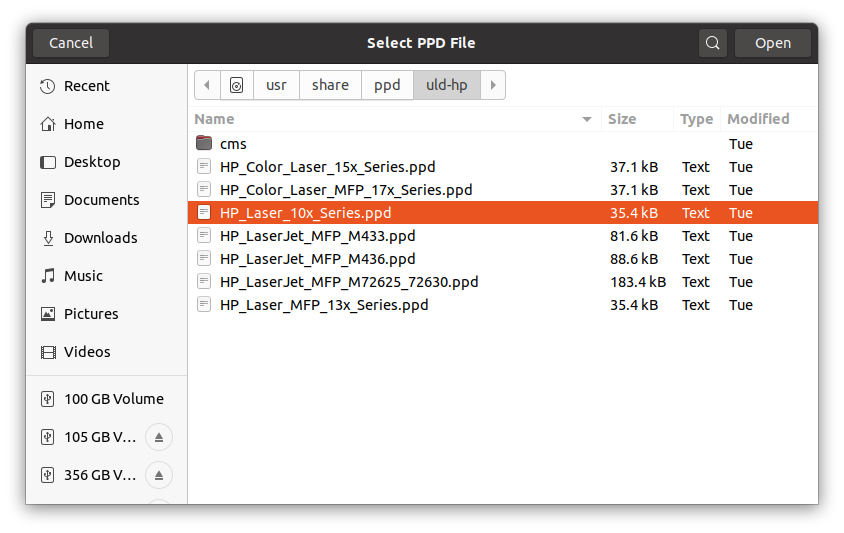
So Choose “Install PPD File”:
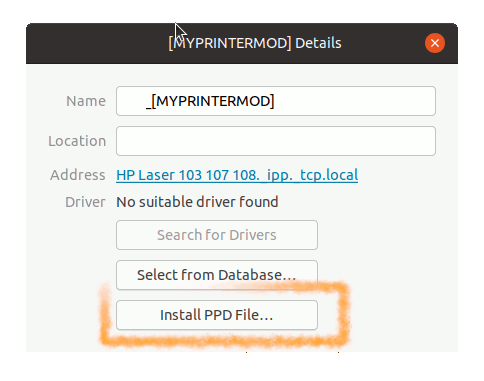
This Step is Needed for many Laser Printer New Models, but may be Used to Install Any Printer!
Browsing for the PPD File Location:How to Find Printer PPD File Location on Ubuntu
Selecting Printer Driver from Database
Instead, Choose “Select Driver from Database”:
Now you have simply to Find out your Printer’s Model:

Take into account that the Printer Model in this Wizard may Shows up Rounded.
So 3600 is valid for All the 3600 Series Printer like for instance 3640; and again 10x is valid for All the 100 Series Printer as for example 107a.Finally, the Printer should be Successfully Installed and Working!
You may Print the Test Page to Check it Up: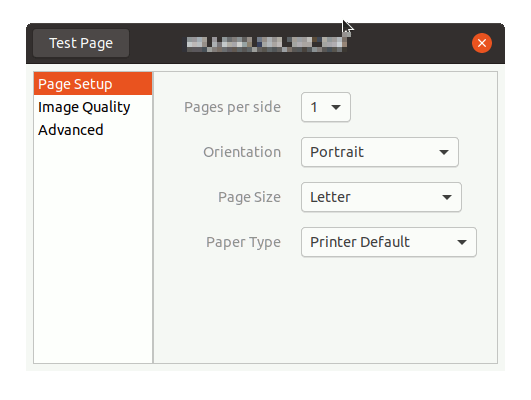
Contents
