GNU/Linux Debian Epson WF-7710/WF-7720 Driver Setup – Step-by-step Guide
Hi! The Tutorial shows you Step-by-Step How to Download and Install Epson WF-7710/WF-7720 Printer/Scanner Driver in Debian 9.x/10.x/11.x/12.x GNU/Linux Desktop.
And to achieve the Epson WF-7710/WF-7720 Printer Debian Setup you need to Download and Install the Proprietary Driver and then Add Printer.
Especially relevant: using the Epson Printer Utility Software, you can Check Ink Levels, View Error and other Status… on EPSON Series Printers.
Furthermoe, the guide includes also instructions on How to Get Started Scanning & Faxing with Epson WF-7710/WF-7720 on Debian.
Finally, this Guide is valid also for other Debian-based Distros like:
- Deepin
- antiX
- Parrot
- Netrunner
- Voyager
- LMDE Linux
- SparkyLinux
- Q4OS
- MakuluLinux
- Steam OS
- Elive Linux

-
1. Launching Terminal
Open a Terminal window
(Press “Enter” to Execute Commands).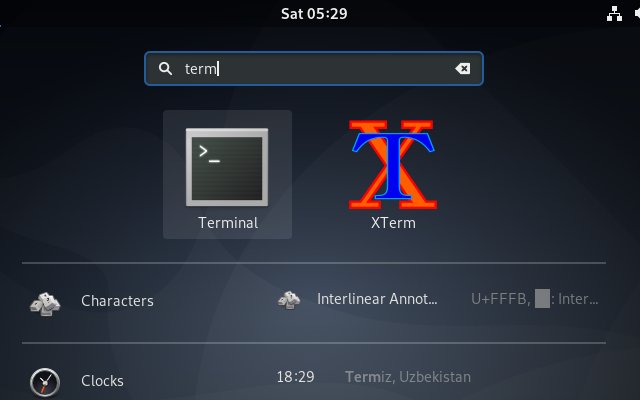
And then Update Debian Repositories:
sudo apt update
Authenticate with the User Admin Pass.
If Got “User is Not in Sudoers file” then see: How to Enable sudo.
Contents
