Step-by-step – Samba File Sharing on Ubuntu 14.04 Guide

June 23, 2021 | By the+gnu+linux+evangelist.

Setting Up Server

  1. 2. Installing Samba Server

    Then to Install Samba Server on Ubuntu
    Simply play:

    sudo apt install samba samba-common-bin samba-vfs-modules winbind bind9 bind9utils ldb-tools ntp smbldap-tools libnss-winbind libpam-winbind

    Authenticate with the User Admin Pass.
    If Got “User is Not in Sudoers file” then see: How to Enable sudo.
    This Setup includes the Utilities for File and Printer Sharing.

  2. 3. Installing Samba GUI

    Then to Install Samba Configuration GUI
    Simply play:

    sudo apt install system-config-samba

    Again to fix a missing File issue:

    sudo touch /etc/libuser.conf
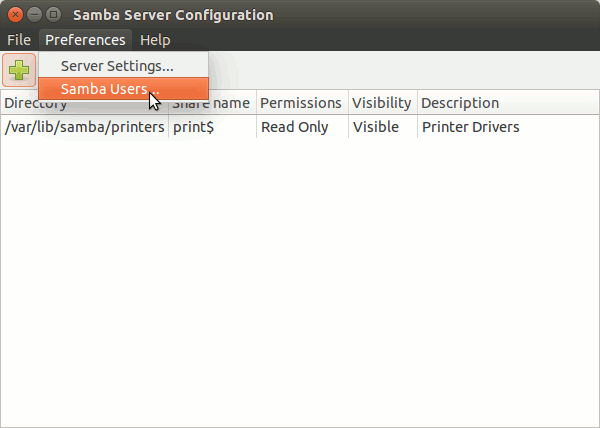
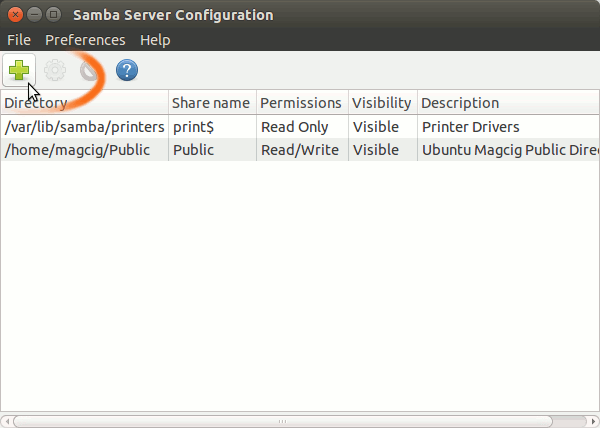
  3. 4. Configuring Samba Server

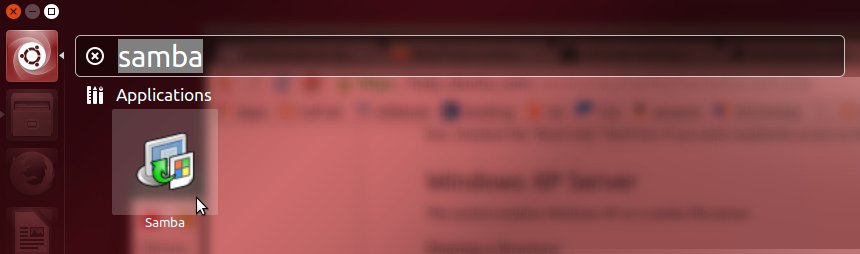
    Then Launch the Samba Configuration GUI

    Ubuntu 14.04 Trusty File Samba Server Quick Start - Launch the Samba Configuration GUI

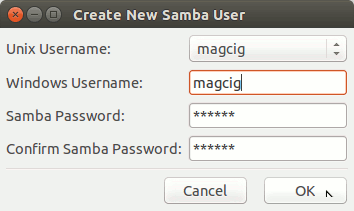
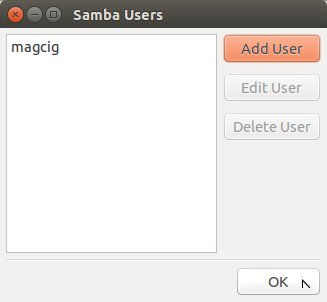
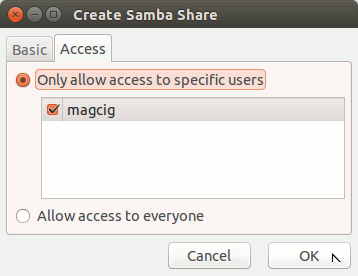
    First, Add Enabled User:

    Ubuntu 14.04 Trusty File Samba Server Quick Start - Add User
    Ubuntu 14.04 Trusty File Samba Server Quick Start - Setting Credentials
    Ubuntu 14.04 Trusty File Samba Server Quick Start - Add User

    Again Add Enabled Directory:

    Ubuntu 14.04 Trusty File Samba Server Quick Start - Add Directory
    Ubuntu 14.04 Trusty File Samba Server Quick Start - Directory Settings
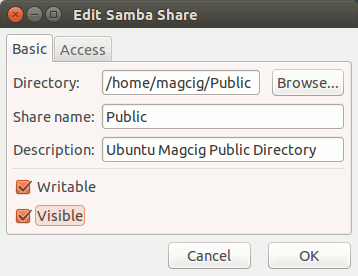
    In case you can Grant Read only access to the Folder.
    Ubuntu 14.04 Trusty File Samba Server Quick Start - Enabling Access

Contents


Tags: , , , , , , , , , , , , , , , , , , , , , , , , , , , , , , , , , , , , , , , , , , , , , , ,

QuickChic Theme • Powered by WordPress