Linux Mint 20 With Windows 11 Dual Boot Installation – Step-by-step

November 12, 2021 | By the+gnu+linux+evangelist.

Installing

  1. 6. Installing Linux Mint 20

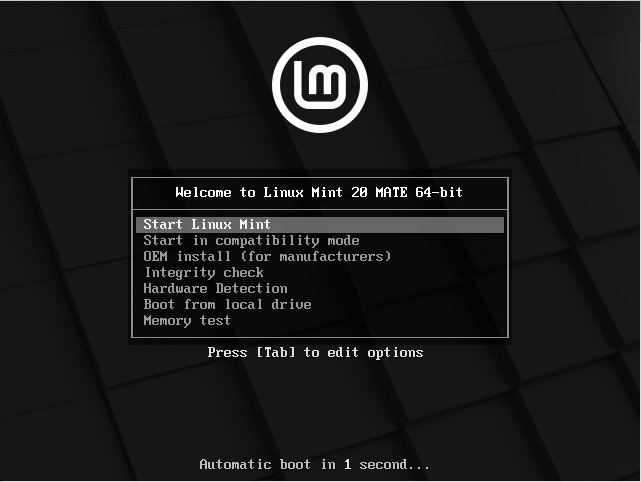
    First, Start the Linux Mint 20.x Mate:

    Step-by-step Linux Mint 20 Alongside Windows 11 Installation - Launching Mint Live

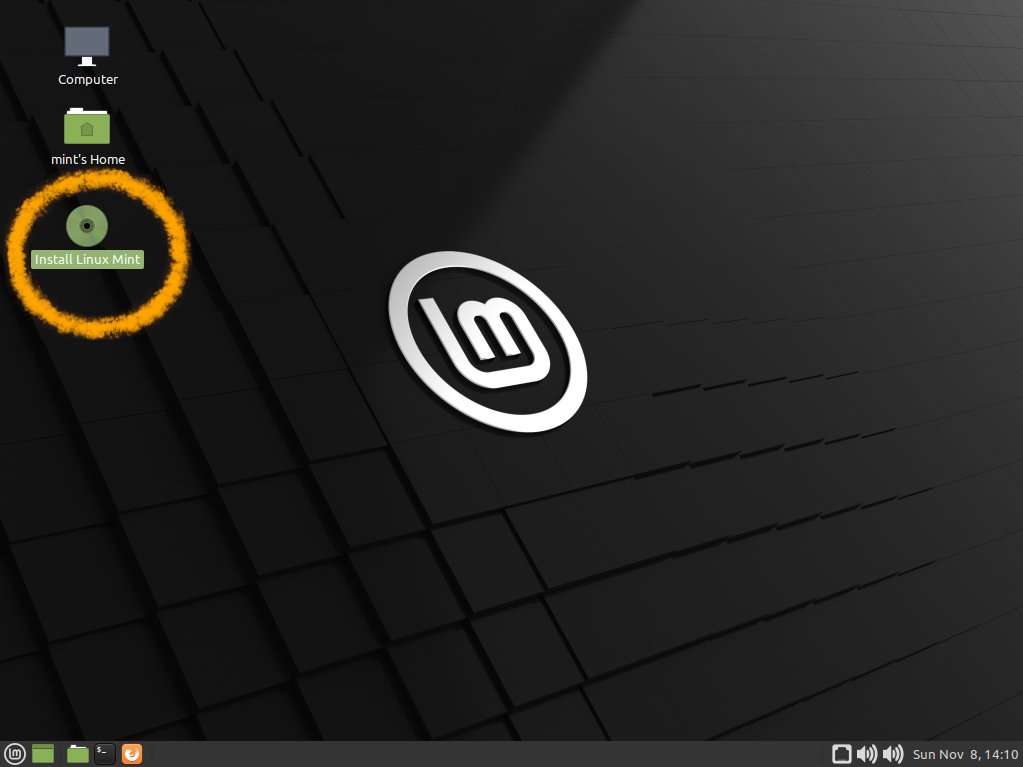
    Then, Double-Click on Desktop Icon to Start Linux Mint 20.x Installer:

    Step-by-step Linux Mint 20 Alongside Windows 11 Installation - Start Installation

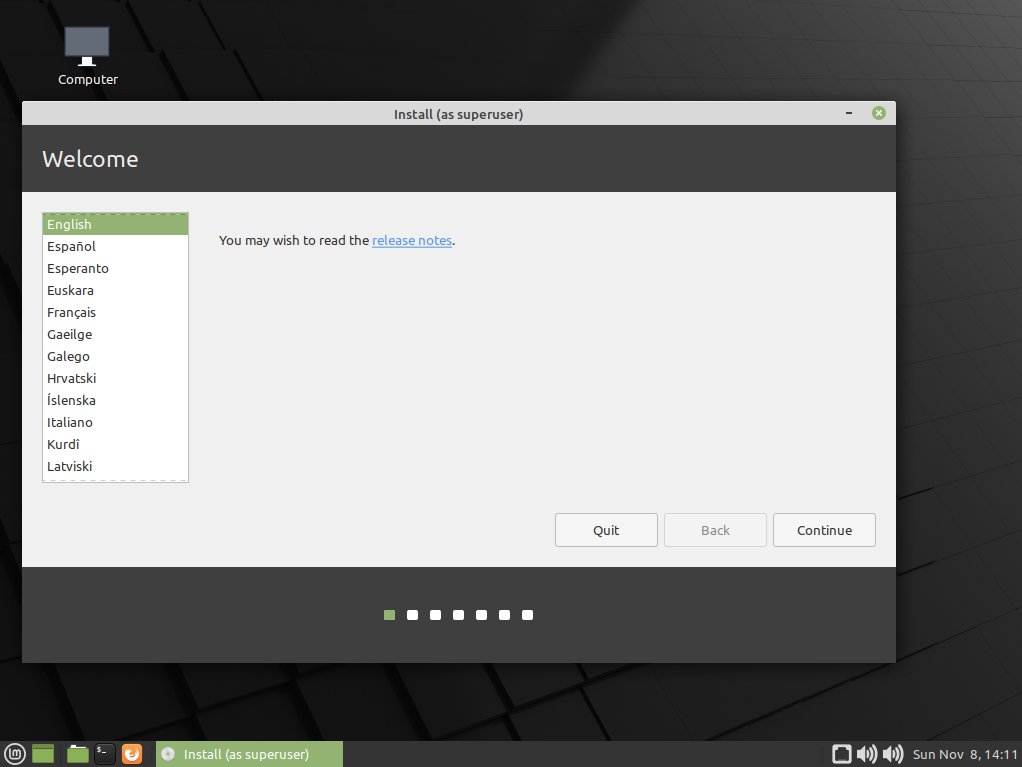
    Select Installation Language on Welcome Screen:

    Step-by-step Linux Mint 20 Alongside Windows 11 Installation - Language

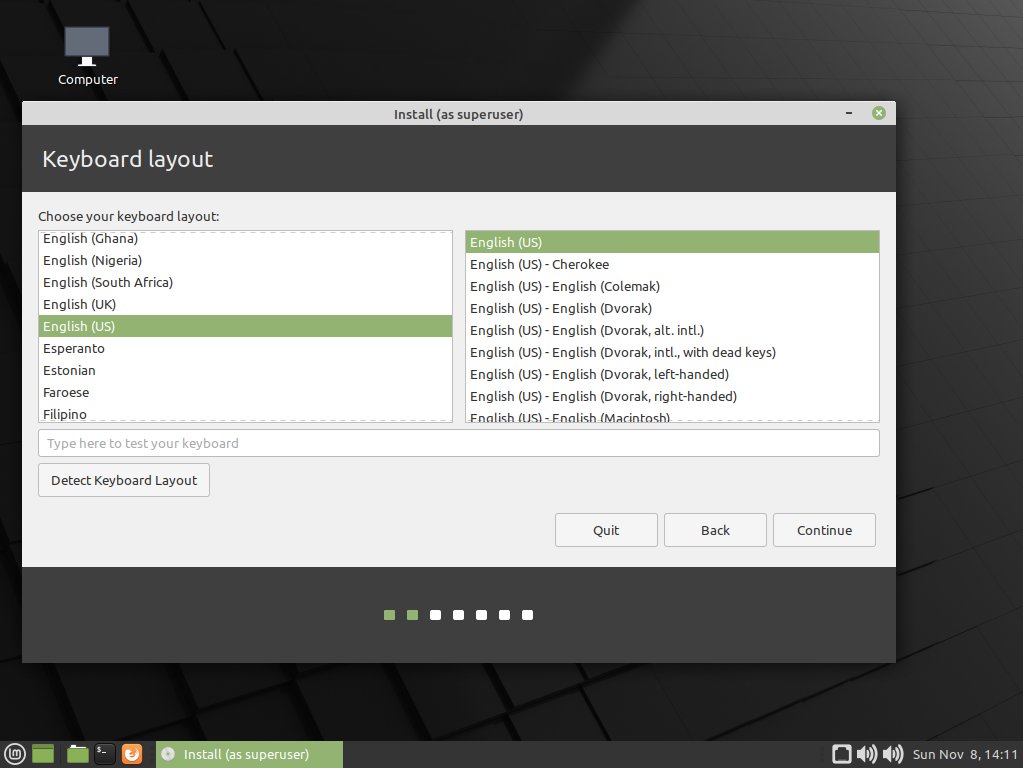
    Set the Keyboard Layout:

    Step-by-step Linux Mint 20 Alongside Windows 11 Installation - Set Keyboard Layout

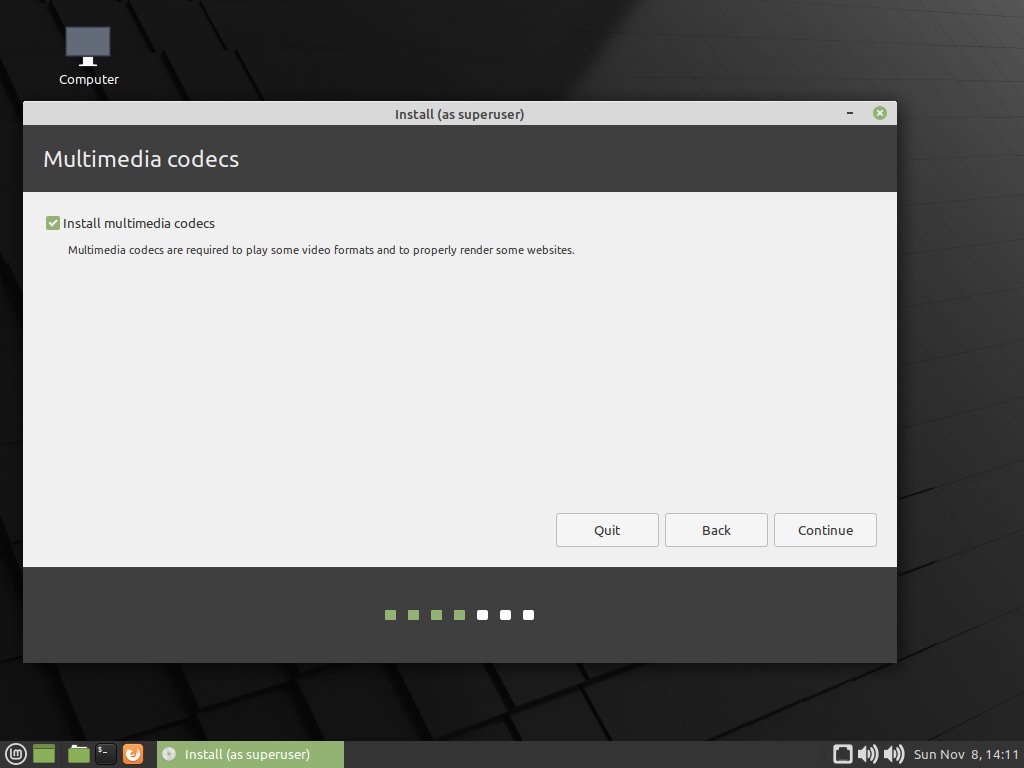
    Check Box for the Multimedia Codecs Installation:

    Step-by-step Linux Mint 20 Alongside Windows 11 Installation - Multimedia Codecs

    Formatting Linux Mint Partition.

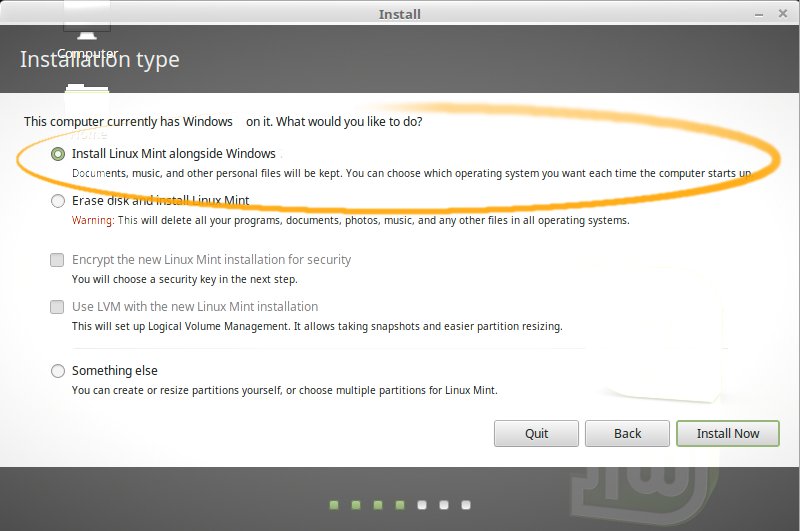
    A good Choice is to confirm the Install Linux Mint Alongside Windows 11:

    Step-by-step Linux Mint 20 Alongside Windows 11 Installation - Alongside Windows 11

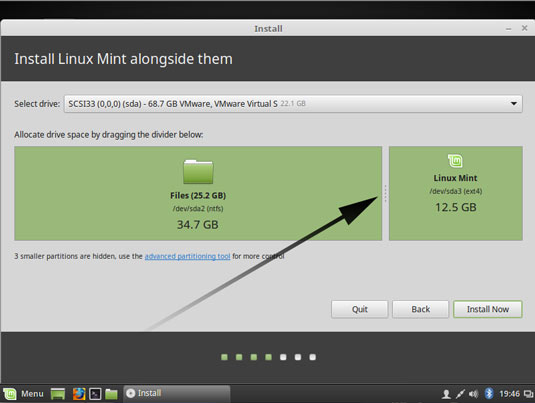
    Then Drag to change how to split the Disk, my reccomadation is to leave at least 11Gb to Mint OS:

    Step-by-step Linux Mint 20 Alongside Windows 11 Installation - Partitioning

    Finally, Confirm the Setup!

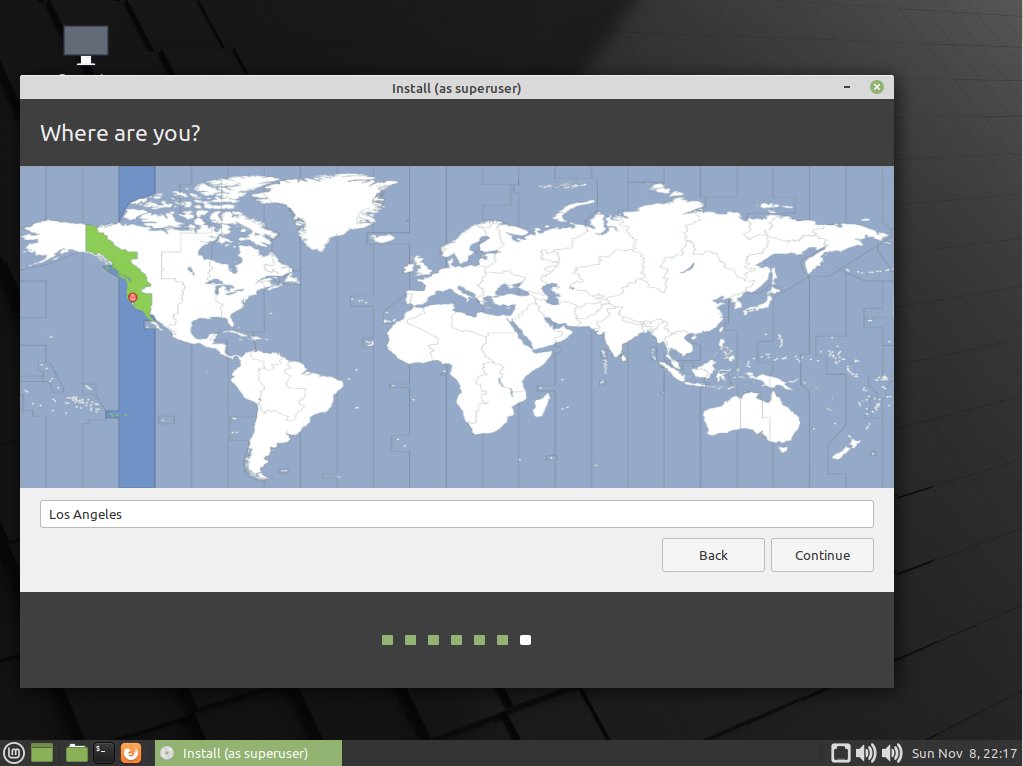
    Again choose the Time-Zone:

    Step-by-step Linux Mint 20 Alongside Windows 11 Installation - Set Time-Zone

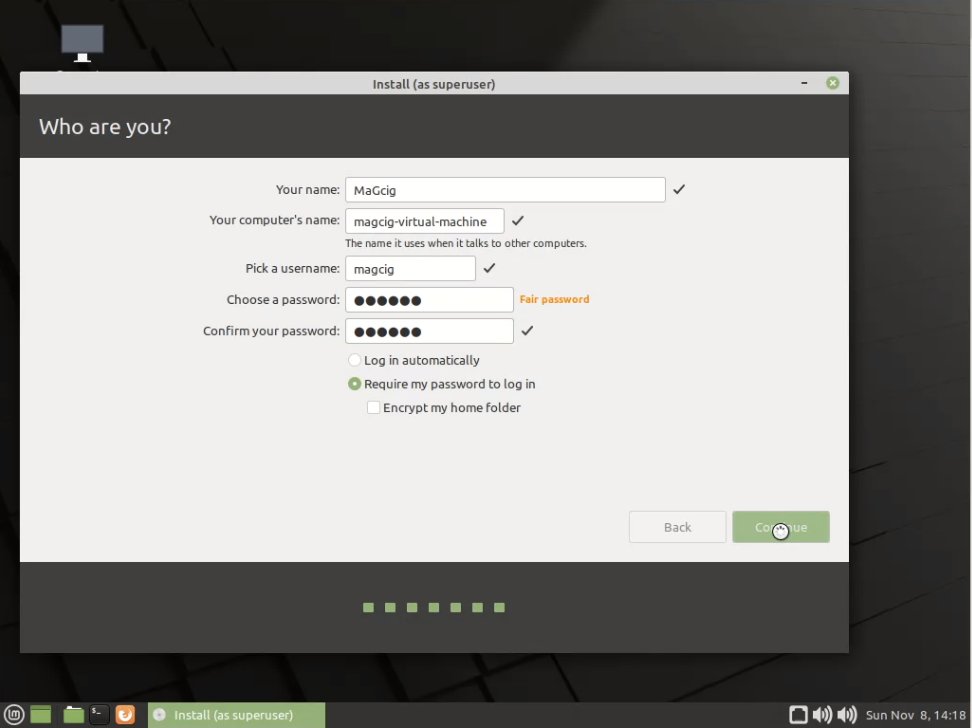
    SetUp a regular User:

    Step-by-step Linux Mint 20 Alongside Windows 11 Installation - User SetUp

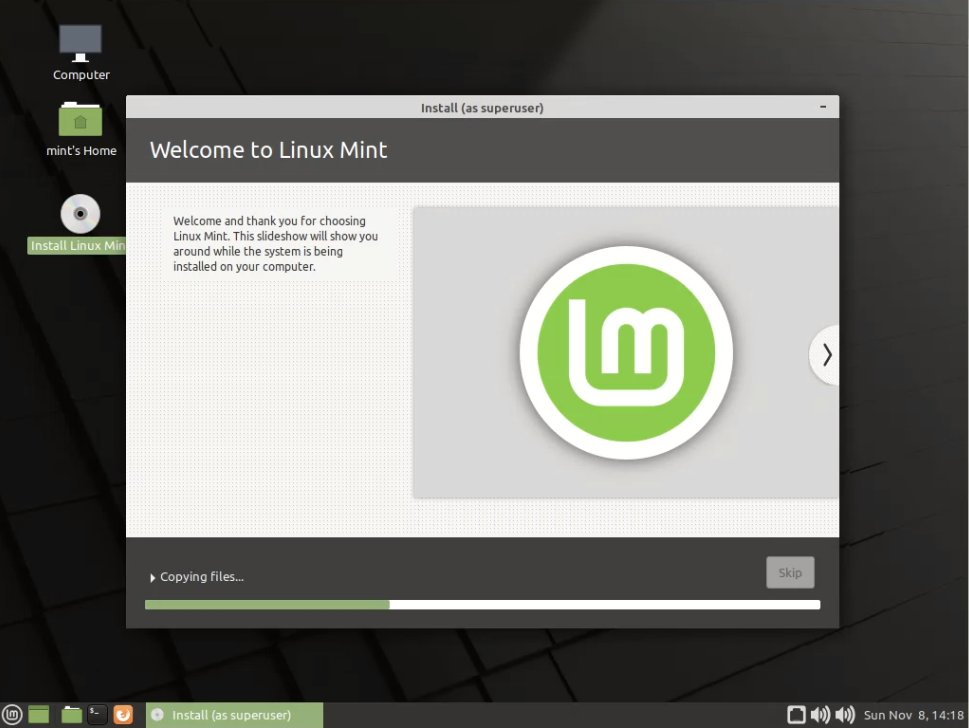
    Follow the Linux Mint 20 Installation:

    Linux Mint 20.x Mate Installing

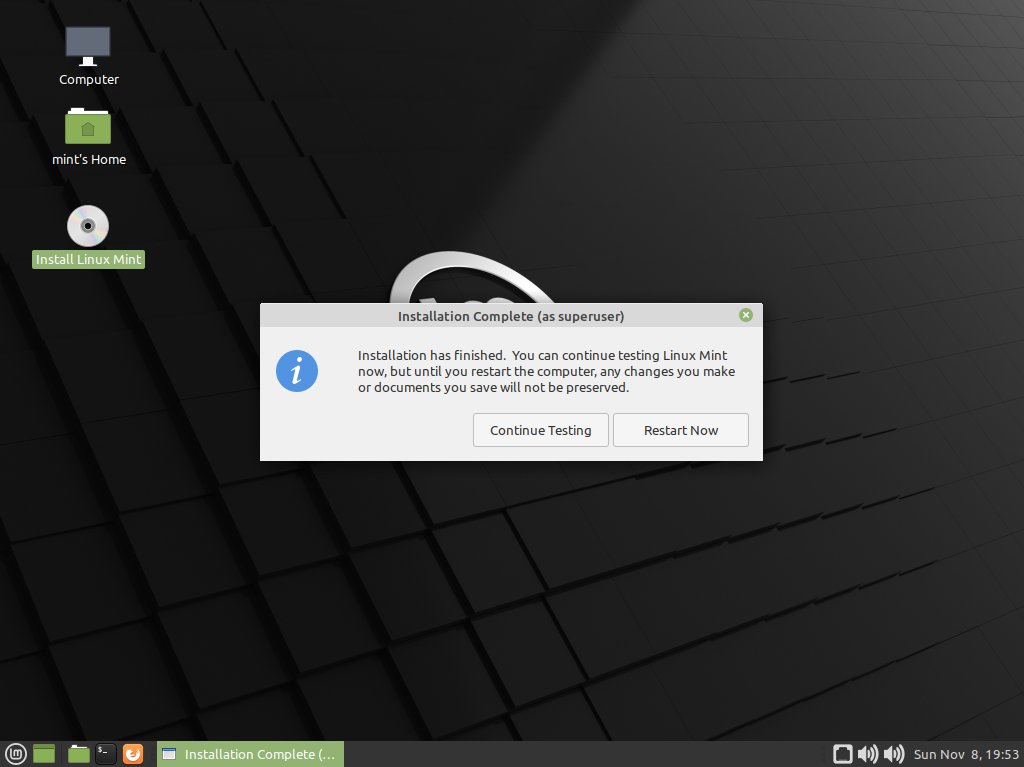
    Next choose Restart Now:

    Step-by-step Linux Mint 20 Alongside Windows 11 Installation - Success and Reboot

QuickChic Theme • Powered by WordPress