GNU/Linux Lubuntu XSane Scanning – QuickStart Guide
Hi! Embark on a guided journey as our tutorial unveils the step-by-step process of Installing and Getting started with the XSane Scanner GUI on your Lubuntu GNU/Linux Desktops.
And XSane for Linux Lubuntu is a Graphical scanning Frontend for SANE (Scanner Access Now Easy) that uses the SANE-library to talk to Scanners.
This means that XSane does not support any Scanners itself. Take a look at the SANE-backends homepage to find out which Scanners are supported by SANE.
SANE (Scanner Access Now Easy) is an open-source software project aimed at providing standardized access to scanners and other imaging devices. It allows applications to interact with scanners in a consistent and platform-independent manner. SANE supports a wide range of scanners, including flatbed scanners, sheet-fed scanners, and film scanners, from various manufacturers.
Here are some key Features of XSane:
- Device discovery: XSane automatically detects and lists available scanners connected to the system.
- Preview mode: Users can preview the scanned image before performing the actual scan, allowing them to adjust settings and crop the image if necessary.
- Scan settings: XSane provides options to customize scan settings such as resolution, color mode (grayscale, color), brightness, contrast, and scan area.
- Batch scanning: XSane supports batch scanning, allowing users to scan multiple documents or images in sequence without manual intervention.
- Image adjustments: Users can make adjustments to the scanned image, such as rotating, flipping, and cropping.
- File formats: XSane supports saving scanned images in various file formats, including popular formats like JPEG, PNG, TIFF, and PDF.
Overall, XSane provides a convenient and easy-to-use interface for scanning documents and images using SANE-compatible scanners on Unix-like operating systems. It’s a valuable tool for both casual users and professionals who need to digitize physical documents or photos.
Finally, the Way followed here is Practically Working but perhaps it may miss of the ultimate Terminal Command to recognize the Device associated with the Scanner.

1. Launching Terminal
Open a Terminal Window
(Press “Enter” to Execute Commands).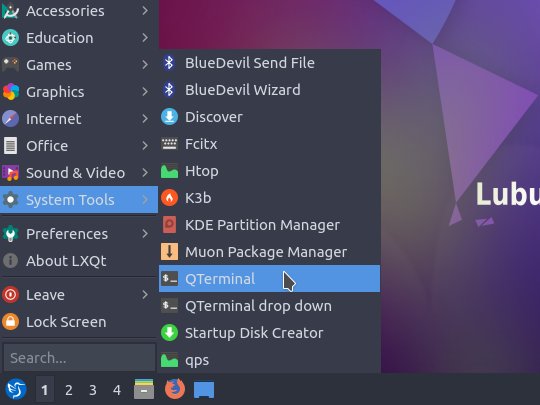 Ctrl+Alt+t on Desktop.
Contents
