GNU/Linux Mageia Installing GitEye – QuickStart Guide
Hi! Empower your development workflow on Linux with our detailed tutorial. Join us as we walk you through the step-by-step process of Installing GitEye, enabling seamless version control and collaboration for your projects in Mageia GNU+Linux Desktop.
And CollabNet GitEye for Mageia Linux is an Intuitive Graphical Git Client with Integration to your favorite Planning, Tracking, Code Reviewing, and Build Tools.
Moreover, Git comes with built-in GUI tools for committing (git-gui) and browsing (gitk), but there are several third-party Tools for Users looking for Platform-specific Experience.
So this Guide is Valid also for All the others Mageia like Distros as:
- OpenMandriva
- ROSA
Finally, this Guide presents to you a GitEye Mageia Linux System-Wide Setup, for a local one simply Store it in a Location inside the Home directory.

1. Launching Console
Open a Terminal Shell emulator window
(Press “Enter” to Execute Commands)In case first see: Terminal QuickStart Guide.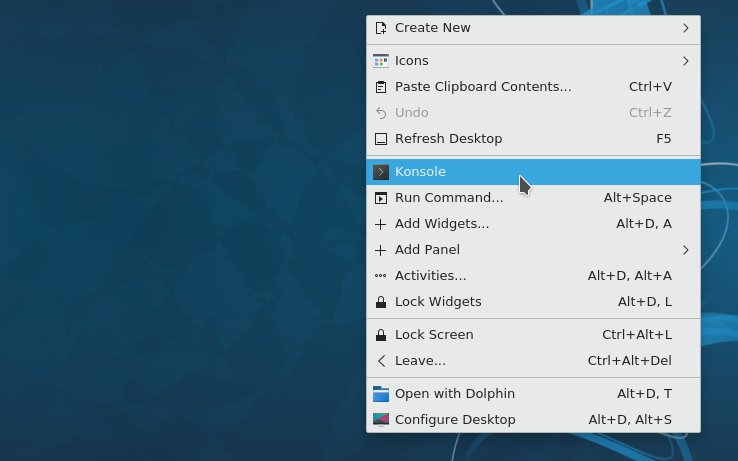
Contents
