Install Linux Mint 17 Qiana 32/64-bit on Top of Windows 7
Hi! The Tutorial shows you Step-by-Step How to Install Linux Mint 17 Qiana Mate i386/amd64 Alongside Windows 7.
You Just Need Only some 10Gb+ of Free Space on your Computer or on an External Drive and a Free Linux Mint 17 Qiana Media to Launch on PC and the Task is Easily Achieved! :)
Inside the Guide Link to How to Prepare or Burn the Linux Mint Installation Media but if you Need then Consult the Online Linux Mint Documentation.
Linux Mint 17 Qiana it’s Fantastic because you Do Not Need to worry about Disk Partitioning to Get Installed Linux Alongside Windows 7!
More than this you Do Not have to Worry about How to Setup a Windows/Linux Dual-Boot because with Linux Mint it’s All Done :)

Linux Mint 17 Qiana Mate New Features at a glance:
- Update Manager
- Drivers Manager
- Login Screen
- Language Settings
- Software Sources
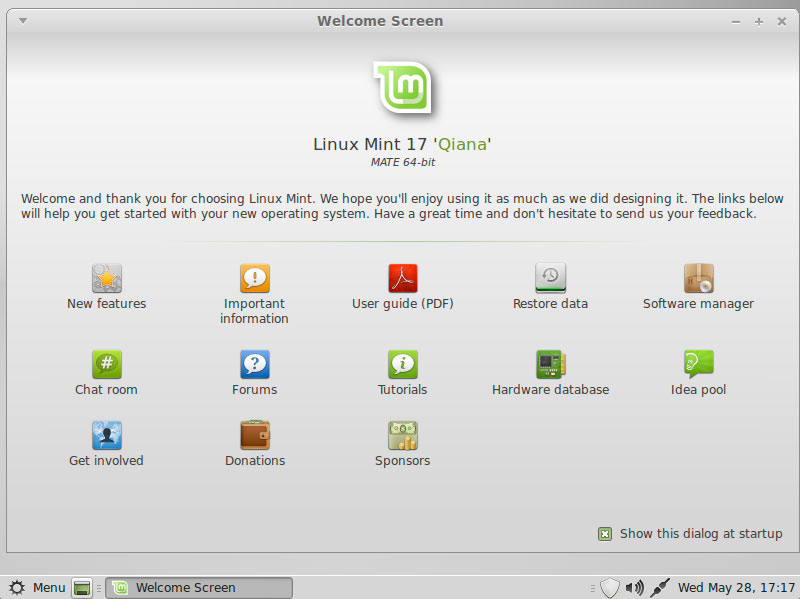
- Welcome Screen
- MATE 1.8
- System Improvements
- Artwork Improvements
- Main Components
- LTS Strategy
-
How to Download & Burn Linux Mint 17 Qiana Mate
-
How to Free Up Space for Linux Installation on Disk
-
Look this Visual Guide to Boot PC with Linux Live CD/DVD
-
Boot with the Linux Mint Installation Media
-
Double-Click on Icon to Start Linux Mint 17 Qiana Installation

-
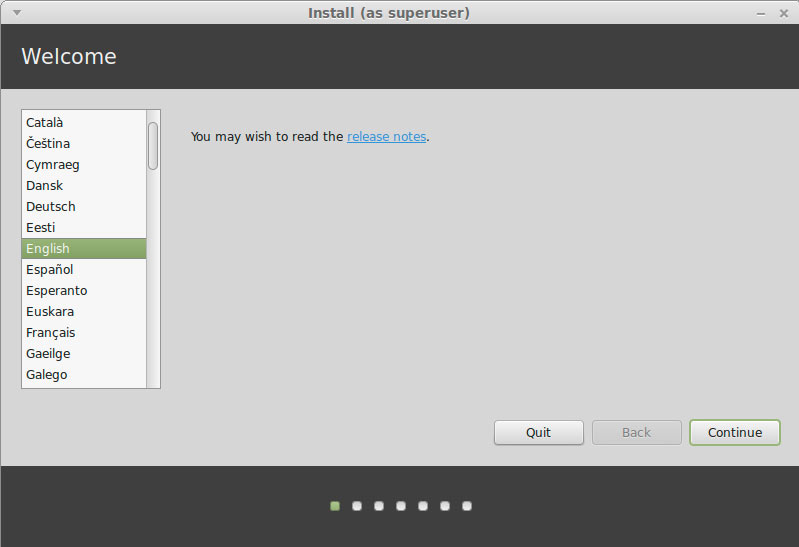
Select Installation Language on Welcome Screen.
-
Take the Default “Install Linux Mint alongside Windows 7”
And Click on “Install Now!”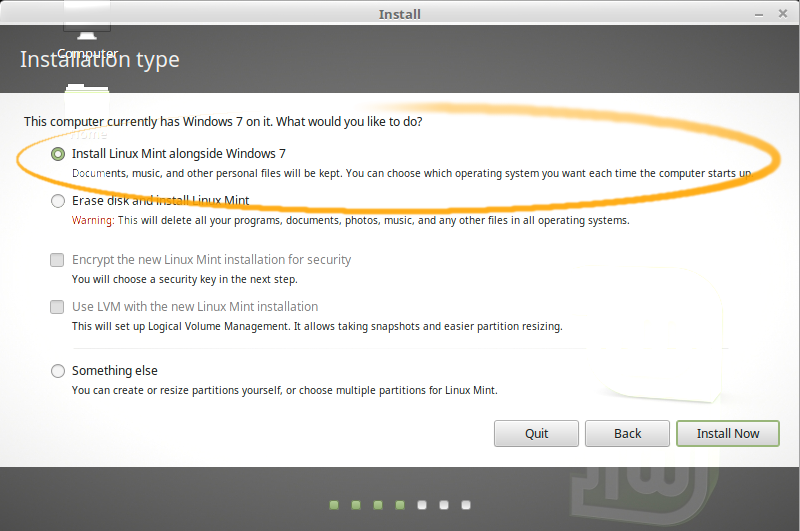
-
Then Simply Confirm your Choice
The root and swap Volumes will be created automatically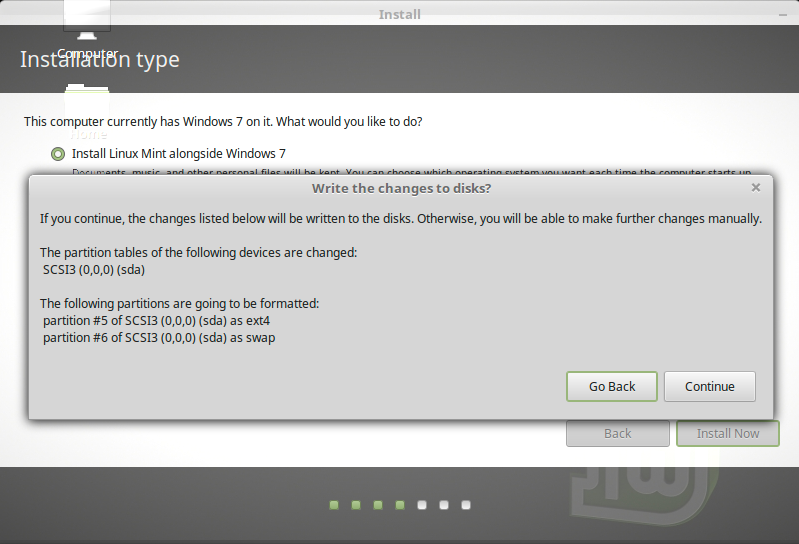
-
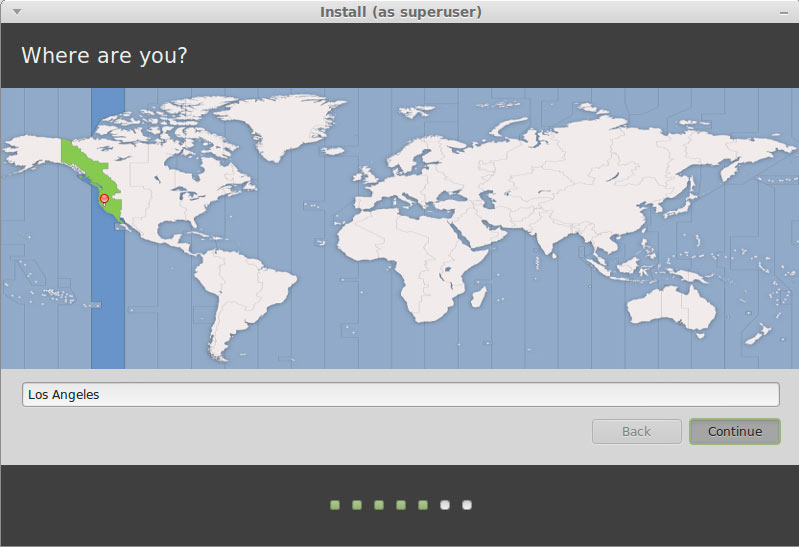
Set the Time-Zone.
-
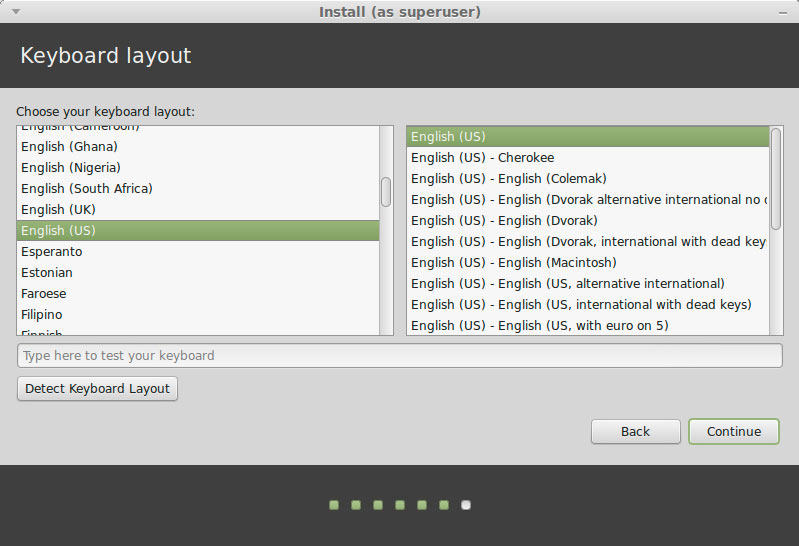
Set the Keyboard Layout.
-
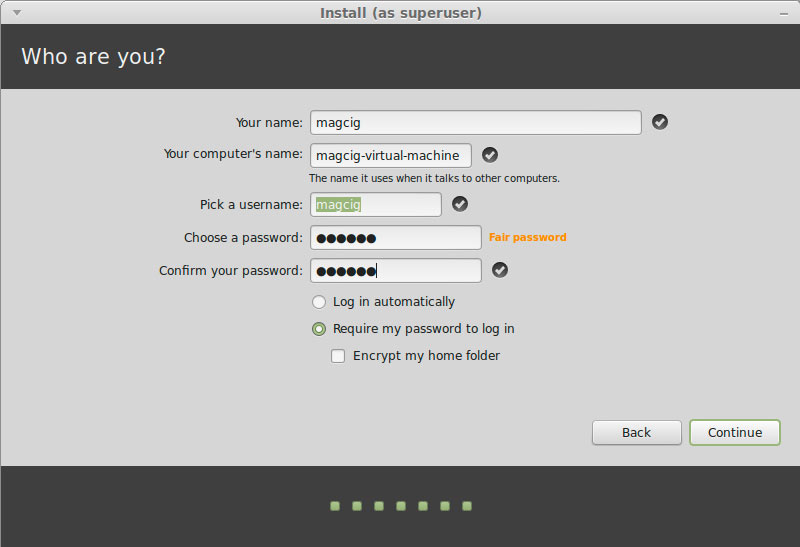
SetUp a Regular User.
Take Note of the Password!
-
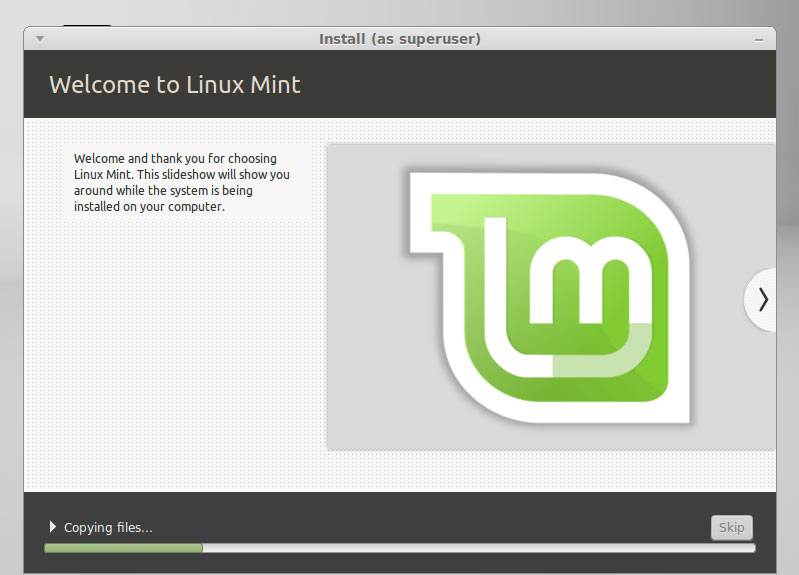
Installing Linux Mint 17 Qiana.
-
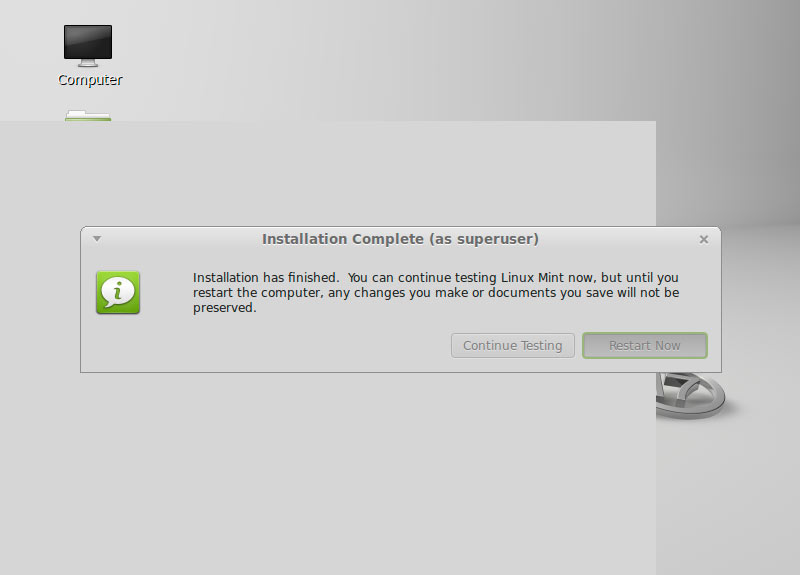
Reboot Into Linux Mint 17 Qiana Mate Desktop!.
-
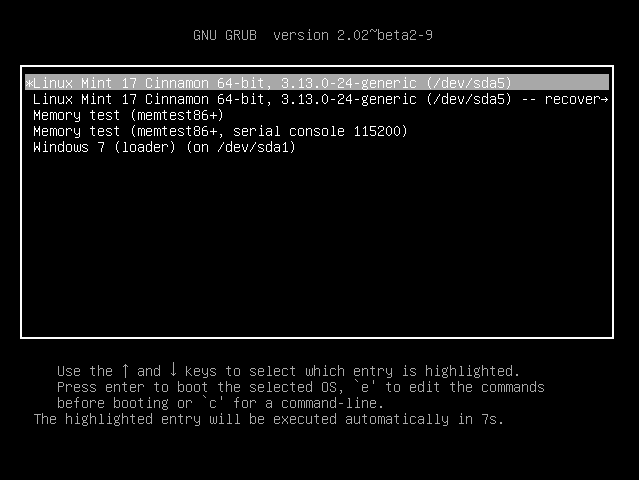
On GRUB Boot Screen you Can Choose to Boot Mint or Windows 7 :)
Select by the Keyboard Up/Down Arrows
-
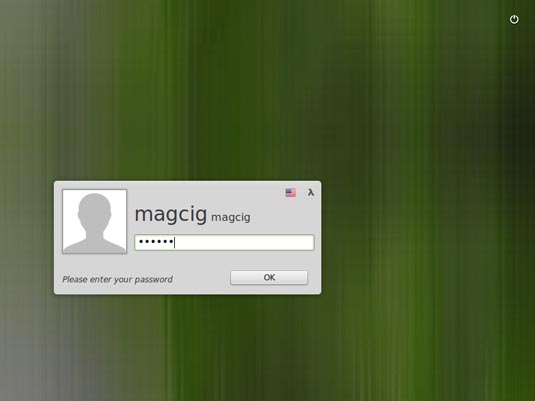
Login into Linux Mint 17 Qiana with your User Password.