Linux Ubuntu Java EE 7 Development Quick Start
Hi! The Tutorial shows you Step-by-Step How to Install and Getting-Started with Java EE 7 Software Development Kit on Ubuntu 14.04 Trusty Tahr LTS i386/amd64 Linux Desktop.
The Java EE 7 Sdk with the Glassfish 4 App Server Installation is the First, Step of a Java EE 7 Development Walk.
The Oracle GlassFish 4 Application Server is the Reference for the Java EE 7 Web Apps Development and Deployment.

-
How to Install Required Oracle Java JDK 8+ on Ubuntu
Provide also to Set the $JAVA_HOME Env. Variable…
-
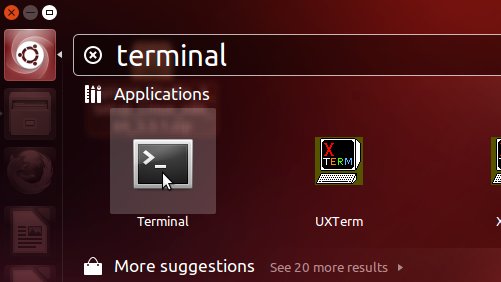
Open a Command Line Terminal Shell Session
Ctrl+Alt+t
(Press “Enter” to Execute Commands)
In case first see: Terminal QuickStart Guide.
-
Download Java EE 7 SDK for Linux:
-
Double-Click on Archive and Extract.
Or from Command Line:unzip java_ee_sdk-7*.zip
-
Relocate Oracle Java EE 7 SDK (Optional).
sudo chown -R root:root ~/Downloads/glassfish4
sudo mv ~/Downloads/glassfish4 /opt/
For a Local Installation just Skip the 2 Steps…
-
Starting/Stopping the Glassfish 4 App Server.
cd /opt/glassfish4/glassfish
To Start Up:
sudo ./bin/startserv
To Stop:
sudo ./bin/stopserv
-
How to Getting-Started with Java EE 7 Examples
