Install Komodo Edit Ubuntu 16.04 Xenial
Hi! The Tutorial shows you Step-by-Step How to Install Komodo Edit in Ubuntu 16.04 Xenial LTS GNU/Linux Desktop.
And ActiveState Komodo Edit 12.x for Ubuntu 16.04 is a Free Multi-Featured Rich Editor for: PHP, Python, Ruby, JavaScript, Perl, Tcl, XML, HTML 5 and CSS 3.
Moreover, It Disposes Out-of-the-Box of an Enabled Code-Intelligence with Nice Auto-Completion and Easy Snippets.
Finally, to Make the whole Installation Easier to Visualize and Understand the Post Includes the Basic Screenshots of All GUI Steps involved.

-
Download Latest Komodo Edit for Ubuntu
-
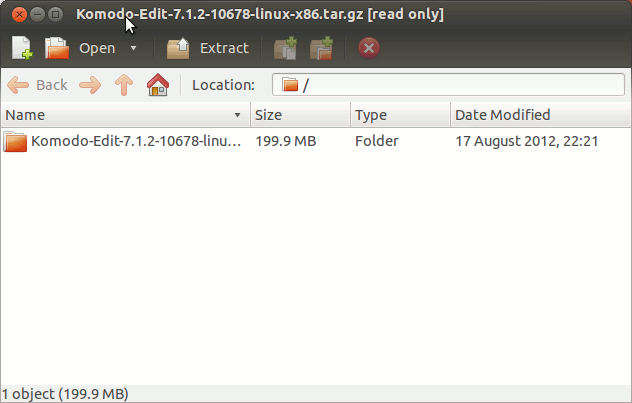
Double-Click on Archive and Extract into /tmp.

-
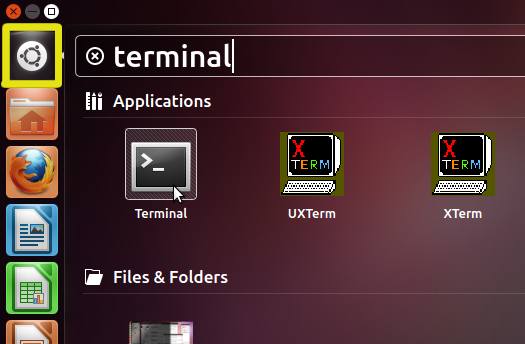
Open a Terminal Window
(Press “Enter” to Execute Commands).
-
Installing Komodo Edit.
-
Login as SuperUSer
sudo su
If Got “User is Not in Sudoers file” then see: How to Enable sudo
-
Installing Required GTK 2
apt-get update; apt-get install -V gtk+2.0
-
Change to Komodo Directory
cd /tmp/Komodo-*
-
Run Installation Script
./install.sh
Select the Install Directory Location.
Example: /opt/Komodo-Edit.
- Make Symlink to Komodo
ln -s /opt/Komodo-Edit/bin/komodo /usr/local/bin/komodo
To End the SuperUser session
exit
-
Login as SuperUSer
-
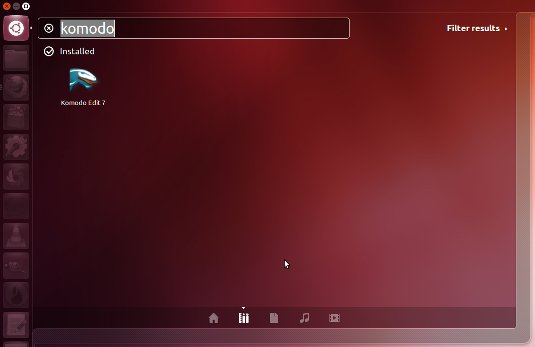
Lauch Komodo Edit.

-
Quick Start in Komodo Edit HTML Editing