$schemamarkup = get_post_meta(get_the_ID(), 'schemamarkup', true); if(!empty($schemamarkup)) { echo $schemamarkup; }

How to Install & Getting Started on Apache Tomcat 7 Server for Linux Solus 1.2 Eveline 64-bit Gnome2 Easy Visual-Guide

November 1, 2012 | By Duchateaux.

This Guide shows you How to Install and Getting-Started on the Apache Tomcat 7 Java Server for Linux Solus 1.2 Eveline x8664 GNOME2 Desktop.

Inside the Post you will Find a Link to Getting-Started with Tomcat 7 Deployment on Solus Linux.

Finally, to improve the Visualization of the whole Process the Post includes the Essential Screenshots.

Magic-Penguin Debian Tomcat
  1. Here Download Apache Tomcat 7 Server.

    Apache Tomcat 7 tar.gz
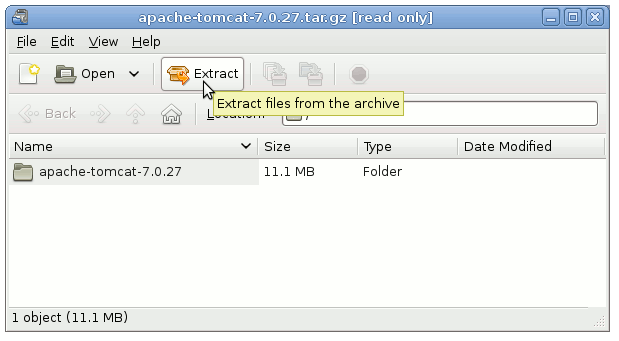
    Link to Download the Apache Tomcat 7 Release
  2. Double-Click and Extract into /tmp Folder

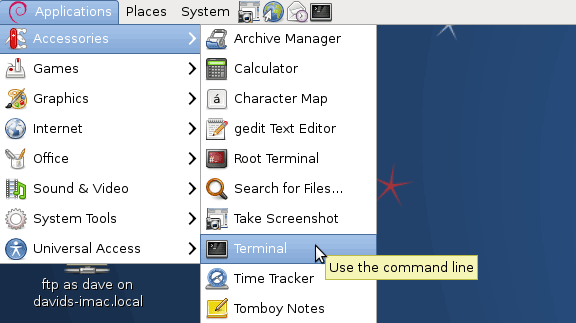
  3. Open a Terminal Window
    (Press “Enter” to Execute Commands)

    Debian LinuxSqueeze GNOME Open Terminal

    In case first see: Terminal QuickStart Guide.

  4. Relocate Tomcat 7

    Login as SuperUser.

    Copy
    su 

    If Got “User is Not in Sudoers file” then see: How to Enable sudo

    Move.

    Copy
    sudo chown -R root:root /tmp/apache-tomcat*
    Copy
    mv /tmp/apache-tomcat-7* /usr/share
  5. Check if Java is Installed on your Platform

    Copy
    java -version

    The Output Need to Show a Version >= 1.6.

    If Oracle Java JDK 7 is Not Installed then:

    Here Oracle-Sun JDK 7 for Solus
    Install Oracle Java JDK 7 on Linux Solus Distro
  6. Command to Start and Stop the Tomcat Server

    • Start

      Copy
      /usr/share/apache-tomcat-7/bin/startup.sh

    • Stop

      Copy
      /usr/share/apache-tomcat-7/bin/shutdown.sh

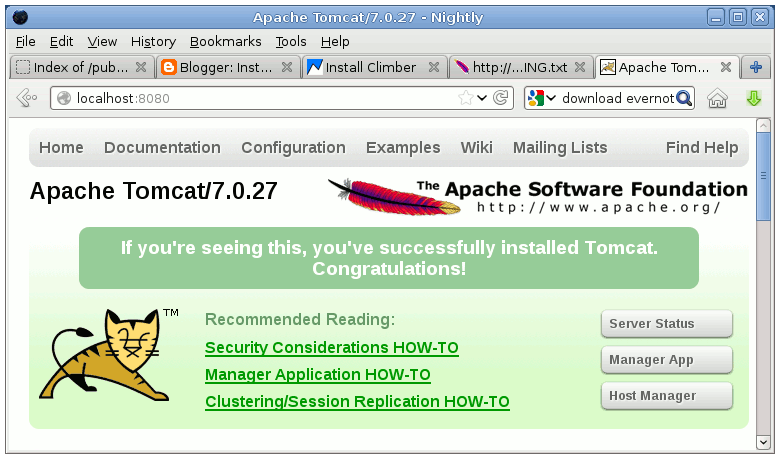
  7. Then to Access Tomcat Admin on Browser Go.

    http://localhost:8080
    blank

  8. Tomcat 7 Deployment Quick Start:

    Here Tomcat Deployment Quick Guide
    How to Quick Start with Apache Tomcat 7 Deployment