$schemamarkup = get_post_meta(get_the_ID(), 'schemamarkup', true); if(!empty($schemamarkup)) { echo $schemamarkup; }

How to Install and Getting Started JBoss 7 on Linux OS4 OpenDesktop 13 Easy Visual-Guide

November 8, 2012 | By Duchateaux.

The Article shows you How to Install and Getting-Started for the Latest JBoss 7.1.1 Brontes Application Server on Linux OS4 OpenDesktop 13 32/64-bit.

Inside the Post you Find Links to Installing JDK 7 and to Getting-Started with the JBoss 7 Server on OS4 Linux.

And this Visual Guide includes the Basic Screenshots of All GUI Steps involved.

The Contents and Details are Expressly Essentials to Give Focus Only to the Essentials Instructions and Commands and Make the Tut Easier to Understand ;)

Linux Penguin JBoss
  1. Download the JBoss 7 Java Application Server:

    Red-Hat JBoss 71.1 Final tar.gz
  2. Double-Click on Archive and Extract into /tmp
    Linux OS4 OpenDesktop13 JBoss 7 Extraction

  3. Relocate JBoss

    1. Open a Terminal Window
      (Press “Enter” to Execute Commands)

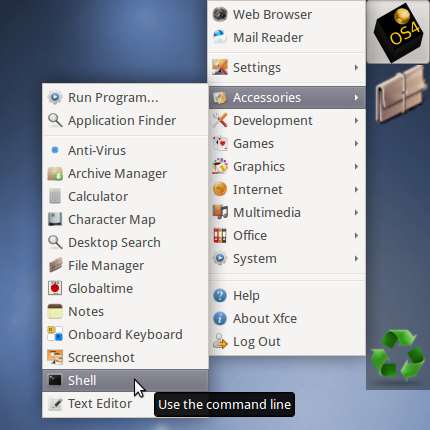
      OS4 OpenDesktop13/Xfce Open Terminal Window

    2. Login as SuperUser
      su 

      If Got “User is Not in Sudoers file” then see: How to Enable sudo

    3. Move JBoss Folder
      sudo chown -R root:root /tmp/jboss*
      mv /tmp/jboss* /opt/jboss-as-7/jboss-as-7
  4. Set Environment Variables and Path

    1. Logout from SuperUser
      exit
    2. Edit User .bashrc File Settings
      nano ~/.bashrc

      Append:

      export JBOSS_HOME=/opt/jboss-as-7; export PATH=$JBOSS_HOME/bin:$PATH
    3. Load New Environment Set-Up
      bash
  5. Getting-Started with JBoss:

    How to Getting-Started with JBoss 7 on Linux