How to Install a FreeBSD 9.1 KDE4 Amd64 Powered desktop on VMware Fusion 4-5.
All Steps are Visually Shown but you need to Check if the Proposed Setup is Right for yours Needs…
During FreeBSD Installation Use the Space-Bar and Arrows to Select Components to Install and the Enter Key to Make a Selection a Menu or to Confirm Setup.
Take the Time of Reading and Understanding Getting a Clear Insight…
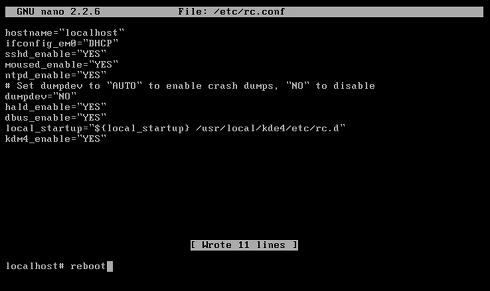
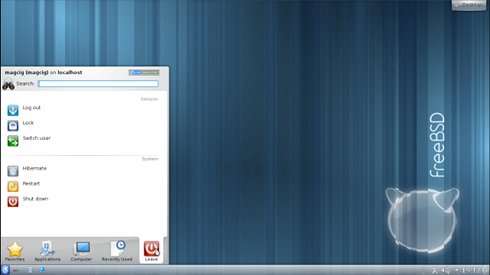
Final Reboot to Start-Up your Magically Powered KDE4 FreeBSD 9.1 Unix desktop:
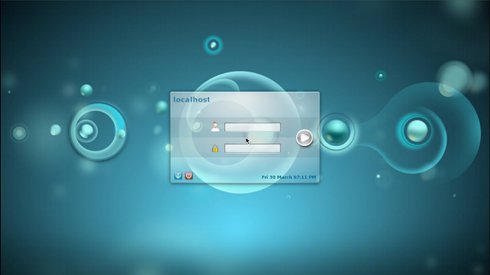
Now you Should View the KDE 4 Login Screen:)
Wait a Bit for KDE 4 Loading:)
Pictures of the KDE 4 desktop on FreeBSD :9 on” class=”stepaa” src=”https://tutorialforlinux.com/wp-content/media/dg139/installFreeBSD9VMWareFusion4/finish.png” />
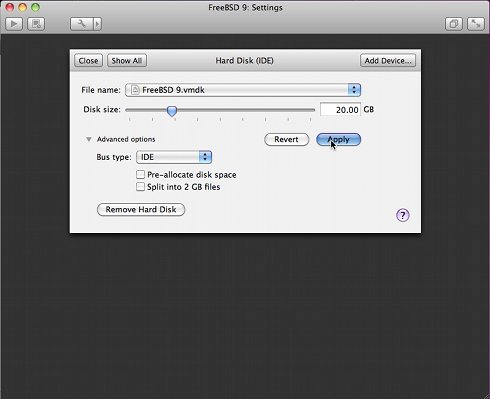
On Settings Menu Select Hard-Disk and Follow this Trace below to have a Issue-Free Virtual Disk Setup:
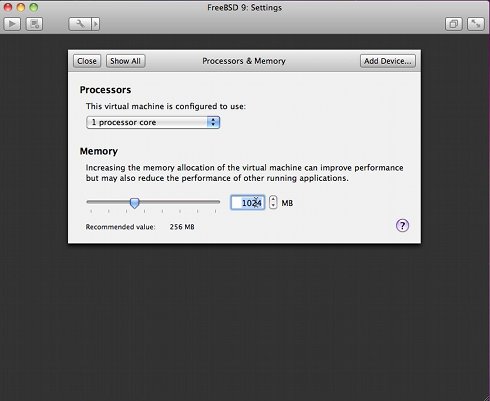
Select Memory to Set the RAM Memory
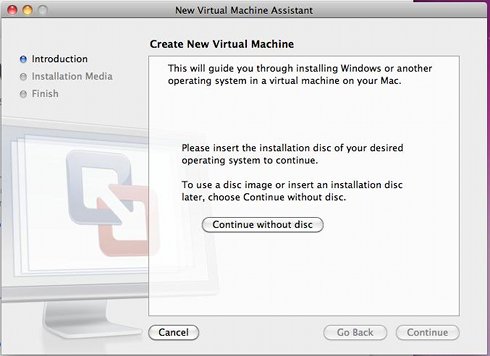
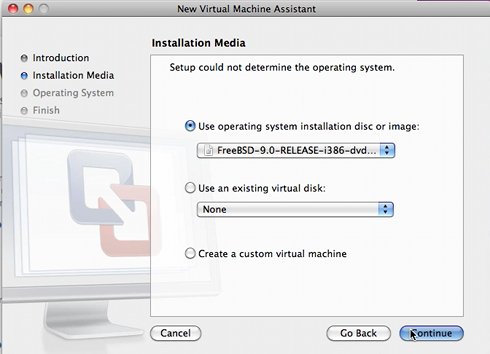
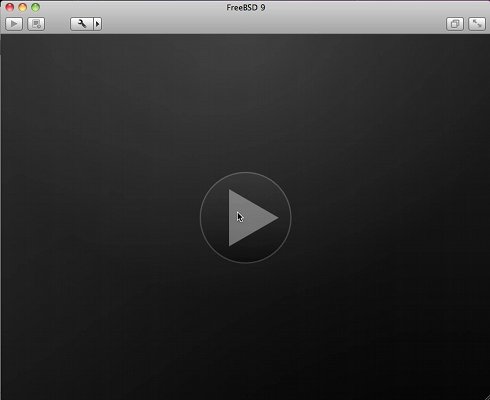
Start the Virtual Machine:
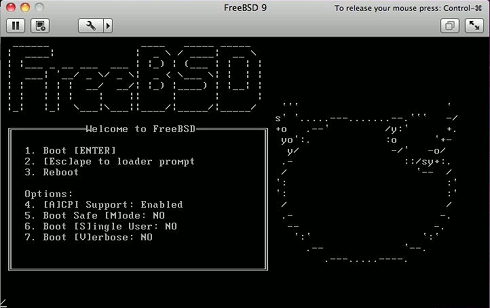
At the Splash Screen type Enter to Start FreeBSD Installation
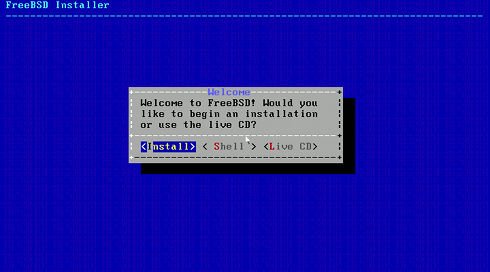
Select Install:
Select Keyboard Layout:
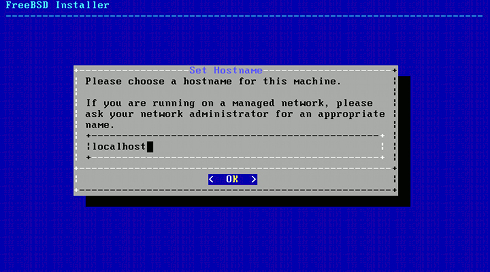
Set Hostname and Click on Enter:
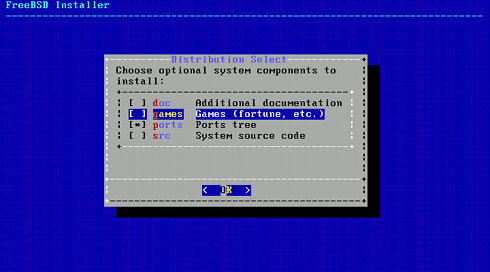
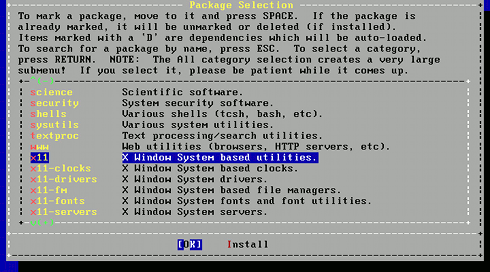
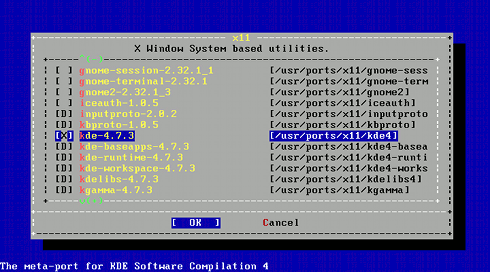
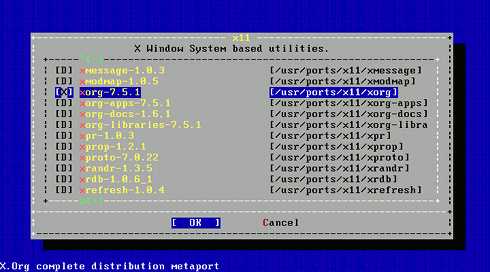
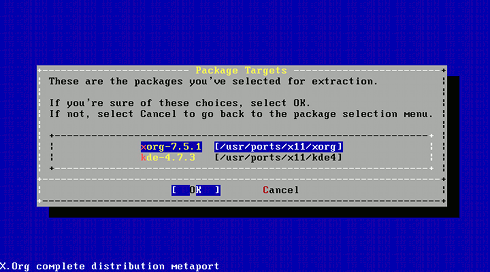
Select Distribution Components and Click on Enter:
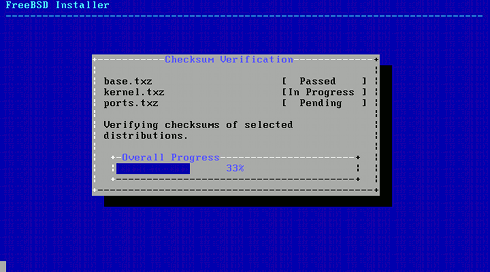
Automatic Checksum Verification:
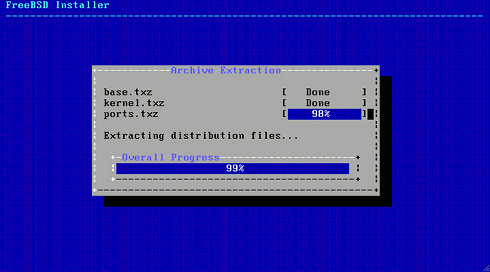
Automatic Archive Extraction:
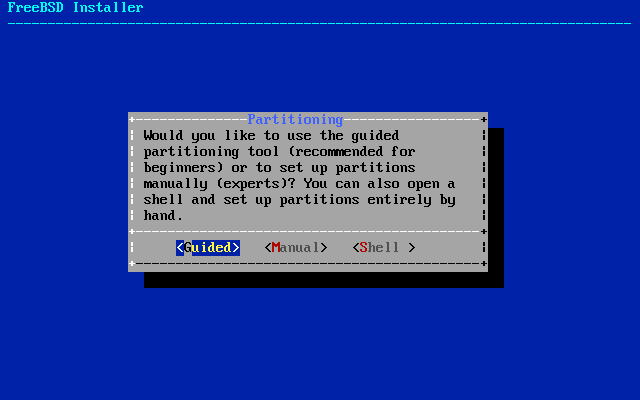
Select Guided Partitioning Schema:
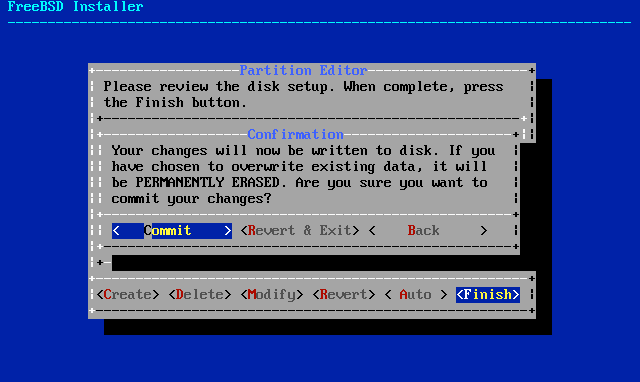
Possibly Modify or Create the Partitions.
Then Execute the Partitioning.
Partition Editor:
Set the Root Password:
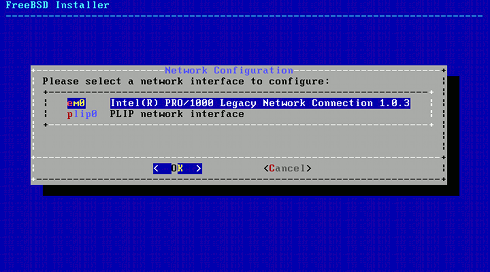
Start Network Configuration Setup:
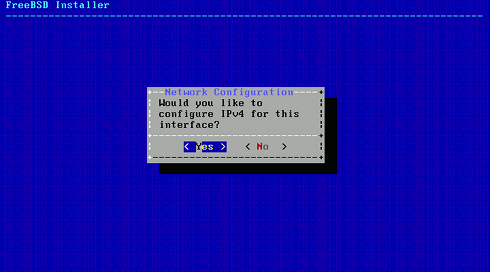
Set IPv4 On:
Set DHCP On:
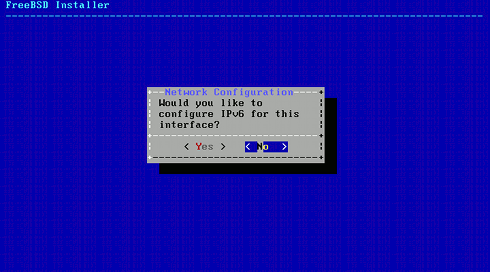
Possibly Set IPv6 Off:
If your Network Should be IPv6 Powered then Proceed to Turn it On…
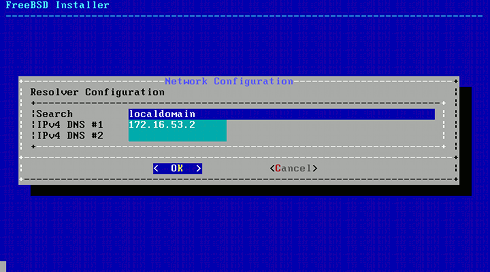
Final Network Setup:
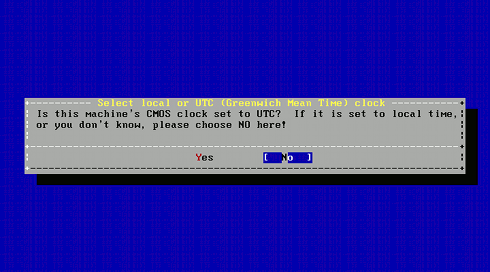
Select Time:
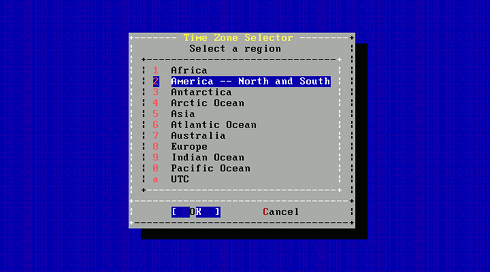
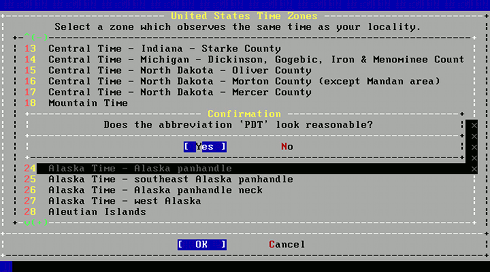
Select Time Zone:
For Big Countries Sel/nect Country Time Zone:
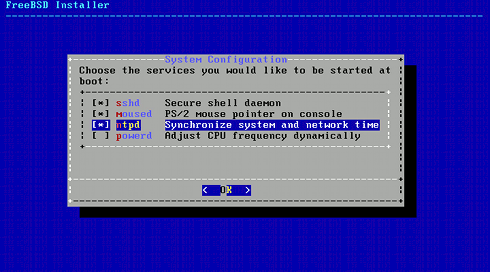
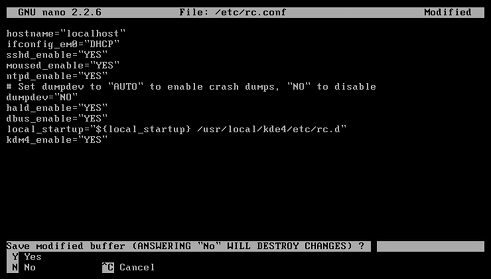
Select Services to Start at Boot Time:
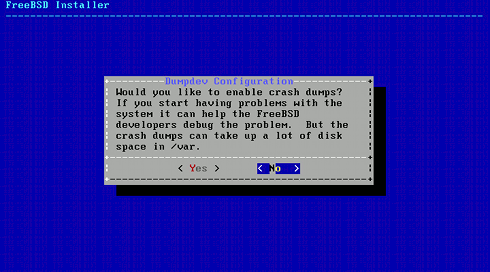
Turn Dumpdev On or Off:
In Case your System is of Particular Importance then Turn Dumpdev On.
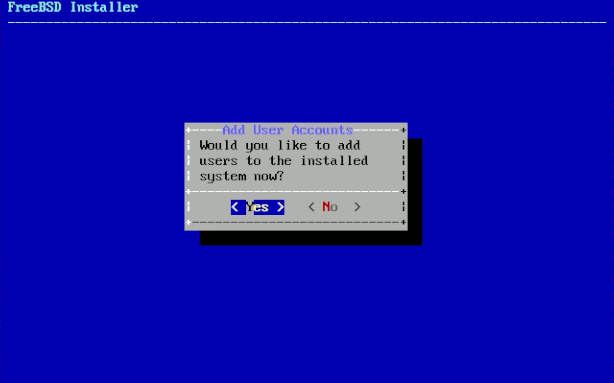
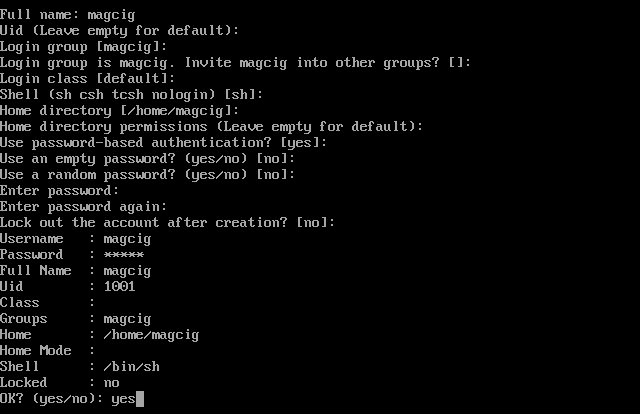
Next Create At Least One Normal User
In Fact this is Important For Booting Into the KDE4 desktop!
Apply Changes and Exit:
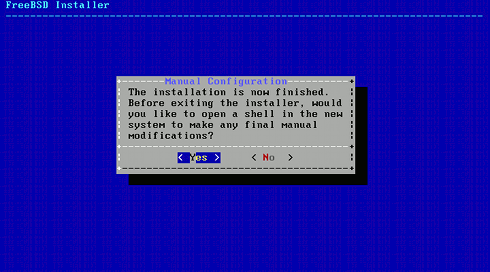
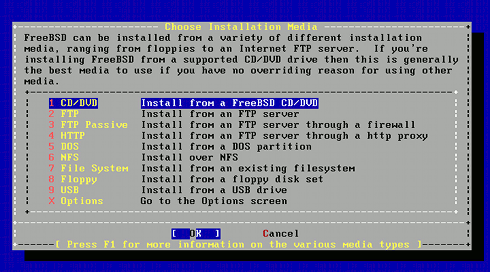
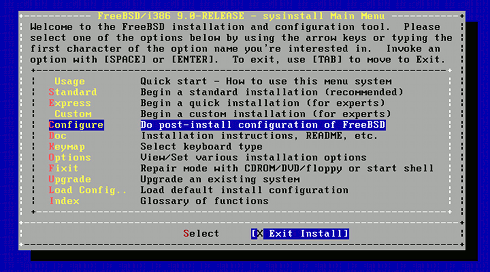
Select Manual Configuration on Shell to Change Settings or Add Components:
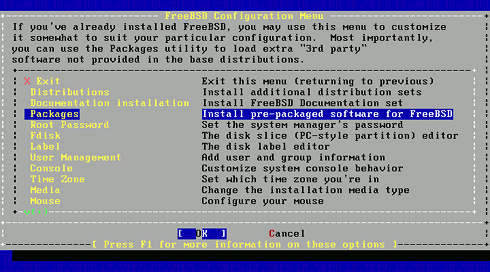
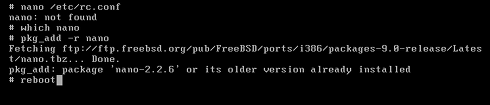
Install the nano Editor and then Start the Sysinstall Configuration:
The Two Command to Execute on Shell are:
pkg_add -v -r nano
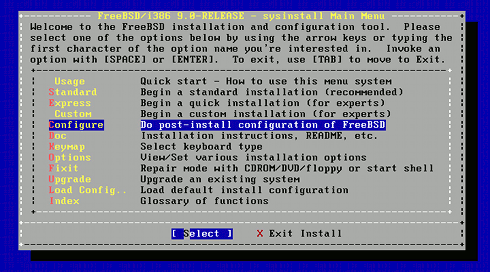
After the nano has been Installed then Start Sysinstall:
sysinstall
The Sysinstall Text Configuration Tool will Show Up.
Troubleshooting pkg_add -v Not Working on FreeBSD9.1:


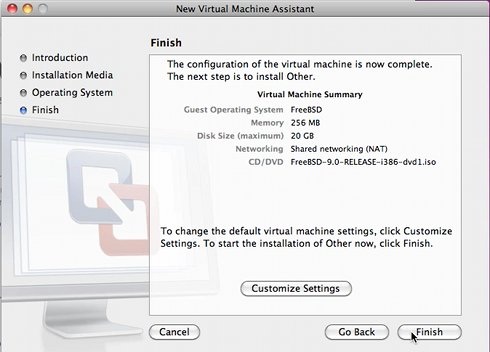


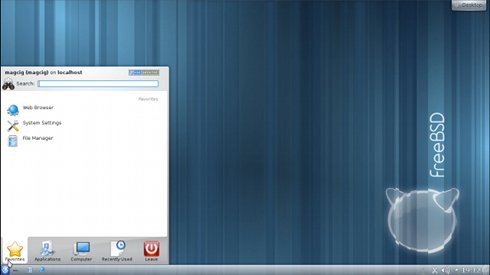
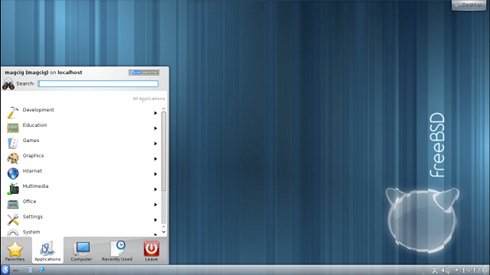
 on” class=”stepaa” src=”https://tutorialforlinux.com/wp-content/media/dg139/installFreeBSD9VMWareFusion4/finish.png” />