Install Oracle JRockit 1.6 for Ubuntu Linux
How to Install and Getting Started with Oracle JRockit 1.6 on Ubuntu 13.10/13.04/12.10/12.04… Linux.
Include the JRockit Mission Control suite tools to Monitor, Manage, Profile, and Eliminate Memory Leaks in your Java Applications.
Here is Described a System-Wide Setup, for a Local One Repeat the Same Steps without Shell Super-User Powers and JDK Final SetUp.
On the Install Oracle JRockit 1.6 on Ubuntu Guide Bottom Link to Guide on How to Getting Started with JRockit Mission Control to Manage Java Apps Memory.

-
Download Oracle JRockit 1.6 Installer for Linux
-
Open Terminal Window
(Press “Enter” to Execute Commands).Ctrl+Alt+T

In case first see: Terminal QuickStart Guide.
-
Starting Oracle JRockit Installer:
cd $HOME/Downloads
sudo su
If Got “User is Not in Sudoers file” then see: How to Enable sudo
chmod +x jrockit-jdk1.6*.bin
./jrockit-jdk1.6*.bin"
-
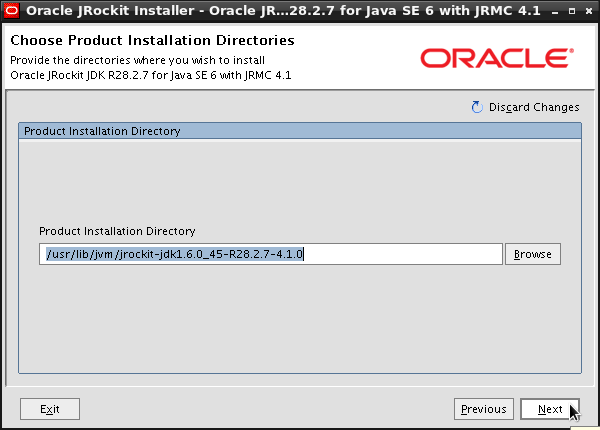
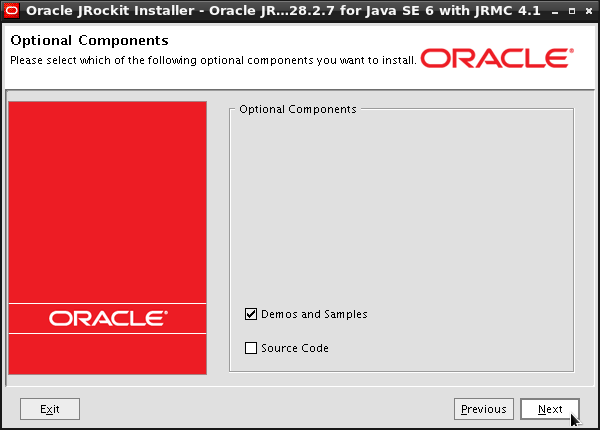
Follow Oracle JRockit Installation Process:

For a System-Wide Setup is Best to Install JRockit to Default JVMs Location:
/usr/lib/jvm/jrockit-jdk1.6
-
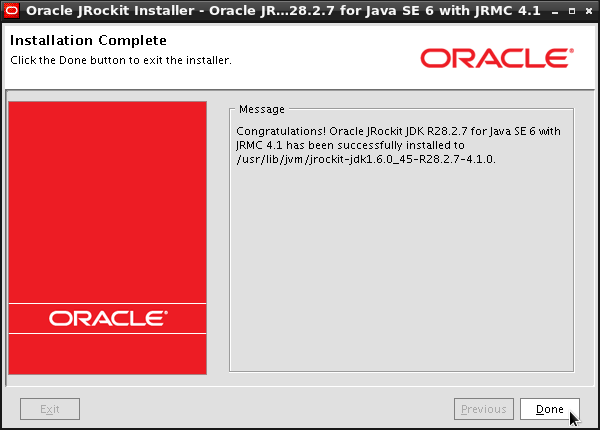
Installing Oracle Java JRockit 1.6
update-alternatives --install /usr/bin/java java /usr/lib/jvm/jrockit-jdk1.6.0*/bin/java 1065
update-alternatives --install /usr/bin/javac javac /usr/lib/jvm/jrockit-jdk1.6.0*/bin/javac 1065
update-alternatives --install /usr/bin/jar jar /usr/lib/jvm/jrockit-jdk1.6.0*/bin//jar 1065
update-alternatives --install
/usr/bin/jrmc jrmc /usr/lib/jvm/jrockit-jdk1.6.0*/bin//jrmc 1065
Checking or Setting the System Java Version in Use with:
update-alternatives --config java
And for the Java Compiler instead:
sudo update-alternatives --config javac
To Switch of Java Version Just Enter the Reference Number on First, Column. :)
-
Optionally Set Java Rockit Environment Variables
su <myUser>
nano $HOME/.bashrc
Append:
export JROCKIT_HOME=/usr/lib/jvm/jrockit-jdk1.6.0<XYZ>
export JAVA_HOME=$JROCKIT_HOME
Ctrl+x to Save & Exit from nano :)
source $HOME/.bashrc
-
Getting Started with JRockit Mission Control
How to Install Oracle Netbeans 7.3 with JDK 7 on Ubuntu