Install WildFly on openSUSE Linux
[ad_slider autoplay=”true” interval=”8″ count=”5″]
How to Install and Getting Started with the Latest WildFly for openSUSE 12.x/13.x Linux desktop.
WildFly App Server main Features:
- Unparalled Speed: Fast Startup. Ultimate Web Performance & Scalability.
- Exceptionally Lightweight: Memory Diet. Slimable / Customizable Runtime.
- Powerful Administration: Unified Configuration & Management. Domain & Standalone Management.
- Supports Latest Standards and Technology: Java Jakarta EE. Modern Web.
- Modular Java: No more jare hell! Fast Linking & Concurrent Loading
- Easily Testable: Arquillian. Smarter Development.
Inside the Post you Find Links to Installing JDK and to Getting-Started with the Latest WildFly Server on Java 7/8 for openSUSE.
To make the whole WildFly Install on openSUSE 12.x/13.x Easy to Understand and Visualize the Post Includes the Basic Screenshots of All GUI Steps involved.

-
Download Latest WildFly JEE App Server
-
Open Terminal Window
(Press “Enter” to Execute Commands).Or Login into Shell…
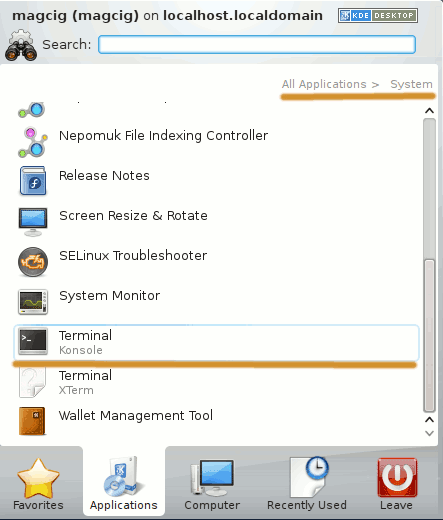
In case first see: Terminal Quick Start Guide.
-
Double-Click on Archive and Extract Into /tmp.
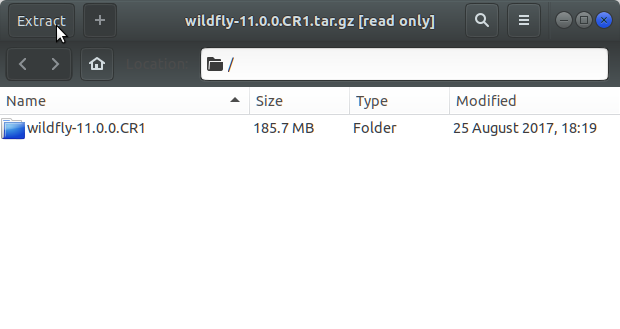
Or from Shell:tar xvfz wildfly*.tar.gz -C /tmp/
-
How to Install Recommended Oracle JDK on openSUSE
Installing Oracle JDK for openSUSE[ad_slider autoplay=”true” interval=”8″ count=”5″] -
Relocate WildFly App Server.
-
Login as SuperUser
sudo su
If Got “User is Not in Sudoers file” then see: How to Enable sudo
-
And Switch WildFly
sudo chown -R root:root /tmp/wildfly*
mv /tmp/wildfly* /opt/wildfly
-
-
Set User’s Env Variable and Path.
-
Logout from SuperUser
exit
-
Edit User .bashrc File Settings
nano ~/.bashrc
Append:
export JBOSS_HOME=/opt/wildfly;
export AS=$JBOSS_HOME;
export PATH=$JBOSS_HOME/bin:$PATH
Ctrl+x to Save & Exit from nano :)
-
Load New Environment Set-Up
bash
-
-
How to Getting Started with WildFly on Linux
Quick Start with the Latest WildFly[ad_slider autoplay=”true” interval=”8″ count=”5″]
So Now Thanks to Red Hat Inc
you Should Finally, Fully Dispose of a Latest WildFly JEE Server Installation openSUSE Linux ;)