Getting Started with MonoDevelop on Linux Mint 13 Maya
How to Install MonoDevelop IDE on Linux Mint 13 Maya LTS Mate/Cinnamon/Kde/Xfce.
To Get Installed the MonoDevelop IDE for Linux Mint 13 Maya you will Need to SetUp the Apt Repo for Linux Mint.
To Getting Started with MonoDevelop App on Linux Mint desktop follow Guide on How to Create an Linux Mint Launcher.
MonoDevelop Key Features:
- C#
- Visual Basic
- Java (IKVM)
- Boo
- C/C++
- Python
- Vala
- ASP .NET Project
- ASP .NET MVC Project
- Translation Project
- Moonlight Project
- GTK# designer
- Generation of Makefiles
- Generation of Tarballs
- Makefile Synchronization
- Database Explorer
- NUnit add-in
- Subversion add-in
- Help Browser (Monodoc)
- Debugging (managed)
- Debugging (C/C++)
- ASP .NET Debugging

-
Open Command Line Terminal Window
(Press “Enter” to Execute Commands).Ctrl+Alt+T
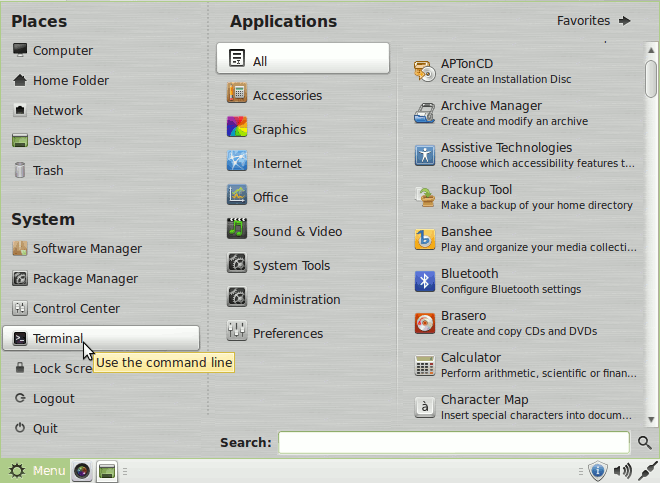
In case first see: Terminal QuickStart Guide.
-
SetUp the MonoDevelop Apt Repo for Linux Mint
-
Install MonoDevelop IDE for Linux Mint:
sudo apt-get update
sudo apt-get install monodevelop
-
How to Create a MonoDevelop Launcher on Mint GNU/Linux desktops

How to Install Google-Chrome Web Browser on Linux Mint.