Install Mint 17 Qiana on VMware Workstation 10
How to Install Linux Mint 17 Qiana Cinnamon on VMware Workstation 10 for Windows.
Linux Mint 17 Qiana Cinnamon New Features at a glance:
- Update Manager
- Drivers Manager
- Login Screen
- Language Settings
- Software Sources
- Welcome Screen
- Cinnamon 2.2
- System Improvements
- Artwork Improvements
- Main Components
- LTS Strategy
To Make the Entire Mint 17 Qiana Installation VMware Workstation 10 Easier to Visualize and Retain the Post Includes the Basic Screenshots of All GUI Steps involved.
The content and details are expressly reduced to give Focus only to the Essentials Instructions and Commands and Make the Tut Easier to Understand ;)

-
Download Linux Mint 17 Qiana Cinnamon Release.
-
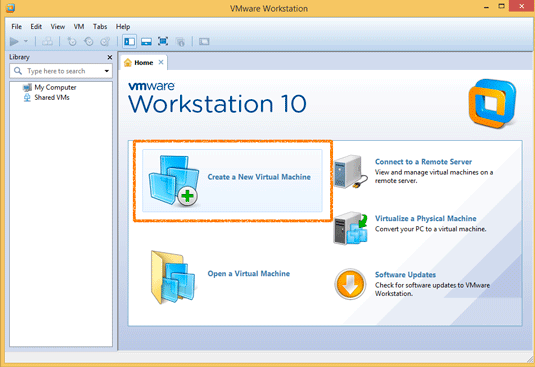
Create a New Virtual Machine.
-
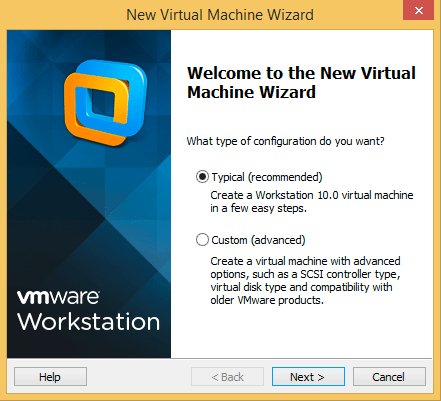
Choose the VM Typical SetUp.
-
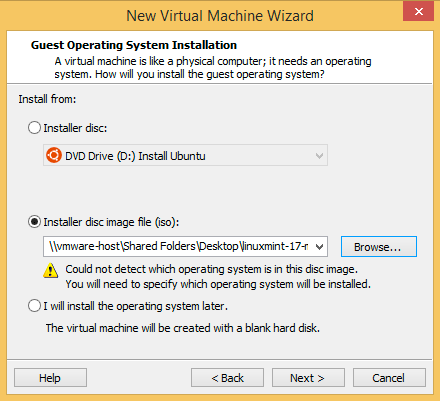
Select Linux Mint 17 Qiana ISO Image.
-
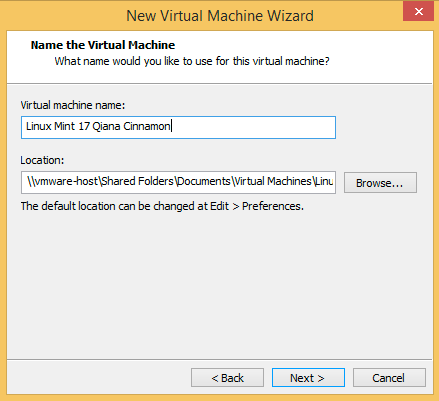
Set-Up Linux Mint 17 Qiana Cinnamon VM Name.
-
Then Set the Disk Size to At Least 64Gb.
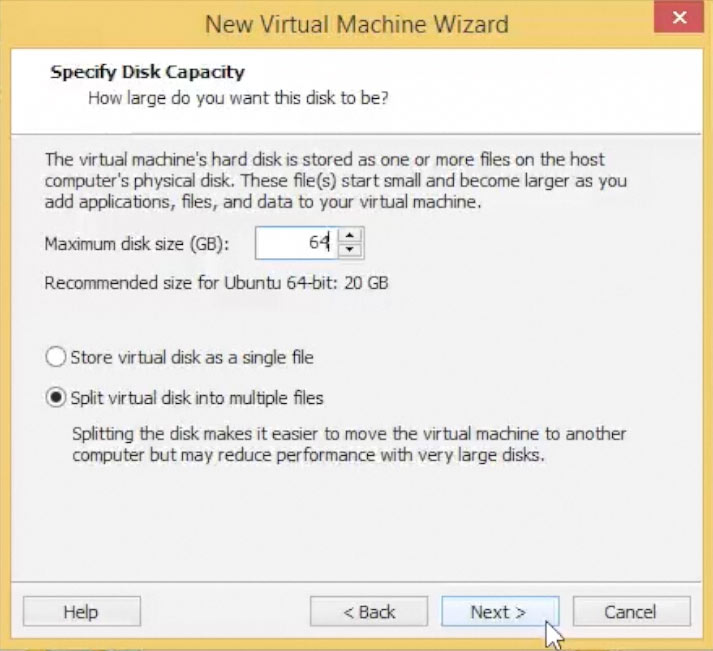
Take Note: The Disk then will be Auto-Growing and 64Gb here it’s Just the Upper Limit!
Alsto it’s Best to Set Disk as Entire instead of the Default 2Gb Chunks…
-
Finishing VM Set-Up.
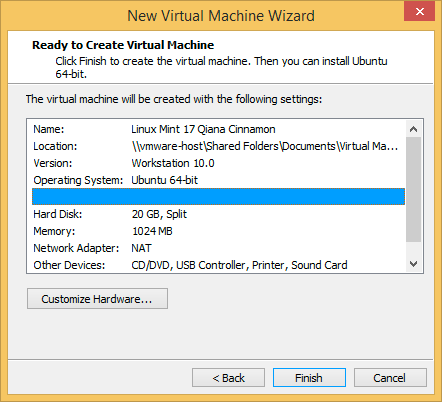
-
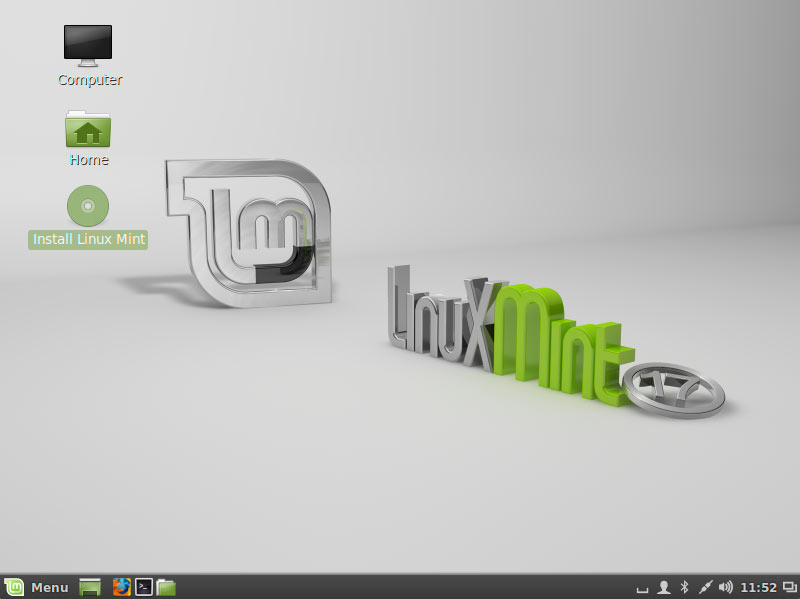
Double-Click on Icon to Start Linux Mint 17 Qiana Installation
-
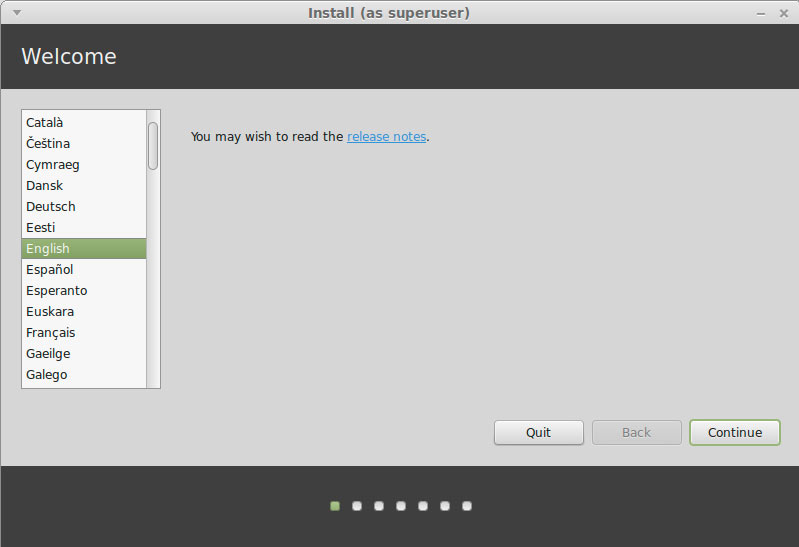
Select Installation Language on Welcome Screen.
-
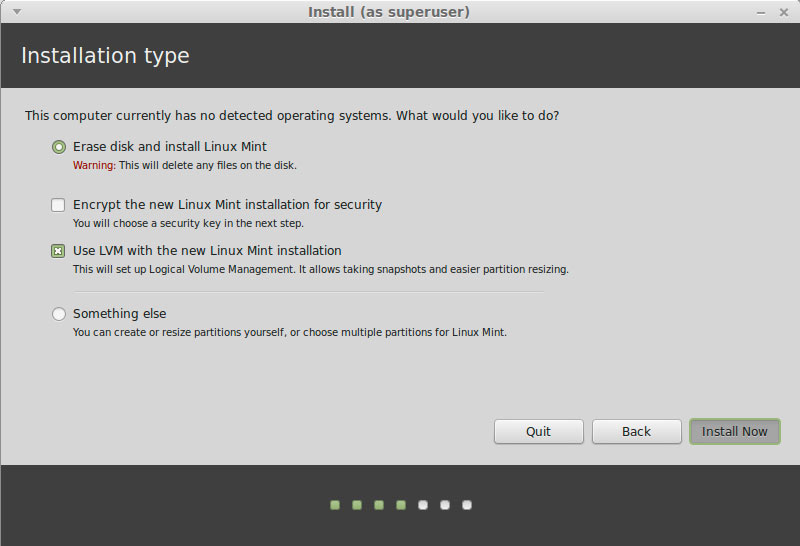
Formatting Linux Mint Partition.
The Best Choice is to Make a LVM Partitioning Group
-
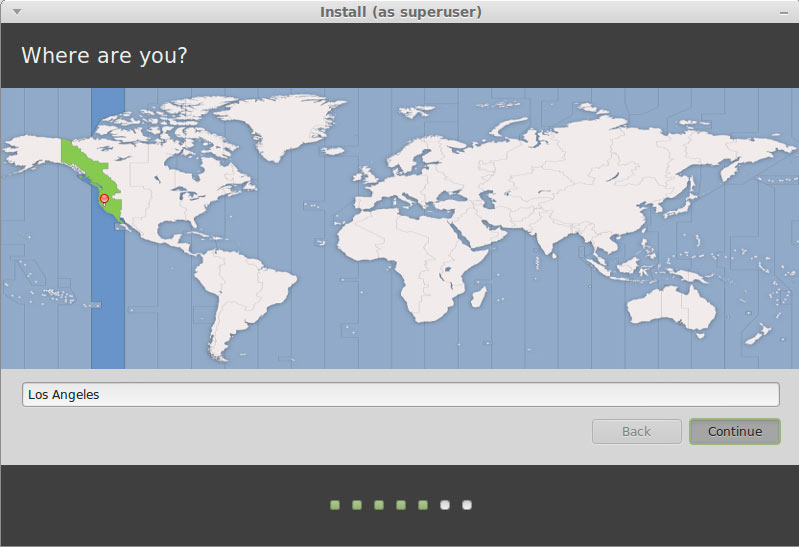
Set the Time-Zone.
-
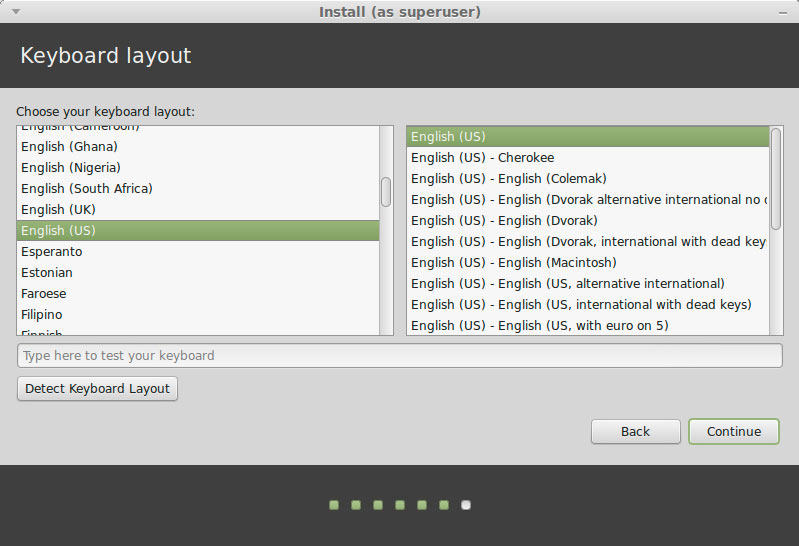
Set the Keyboard Layout.
-
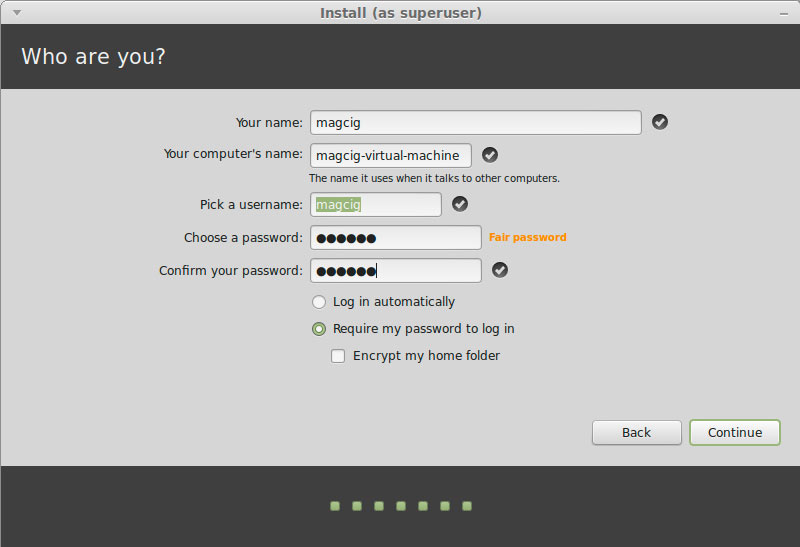
SetUp a Regular User.
-
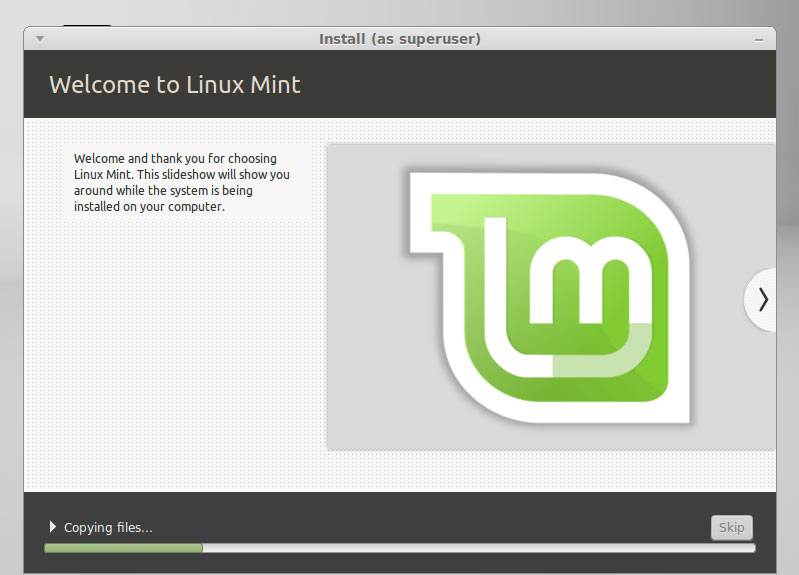
Installing Linux Mint 17 Qiana.
-
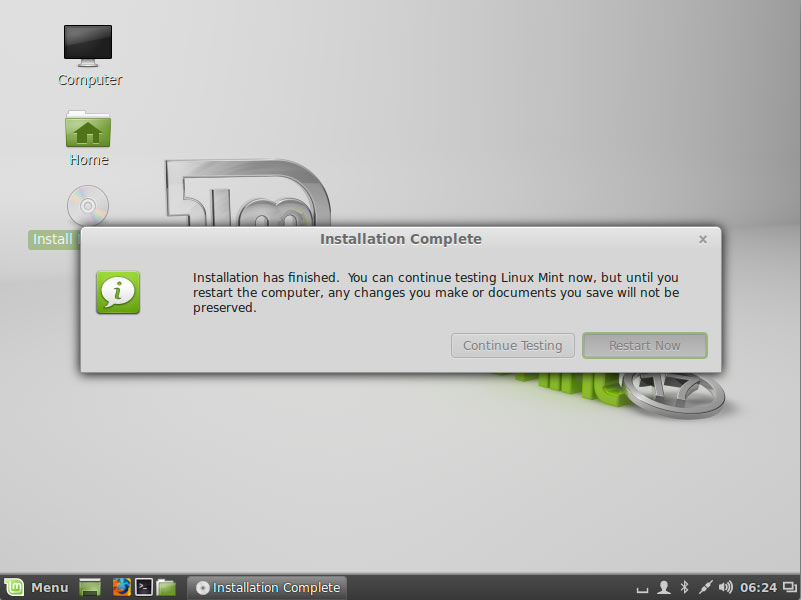
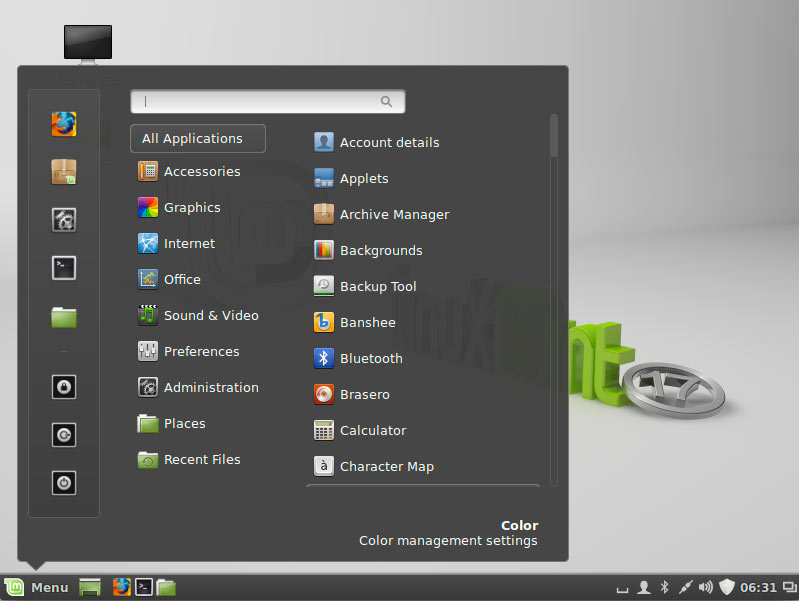
Reboot Into Linux Mint 17 Qiana Cinnamon desktop! :)
-
Install the VMware Tools for Mint 17 Qiana: