Magento Website Quick Start for LMDE
How to Install and Getting Started with the Latest Magento 1.9 CE PHP5 e-Commerce Website on Linux Mint Debian 2012/2013/2014 Mate/Cinnamon desktop.
Magento is an out-of-the-box e-commerce platform with many features, such as catalog navigation, promotion rules, RSS feeds, product search, product tags, product reviews, tax rules, reports, and order management.
To Prepare for Magento Development we need to set up a LAMP (Linux, Apache, MySQL, PHP) environment. In that LAMP environment, we will create a Fully Qualified Domain Name (FQDN) and a virtual host.
The Process described here Suppose that the User have Super-User Powers, if Not then adapt Consequently the Commands…

-
Or Open a Command Line Terminal Window
(Press “Enter” to Execute Commands)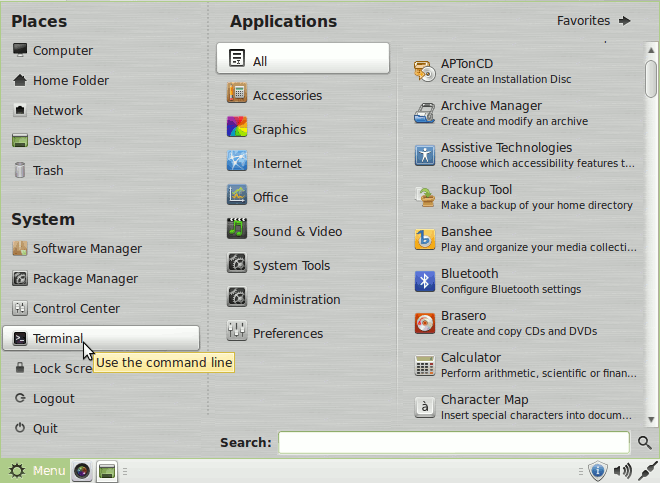
In case first see: Terminal Quick Start Guide.
-
How to Install LAMP Server on Linux Mint Debian.
In this Example the Domain will be Accessible to:
http://magento.local/
For a Regular Magento Installation Modify this Parameter all along Installation…
-
Install Required Packages.
sudo su
If Got “User is Not in Sudoers file” then see: How to Enable sudo
apt-get install php5-mhash php5-mcrypt php5-cli php5-gd php5-curl php5-gd php-pear
-
Increase the PHP 5 Memory Limit.
nano /etc/php5/apache2/php.ini
Set the Memory Limit to At Lest 512mb!
memory_limit = 512M
Ctrl+x to Save & from nano Editor :)
-
How to Enable Apache2 mod_rewrite Module on Linux Mint.
-
Setting Up the MySQL Database.
mysql -u root -p
Enter the following commands at the mysql> prompt.
create database magento;
GRANT USAGE ON *.* TO magento@localhost IDENTIFIED BY 'magento';
GRANT ALL ON magento.* TO magento@localhost;
exit
-
Download Latest Magento 1.9 CE Release
-
Extracting Magento 1.9 CE.
Double-Click on the Archive
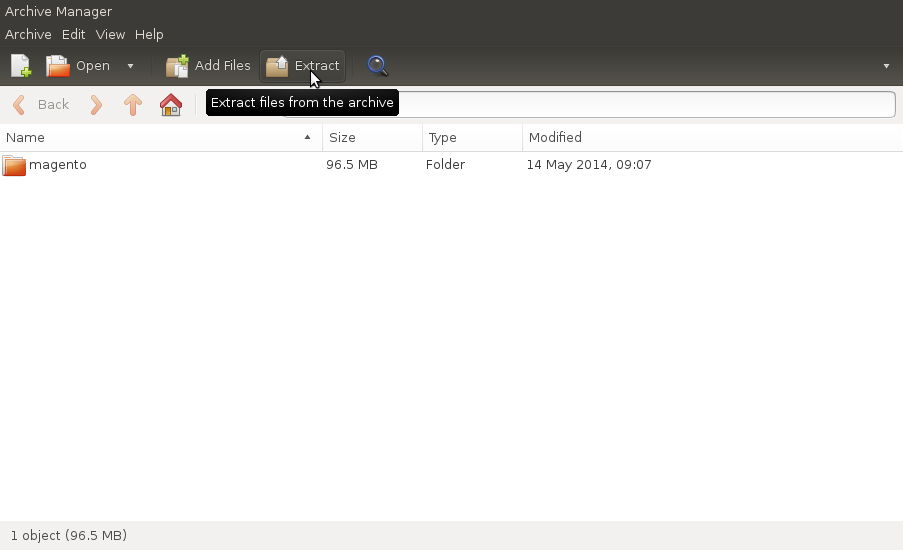
Or From Command Line:
tar xvzf -C /tmp/ $HOME/Downloads/magento*.tar.gz
rm $HOME/Downloads/magento*.tar.gz
-
Relocate Magento Content.
cp -r /tmp/magento/* /var/www/html/magento/
-
Fixing Permissions.
cd /var/www/html/magento
chown -R www-data:www-data .
find . -type d -exec chmod 700 {} \;find . -type f -exec chmod 600 {} \;exit
-
Download & Install Magento 1.9 CE Sample Data
Take Note: The Task must be Achieved Prior to Magento 1.9 CE Installation!
-
Running Magento Web UI Installer.
Point Browser to:
http://magento.local/
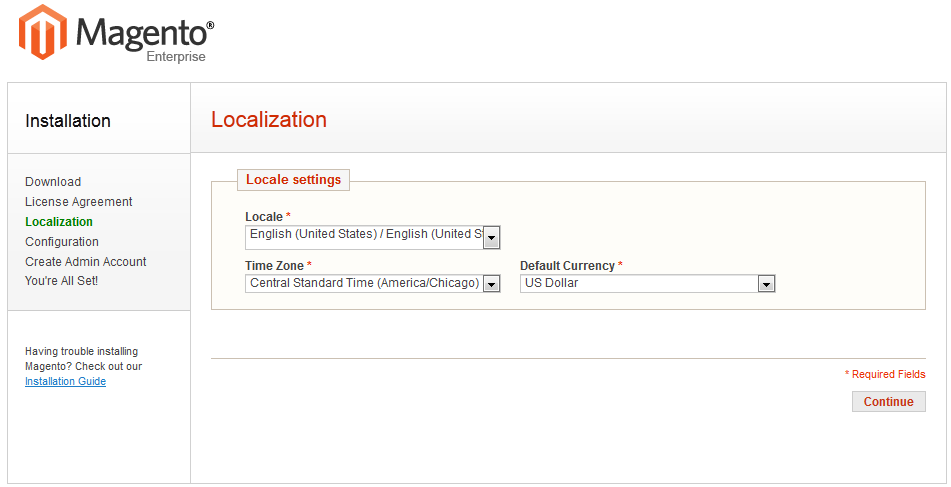
Set the Localization
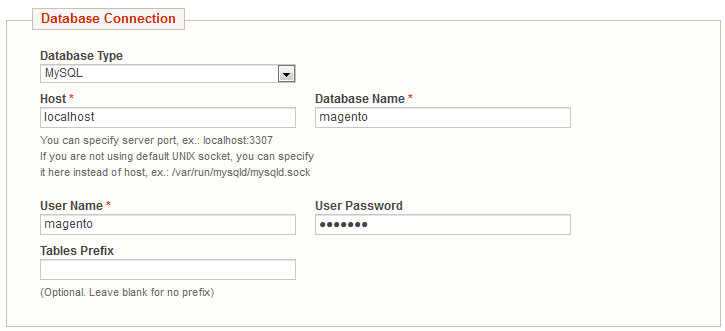
Configure Database Settings
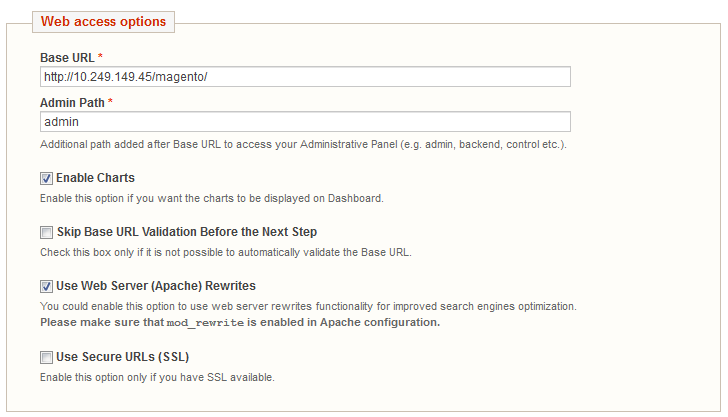
Set the Web UI Base URL & Options
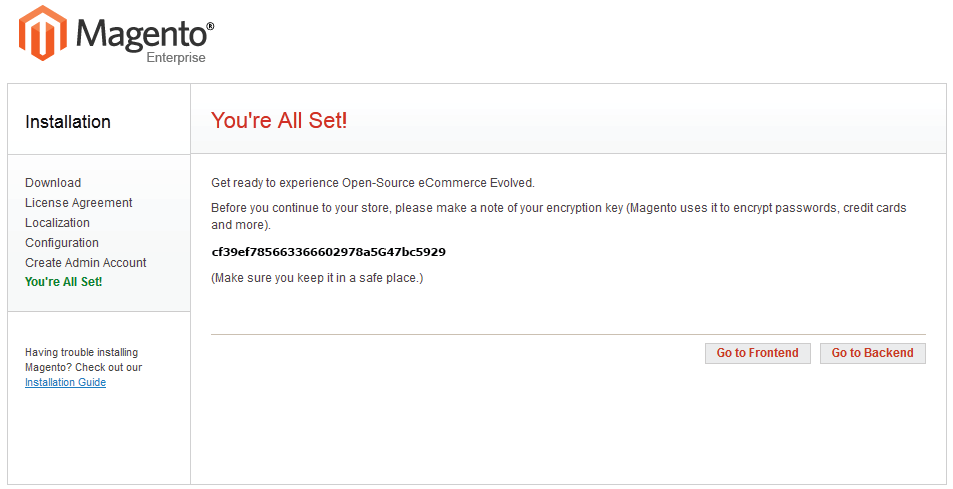
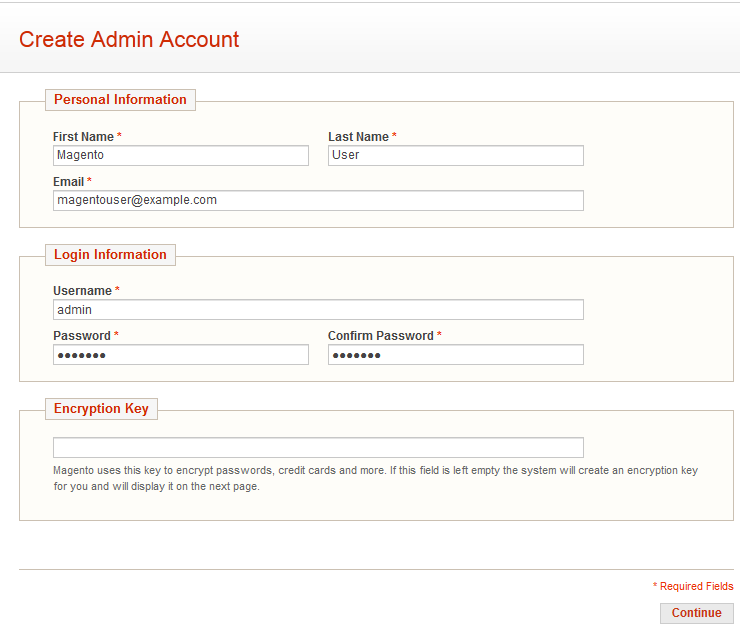
Create an Admin Account
Magento Successfully Installed on Mint Linux