$schemamarkup = get_post_meta(get_the_ID(), 'schemamarkup', true); if(!empty($schemamarkup)) { echo $schemamarkup; }

How to Install Epson WF-7510 All-in-One Printer Drivers & Quick-Start Scanning on Ubuntu 14.04 Trusty Linux Easy Guide

September 3, 2014 | By the+gnu+linux+evangelist.

Installing Epson WF-7510 Printer Drivers on Ubuntu 14.04 LTS

Hi! The Tutorial shows you Step-by-Step How to Quick Start with the Epson WorkForce WF-7510 All-in-One Printer/Fax/Scanner on Ubuntu 14.04 Trusty Tahr LTS i386/amd64 Linux.

To Get the Epson WF-7510 Printer Installed on Ubuntu Linux you need to Download and Install the Epson Proprietary Driver.

Then to Get the Epson Scanner Working on Ubuntu Linux Follow the Guide on Getting-Started Easily with Image Scan Software on Ubuntu.

How to Install Epson WF-7510 Printer Drivers on Ubuntu 14.04 Trusty LTS - Featured
  1. Download Epson Printer/Fax/Scanner .deb Drivers for Linux

    Search for ‘WF-7510’ on Epson Download Center

    Download All the Epson Linux Drivers.

  2. Double-Click on All the Printer/Fax Driver Packages.
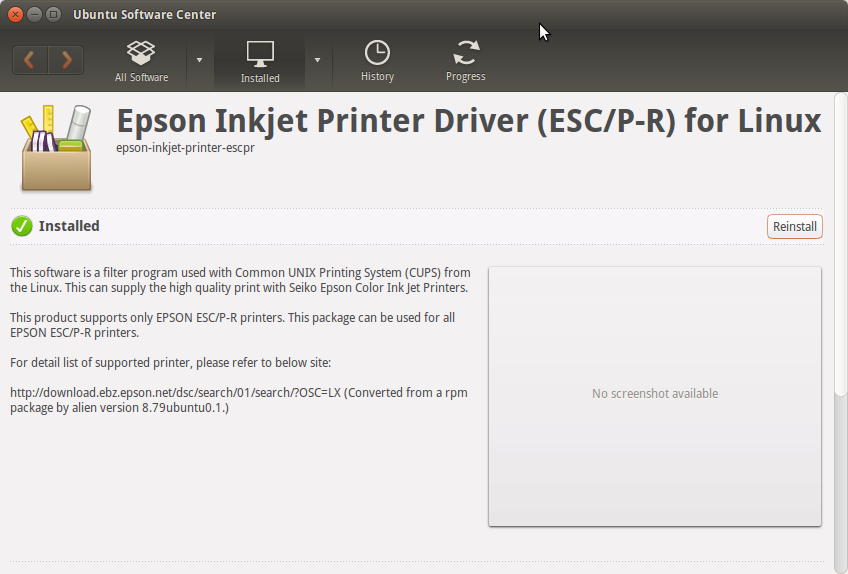
    How to Install Epson WF-7510 Printer Drivers on Ubuntu 14.04 Trusty LTS - Ubuntu Software Center
  3. Finally, Go on System Settings to Add Printer
    And the Printer will be Recognized and Installed
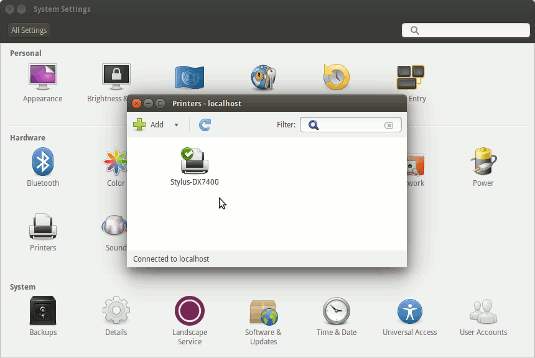
    How to Install Epson WF-7510 Printer Drivers on Ubuntu 14.04 Trusty LTS - Ubuntu System Settings Printers
  4. How to Getting-Started with Image Scan Software on Ubuntu

    GNU/Linux Scanning Quick Start Guide